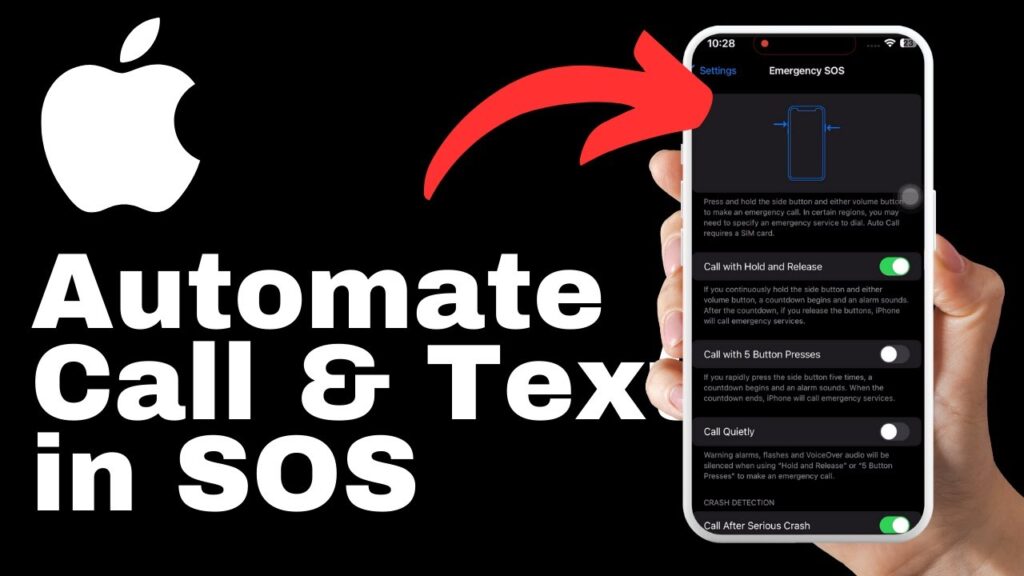
Discover how to automate calls or text messages to a designated contact in Emergency SOS on the iPhone 15 for enhanced safety and peace of mind. In this tutorial video by Media Magnet Guide, we will guide you through the simple steps to set up emergency contacts on your iPhone 15. With easy access to emergency contacts, you can ensure your safety in critical situations. By following the instructions provided, you will be able to quickly add the contacts you want and have them readily available when needed. Don’t miss out on this valuable tutorial that can make a significant difference in your safety and security.
In today’s fast-paced world, having easy access to emergency contacts on your smartphone is crucial. With the step-by-step instructions provided in this video, you will learn how to unlock your iPhone and navigate to the settings menu. From there, you can access the Emergency SOS settings and set up emergency contacts in the Health app. By adding the contacts you want and choosing their relationship to you, you can ensure quick access to the right people when you need them the most. This tutorial is packed with useful information to help you in critical situations, so make sure to like, comment, and subscribe to Media Magnet Guide for more valuable content.
Understanding the Importance of Emergency SOS on iPhone
Emergency situations can arise unexpectedly, and having quick access to emergency contacts is crucial for your safety and peace of mind. That’s where the Emergency SOS feature on your iPhone comes in. This feature allows you to automate calls or text messages to a designated contact when you activate Emergency SOS. In this article, we will guide you through the process of setting up and using this feature on your iPhone 15, highlighting its importance and potential life-saving capabilities.
The role of Emergency SOS on iPhone
The Emergency SOS feature on iPhone is designed to provide immediate assistance in critical situations. By enabling this feature, you can quickly and easily call for help or send a distress message to your emergency contacts. This can be particularly beneficial when you are in a dangerous situation where time is of the essence, such as during an accident, medical emergency, or potential threat.
Why you should automate Call or Text Message in Emergency SOS
Automating calls or text messages in Emergency SOS ensures that your designated emergency contacts are notified promptly in the event of an emergency. Rather than having to manually dial a number or send a message, the feature streamlines the process, allowing you to focus on your safety and well-being. By automating this process, you can save valuable time and potentially get the help you need more quickly.
Setting the Stage: Pre-Activation Steps
Before you can utilize the Emergency SOS feature on your iPhone 15, there are a few pre-activation steps you need to follow. These include unlocking your iPhone, navigating to the settings menu, and locating the Emergency SOS option.
Unlocking your iPhone
To begin, unlock your iPhone by either using Face ID, Touch ID, or your passcode. This will give you access to the home screen and allow you to proceed with the activation process.
Navigating to the settings menu
Once you have unlocked your iPhone, locate the settings app on your home screen or in your app drawer. The settings app is represented by a gear icon and typically appears towards the top of your screen.
Locating the Emergency SOS option
After opening the settings app, scroll down until you find the Emergency SOS option. This option is usually located towards the middle or bottom of the settings menu. Tap on it to access the Emergency SOS settings.
Entering the Emergency SOS Settings
Now that you have accessed the Emergency SOS settings, you can proceed with setting up your emergency contacts.
Accessing the emergency SOS settings
Within the Emergency SOS section, you will find various options related to this feature. These options include the ability to automatically call emergency services, enable the countdown sound, and set up your emergency contacts. To continue with setting up your contacts, navigate to the “Set Up Emergency Contacts in Health” option and tap on it.
Identifying the setup option for Emergency contacts in health
Tapping on the “Set Up Emergency Contacts in Health” option will redirect you to the Health app. This app is responsible for managing your health-related data and includes a section dedicated to emergency contacts.

Transitioning to the Health App
To add your emergency contacts, you will need to navigate within the Health app. The following steps will guide you through this process.
Locating the edit button
Upon entering the Health app, locate the edit button. This button is typically located in the top right corner of the app’s interface. Tap on it to initiate the editing process for your emergency contacts.
Starting the editing process for your emergency contacts
By tapping on the edit button, you will gain access to the editing mode for your emergency contacts. This mode allows you to add, remove, or modify the contacts on file.
Adding Emergency Contacts
Adding your emergency contacts is a simple process that can be completed within the Health app. The steps outlined below will guide you through this process.
Finding the add emergency contact option
Scroll down to the bottom of the editing page to find the “Add Emergency Contact” option. This option will allow you to add a new emergency contact to your iPhone.
Adding a new emergency contact
Select the “Add Emergency Contact” option to add a new contact. The app will prompt you to select the contact you wish to add from your phone’s address book.
Choosing the contact from your phone’s address book
After selecting the “Add Emergency Contact” option, you will be presented with your iPhone’s address book. Choose the contact you wish to designate as an emergency contact by tapping on their name.
Defining the Relationship Status
Once you have selected your emergency contact, you will be prompted to define the relationship status associated with that contact.
Prompt for defining the relationship with contact
The app will present you with a list of relationship options to choose from. These options may include spouse, parent, friend, or other applicable labels. Select the relationship that accurately reflects the connection you have with the contact.
Choosing from options like spouse, parent, friend
Review the provided relationship options and choose the one that best matches the nature of your relationship with the contact. This step helps prioritize and organize your emergency contacts.
Saving the New Emergency Contact
After defining the relationship, you can save the information to finalize the addition of the emergency contact.
Hitting done in the top right corner
Tap on the “Done” button located in the top right corner of the editing page. This action will save the contact information and relationship status, completing the process of adding the new emergency contact.
Confirmation of saved contact and relationship
Upon saving the new emergency contact, the app will provide a confirmation message or indication that the contact addition was successful. Take a moment to review the information and ensure that it accurately reflects your designated contact.
Reviewing the Emergency Contacts Section
Once you have completed the steps above, you can review the emergency contacts section to verify that the added number and relationship are displayed correctly.
Seeing the added number and chosen relationship
Within the emergency contacts section of the Health app, you should see the phone number of the contact you added, along with the chosen relationship label.
Understanding the display and arrangement of emergency contacts
The emergency contacts section may display multiple contacts if you have added more than one. These contacts are typically listed in the order you added them, with the phone number and relationship status clearly visible for each entry.
Using the Emergency SOS feature
Now that you have successfully set up your emergency contacts, it’s important to understand how to activate the Emergency SOS feature in case of an emergency.
How to activate the Emergency SOS feature
To activate the Emergency SOS feature on your iPhone 15, simply press the power button five times in quick succession. This action will trigger the Emergency SOS menu, allowing you to make an emergency call or send a distress message.
Potential situations where this feature could save lives
The Emergency SOS feature is especially useful in a variety of emergency scenarios. Whether you find yourself in a medical emergency, threat to personal safety, or witness to an accident, the quick access provided by Emergency SOS can help you reach out to your emergency contacts and appropriate authorities for assistance. It is important to familiarize yourself with this feature and its activation process to ensure that you can utilize it effectively when needed.
Conclusion
In today’s fast-paced world, having easy access to emergency contacts on your smartphone is essential for your safety and peace of mind. The Emergency SOS feature on the iPhone 15 automates the process of contacting your designated emergency contacts, giving you a streamlined and efficient means of alerting them in critical situations. By following the steps outlined in this article, you can set up and utilize the Emergency SOS feature effectively. Remember, your safety is of utmost importance, and taking proactive steps like these can be invaluable in times of need. If you found this article helpful, please consider engaging with our content by liking, commenting, and subscribing. Your support encourages us to create more valuable content to help you make the most of your iPhone 15. Stay safe!


