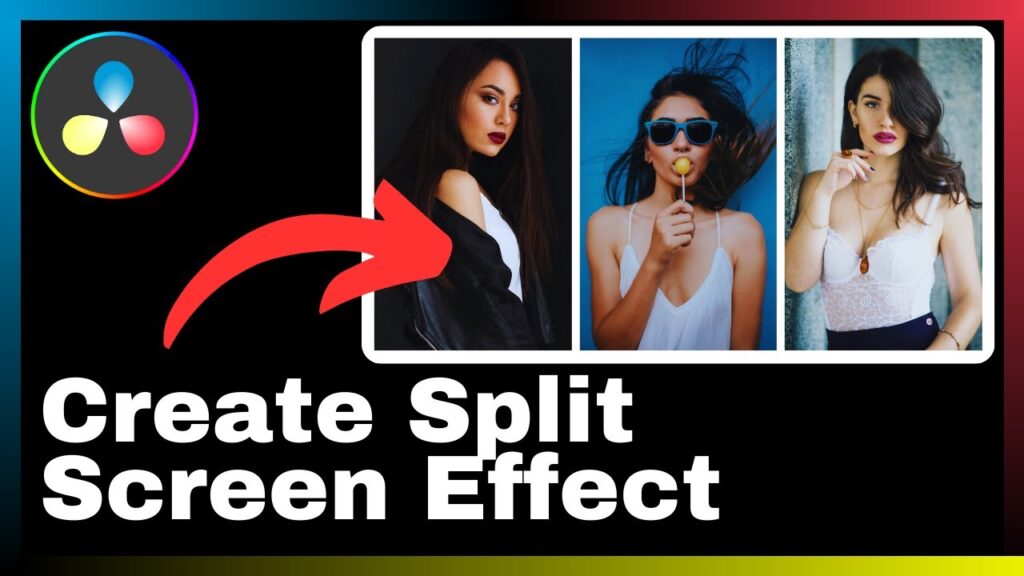
Discover how to effectively create a split-screen effect in your videos using DaVinci Resolve with the help of Media Magnet Guide. In this tutorial, you will learn step-by-step instructions on how to showcase multiple scenes simultaneously, allowing you to enhance the visual storytelling in your videos. DaVinci Resolve is an all-in-one software that offers a comprehensive set of tools for video editing, color correction, visual effects, and audio post-production. Whether you are a professional or a beginner, this tutorial will guide you through the process of creating a split-screen effect in a clear and concise manner. Don’t miss out on this valuable opportunity to elevate the visual impact of your videos and captivate your audience.
Understanding DaVinci Resolve
Basics of DaVinci Resolve
DaVinci Resolve is an all-in-one video editing, color correction, visual effects, and audio post-production software. It is widely regarded as one of the most comprehensive and powerful tools in the industry, offering a rich set of features for professionals and beginners alike. Whether you’re editing a short film, a documentary, or a music video, DaVinci Resolve provides the necessary tools and capabilities to bring your vision to life.
One of the key strengths of DaVinci Resolve is its powerful color grading capabilities. The software includes advanced color correction tools that allow you to achieve the desired look and feel for your videos. With DaVinci Resolve, you can enhance the colors, adjust the exposure, and fine-tune the overall visual aesthetic of your footage.
Popular features of DaVinci Resolve
Apart from its color grading capabilities, DaVinci Resolve offers a range of popular features that make it a preferred choice for many video editors. Some of these features include:
-
Advanced editing tools: DaVinci Resolve provides a comprehensive set of editing tools, including timeline-based editing, trimming, and audio editing. You can easily import your footage, arrange it on the timeline, and make precise edits to create a seamless final product.
-
Visual effects and motion graphics: DaVinci Resolve includes a powerful visual effects and motion graphics toolset that allows you to add stunning effects and animations to your videos. Whether you need to create titles, lower thirds, or complex visual effects, DaVinci Resolve has got you covered.
-
Audio post-production: With DaVinci Resolve, you can take your audio to the next level. The software offers advanced audio editing and mixing capabilities, allowing you to fine-tune the sound quality, remove background noise, and add music and sound effects to enhance the overall audio experience.
-
Collaborative workflow: DaVinci Resolve supports collaborative editing, making it easy for multiple editors to work on the same project simultaneously. This feature is particularly useful for teams working on complex projects with tight deadlines.
Why use DaVinci Resolve for video editing?
There are several reasons why you should consider using DaVinci Resolve for your video editing needs:
-
Professional-grade features: DaVinci Resolve offers a comprehensive set of professional-grade features that rival those of expensive editing software. From advanced color grading to visual effects, this software has everything you need to create high-quality videos.
-
User-friendly interface: Despite its powerful capabilities, DaVinci Resolve features an intuitive and user-friendly interface that makes it easy for beginners to get started. The software’s interface is highly customizable, allowing you to personalize it according to your workflow preferences.
-
Cost-effective solution: DaVinci Resolve is available in both free and paid versions, making it an affordable option for both professionals and enthusiasts. The free version offers many of the same features as the paid version, allowing you to try out the software before committing to a purchase.
-
Strong community support: DaVinci Resolve has a vibrant community of users who are constantly sharing tips, tutorials, and resources. This strong community support ensures that you can find assistance and inspiration whenever you need it.
By choosing DaVinci Resolve as your video editing software, you can take advantage of its powerful features, user-friendly interface, affordability, and strong community support to create professional-grade videos with ease.
Getting Started with DaVinci Resolve
Installing DaVinci Resolve
To get started with DaVinci Resolve, you first need to download and install the software. Visit the official Blackmagic Design website to download the installer, which is available for both Windows and macOS. Follow the on-screen instructions to complete the installation process.
DaVinci Resolve interface overview
Once you have installed DaVinci Resolve, it’s essential to familiarize yourself with the software’s interface. The interface consists of various panels and tools that enable you to navigate through your project, perform edits, and apply effects. Here are some key components of the DaVinci Resolve interface:
-
Media Pool: This panel allows you to import, organize, and preview your media files, such as video clips, images, and audio tracks.
-
Edit Page: The Edit Page is where you perform most of your editing tasks. Here, you can arrange your clips on the timeline, make cuts, add transitions, and adjust the overall timing and pacing of your video.
-
Fusion Page: The Fusion Page is dedicated to visual effects and motion graphics. It enables you to create complex animations, add visual effects, and apply advanced compositing techniques to your footage.
-
Color Page: The Color Page is where you perform color grading and correction. Here, you can adjust the exposure, color balance, and overall look of your footage using a range of powerful tools.
-
Fairlight Page: The Fairlight Page is dedicated to audio editing and mixing. It features a comprehensive set of tools for cleaning up audio, adding music and sound effects, and creating a well-balanced audio mix.
-
Deliver Page: The Deliver Page allows you to export your final video in various formats and resolutions. It provides options for adjusting the video settings, adding watermarks, and applying compression algorithms for different platforms.
Setting up your project
Before you start editing your video, it’s essential to set up your project correctly. Here are the steps to follow in DaVinci Resolve:
-
Create a new project: Open DaVinci Resolve and click on “New Project” from the project manager window. Give your project a name and specify the location where you want to save it.
-
Set project settings: In the project settings window, choose the desired frame rate, resolution, and aspect ratio for your project. These settings should match the specifications of your footage to ensure optimal playback and export quality.
-
Import your media: In the Media Pool panel, click on the “Import Media” button to browse and select the media files you want to use in your project. You can import video files, audio tracks, images, and other relevant assets.
-
Organize your media: To keep your workflow organized, create bins and folders in the Media Pool to categorize your media files. This step will make it easier to locate and access the specific files you need for your editing process.
By following these steps, you can set up your project in DaVinci Resolve and begin editing your videos with confidence.

Understanding the Split Screen Effect
What is a Split Screen Effect?
The split screen effect is a visual technique used in video editing to show multiple scenes simultaneously on the screen. This technique divides the screen into two or more sections, each displaying a different scene or perspective. By using the split screen effect, you can add visual interest to your videos and convey different narratives or perspectives within a single frame.
Uses of Split Screen Effect in videos
The split screen effect can be used in various ways to enhance your videos:
-
Storytelling: The split screen effect allows you to tell multiple stories or show different aspects of a single story within a single frame. It can be particularly useful when depicting parallel actions or contrasting scenes.
-
Comparison: Split screens can be used to compare different shots or subjects. For example, you can show before and after shots, different characters’ reactions, or two different locations side by side.
-
Montage: The split screen effect is ideal for creating montages, where multiple scenes or moments are shown together. This technique can be used to convey a sense of time passing, showing different perspectives at the same time.
-
Visual effects: Split screen effects can be used creatively to add visual interest and engage the viewer. By combining various shots or perspectives, you can create unique and visually appealing effects in your videos.
Examples of Split Screen Effect
Here are a few examples of how the split screen effect can be used effectively in videos:
-
In a music video: The split screen effect can be utilized to show multiple band members playing different instruments or performing in different locations simultaneously. This technique adds visual interest and creates a dynamic visual experience for the audience.
-
In a documentary: The split screen effect can be used to present different perspectives or viewpoints on a particular topic. For example, in a documentary about a social issue, the split screen effect can be used to show the experiences and opinions of different individuals or communities.
-
In a narrative film: The split screen effect can be employed to depict parallel actions or events happening simultaneously. This technique can be used to build tension or create suspense by showing different characters’ reactions or actions in real-time.
By understanding the concept of the split screen effect and its various applications, you can effectively incorporate this visual technique into your videos to enhance storytelling and engage your audience.


