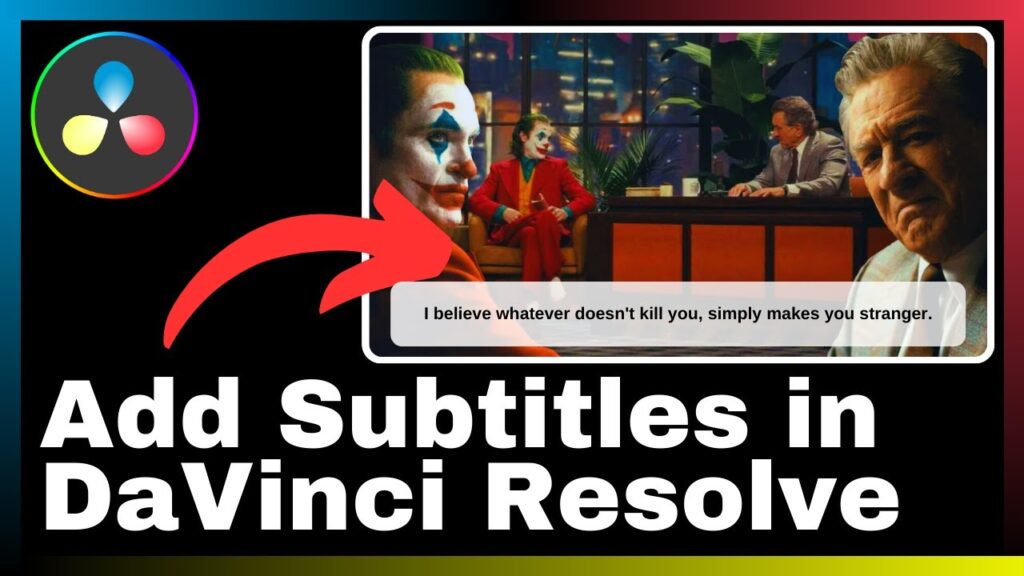
In the vast world of video editing software, DaVinci Resolve stands out as a popular choice for professionals and beginners alike. With its comprehensive set of tools, this all-in-one software allows for seamless video editing, color correction, visual effects, and audio post-production. One important aspect of creating engaging and accessible videos is the addition of subtitles, and in this article, you will learn how to easily add subtitles using DaVinci Resolve. By following the step-by-step process outlined, you will enhance the accessibility and engagement of your videos, ensuring that your content reaches a wider audience.
As a video editing enthusiast, Media Magnet Guide is here to guide you through the process of adding subtitles in DaVinci Resolve. This tutorial video will provide you with clear instructions and easy-to-follow demonstrations, helping you master the skill of adding subtitles to your videos. Whether you are a seasoned professional or a novice in the world of video editing, this tutorial will equip you with the knowledge and tools to create captivating videos with subtitles using DaVinci Resolve. Don’t miss out on this opportunity to enhance your video editing skills and take your content creation to the next level.

Understanding Subtitles in Video Production
The importance of subtitles in video
Subtitles play a crucial role in video production. They provide text translations or transcriptions of the dialogue or narration in a video, enabling viewers to understand the content even if they cannot hear or understand the spoken language. Subtitles also enhance the overall viewing experience by providing additional information, such as sound effects or descriptions of on-screen actions, for viewers who may have difficulty following the audio or visual cues alone.
In addition to aiding accessibility, subtitles have become an integral part of video marketing strategies. They help to captivate and engage viewers by keeping them fully immersed in the content. With subtitles, viewers can follow along and understand the video even if they are in a noisy environment or prefer to watch without sound. Subtitles also make videos more accessible to individuals with hearing impairments, ensuring that everyone can enjoy and benefit from the content.
Use of subtitles for accessibility
The use of subtitles is crucial for ensuring equal access to video content for individuals with hearing impairments. According to the World Health Organization, over 5% of the world’s population – approximately 466 million people – have disabling hearing loss. By providing subtitles, video producers can make their content accessible to this large audience.
In many countries, laws and regulations require video content to be accessible to individuals with disabilities, including those with hearing impairments. By adding subtitles, video producers can comply with these accessibility standards and ensure that their content reaches a wider audience.
Furthermore, subtitles are not only beneficial for individuals with hearing impairments but also for viewers who may prefer to watch videos without audio, such as those in public settings or in situations where sound may disturb others. Subtitles provide a valuable alternative for consuming video content in these scenarios, making it more inclusive and accessible for a diverse range of viewers.
Use of subtitles for engagement
Subtitles also play a significant role in engaging and captivating viewers. With subtitles, viewers can read along with the dialogue or narration, reinforcing the information conveyed through the visuals and audio. This helps to improve comprehension and retention of the content.
In addition, subtitles provide an opportunity to include additional information or context that may not be easily conveyed through audio or visuals alone. This can enhance the viewer’s understanding of the video and create a more immersive experience.
Another benefit of using subtitles for engagement is their ability to accommodate viewers who speak different languages. By providing subtitles in multiple languages, video producers can reach a global audience and overcome language barriers. This not only expands the potential viewership but also demonstrates inclusivity and respect for different cultures, ultimately fostering a sense of connection and engagement.
Getting Started with DaVinci Resolve
Introduction to DaVinci Resolve
DaVinci Resolve is a comprehensive video editing, color correction, visual effects, and audio post-production software. It offers a wide range of tools and features that cater to the needs of both professionals and beginners in the field of video production. With its powerful capabilities and user-friendly interface, DaVinci Resolve has become a popular choice for projects of all sizes and complexities.
How to download and set up DaVinci Resolve
To get started with DaVinci Resolve, you need to download and install the software on your computer. DaVinci Resolve is available for free, with additional features and capabilities offered in the paid version, DaVinci Resolve Studio.
You can download DaVinci Resolve from the official website of Blackmagic Design, the company behind the software. Once the download is complete, follow the installation instructions to set up DaVinci Resolve on your computer. Make sure to check for any system requirements and compatibility issues before proceeding with the installation.
After installing DaVinci Resolve, you may need to activate it using a license key or by logging in with your Blackmagic Design account. This will grant you access to the full range of features and functionalities offered by the software.
Common functions and interface overview in DaVinci Resolve
Once DaVinci Resolve is installed and activated, familiarize yourself with its interface and basic functions. DaVinci Resolve has a robust and intuitive interface designed to optimize workflow efficiency and facilitate seamless video production.
The main components of the DaVinci Resolve interface include the media pool, timeline, viewer, and various panels for editing, color grading, and audio mixing. Each panel serves a specific purpose and can be customized to suit your preferences and workflow.
To navigate the interface and perform common functions, such as importing media files, creating timelines, and applying edits, familiarize yourself with the various menus, buttons, and keyboard shortcuts available in DaVinci Resolve.
By understanding the basic functions and interface of DaVinci Resolve, you will be better equipped to navigate the software and start adding subtitles to your video projects.
Understanding the Subtitle Feature in DaVinci Resolve
Where to locate the subtitle feature
The subtitle feature in DaVinci Resolve can be found in the Effects Library panel, under the Text category. To access the subtitle feature, click on the “Text+” option in the Effects Library panel, and the subtitle settings will appear in the Inspector panel.
The subtitle feature offers various options for customizing the appearance and behavior of subtitles in your video. These options include font selection, text size, color, alignment, background color, and more. By adjusting these settings, you can create visually appealing and easy-to-read subtitles that enhance the viewing experience.
Basic functions of the subtitle feature
The subtitle feature in DaVinci Resolve allows you to add, edit, and customize subtitles directly within the software. You can create subtitle tracks, import subtitle files, or manually input the text for your subtitles. With the subtitle feature, you can adjust the timing, duration, and position of subtitles on the video timeline.
The basic functions of the subtitle feature include creating text elements, defining their properties, and applying them to specific time ranges on the timeline. You can also apply transitions, animations, and other effects to your subtitles to enhance their visual impact.
By utilizing the basic functions of the subtitle feature in DaVinci Resolve, you can create professional-looking subtitles that perfectly complement your video content.
Formats supported by the subtitle feature
DaVinci Resolve supports various subtitle file formats, including SubRip (.srt), WebVTT (.vtt), and Scenarist Closed Caption (.scc).
SubRip is one of the most commonly used subtitle formats and is widely supported by different devices and platforms. It consists of a simple text file with timestamps and corresponding text for each subtitle line.
WebVTT is a newer subtitle format that incorporates more advanced features, such as cue styling and positioning options. It is widely used in modern web applications and supports features like text styling and positioning.
Scenarist Closed Caption is a subtitle format primarily used for closed captions in broadcast television. It includes additional metadata and formatting options specific to broadcast requirements.
When working with subtitles in DaVinci Resolve, ensure that your subtitle files are in a compatible format to ensure seamless integration with your video project.


