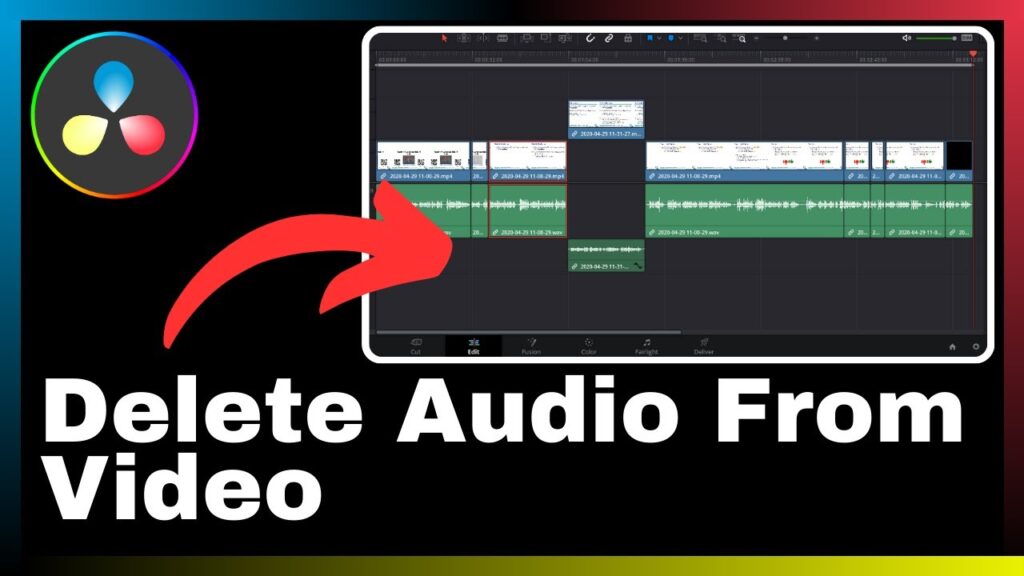
Are you looking to enhance your video editing skills? In this article, you will learn how to delete audio from a video in DaVinci Resolve, a versatile software that combines video editing, color correction, visual effects, and audio post-production tools. This step-by-step tutorial provided by Media Magnet Guide will guide you through the process of effectively removing audio tracks from your videos using DaVinci Resolve. By mastering this technique, you will be able to adjust sound settings and create top-quality videos without any unwanted background noise. Whether you are a beginner or a professional, DaVinci Resolve offers a comprehensive set of tools that will elevate the quality of your videos and allow you to unleash your creativity.
DaVinci Resolve has become a go-to choice for projects of all sizes and complexities due to its user-friendly interface and powerful features. As a video editing software, it provides an all-in-one solution for professionals and enthusiasts alike. So, if you’re ready to take your video editing skills to the next level and achieve flawless sound quality in your projects, continue reading to learn how to delete audio from a video in DaVinci Resolve.

Understanding DaVinci Resolve
About DaVinci Resolve
DaVinci Resolve is a powerful software that offers a comprehensive set of tools for video editing, color correction, visual effects, and audio post-production. It is widely used by professionals and beginners alike due to its versatility and user-friendly interface. With DaVinci Resolve, you can manage every aspect of your video project, from importing and editing footage to exporting the final product. Whether you are a filmmaker, content creator, or hobbyist, DaVinci Resolve provides the necessary features and capabilities to enhance your video editing experience.
Features of DaVinci Resolve
DaVinci Resolve comes packed with a wide range of features that cater to the needs of video editors. Some of its key features include:
- Powerful editing capabilities: DaVinci Resolve offers advanced editing tools, allowing you to trim, cut, and rearrange clips with ease. You can also apply transitions, add titles, and create complex sequences.
- Color grading and correction: The software provides a robust color grading system that gives you precise control over the look and feel of your footage. You can adjust brightness, contrast, saturation, and other color parameters to achieve the desired visual aesthetic.
- Visual effects and compositing: DaVinci Resolve includes a comprehensive set of visual effects tools, enabling you to add and manipulate elements within your footage. You can create stunning visual compositions, remove unwanted objects, and apply various effects to enhance the overall visual impact.
- Audio post-production: In addition to video editing, DaVinci Resolve allows you to work with audio tracks effectively. You can import audio files, adjust volume levels, remove unwanted sounds, and add background music or replacement audio.
- Collaboration and sharing: DaVinci Resolve supports collaborative workflows, allowing multiple editors and colorists to work on the same project simultaneously. You can also easily share your edited videos directly from the software, making it convenient for collaboration and distribution.
Benefits of using DaVinci Resolve for video editing
There are several advantages to using DaVinci Resolve for video editing:
-
Professional-grade tools: DaVinci Resolve offers a wide range of professional-grade tools that rival those found in high-end editing software. This means that you can achieve professional-level results without having to invest in expensive software.
-
Cross-platform compatibility: DaVinci Resolve is available for both Windows and macOS, making it accessible to a wide range of users. Whether you are using a PC or a Mac, you can enjoy the full benefits of the software.
-
Seamless workflow integration: DaVinci Resolve allows for a seamless integration of the entire editing process, from importing footage to exporting the final product. This streamlines your workflow and saves you time by eliminating the need for multiple software applications.
-
Power and speed: With DaVinci Resolve’s cutting-edge technology, you can edit and render videos quickly and efficiently. The software is optimized to take advantage of the latest hardware advancements, ensuring smooth playback and fast rendering times.
-
Accessibility for beginners: Despite its advanced features, DaVinci Resolve is designed to be user-friendly, making it accessible to beginners. The interface is intuitive and easy to navigate, allowing you to learn the software quickly and start editing your videos with confidence.
Overall, DaVinci Resolve provides a powerful and comprehensive solution for video editing, offering a wide range of features and benefits to both professional and amateur editors.
Basic interface of DaVinci Resolve
Overview of DaVinci Resolve interface
The interface of DaVinci Resolve is designed to provide a streamlined and intuitive editing experience. At first glance, it may seem overwhelming due to the abundance of tools and panels, but with some guidance, you’ll quickly become familiar with its layout and functionality.
The main interface consists of different panels that serve specific purposes. Here’s a breakdown of the key panels:
-
Media Pool: This panel allows you to import and organize your media files. You can view, sort, and search for clips to easily locate and import into your project.
-
Edit Page: The Edit Page is where the main video editing takes place. It contains the timeline, viewer, and various editing tools. You can trim and arrange clips, add transitions, apply effects, and make precise edits to your footage.
-
Color Page: The Color Page is where you can perform color grading and correction on your video. It provides a wide range of tools for adjusting the color balance, exposure, contrast, and other parameters to achieve the desired look.
-
Fusion Page: The Fusion Page is dedicated to visual effects and compositing. It offers a node-based workflow, allowing you to create complex visual effects and blend elements seamlessly within your footage.
-
Fairlight Page: The Fairlight Page is where you can work with the audio tracks of your project. It provides tools for editing, mixing, and mastering audio, including volume adjustments, EQ, and noise reduction.
-
Deliver Page: The Deliver Page is where you can export your final edited video. You can specify the output format, resolution, and other parameters, as well as add any necessary metadata.
Understanding the functions of these panels will help you navigate through DaVinci Resolve’s interface more efficiently and make the most of its features.
Understanding the functions of different tools in DaVinci Resolve
DaVinci Resolve offers a wide range of tools to assist you in the video editing process. Understanding the functions of these tools is essential for efficient and effective editing.
-
Trim tool: The trim tool allows you to make precise edits in your timeline by adjusting the in and out points of clips. You can easily trim the start and end of clips or make more complex edits, such as ripple edits or roll edits.
-
Cut tool: The cut tool enables you to split clips into multiple parts. You can use this tool to remove unwanted sections, rearrange clips, or add transitions.
-
Ripple edit tool: The ripple edit tool is used to adjust the duration of a clip while automatically adjusting the surrounding clips in the timeline. This tool helps maintain synchronization between clips when making changes.
-
Transform controls: The transform controls allow you to resize, rotate, and reposition clips within the viewer. You can use these controls to adjust the framing or create dynamic effects.
-
Keyframe editor: The keyframe editor enables you to animate properties of clips over time. You can create smooth transitions, apply dynamic effects, and add motion to your footage by setting keyframes and adjusting their values.
-
Effects library: DaVinci Resolve provides a comprehensive library of effects, including transitions, filters, and generators. You can easily browse and apply these effects to enhance the visual style of your video.
-
Color grading tools: The color grading tools in DaVinci Resolve are extensive and powerful. They allow you to adjust the color balance, exposure, contrast, and other parameters to achieve the desired look for your footage. You can also use the waveform and vectorscope monitors to analyze and correct the color values.
-
Multicam editing: DaVinci Resolve offers robust tools for multicam editing, allowing you to work with multiple camera angles and synchronize them effortlessly. This feature is particularly useful for editing interviews, live performances, or sports events.
By familiarizing yourself with these tools and understanding their functions, you’ll be able to navigate the DaVinci Resolve interface confidently and make the most of its powerful editing capabilities.
Importing Video into DaVinci Resolve
Steps to import video into DaVinci Resolve
Importing video into DaVinci Resolve is a straightforward process. Follow these steps to import your video footage:
-
Launch DaVinci Resolve and create a new project or open an existing project.
-
In the Media Pool panel, click on the “Import” button or right-click in the media pool area and select “Import File(s)”.
-
Browse and select the video file(s) you want to import. You can select multiple files by holding down the Ctrl/Cmd key while selecting.
-
Click on the “Import” button to import the selected video file(s) into your project. You can also choose to copy the media files to your project folder or leave them in their original location.
Once the videos are imported, they will appear in the Media Pool panel, ready to be used in your editing timeline.
Choosing the right format and resolution
When importing video into DaVinci Resolve, it is important to choose the right format and resolution to ensure optimal playback and editing performance. Here are some considerations to keep in mind:
-
File format: DaVinci Resolve supports a wide range of video file formats, including popular formats like MP4, MOV, AVI, and more. It is recommended to use formats that are widely compatible and offer good compression without sacrificing quality.
-
Codec: The choice of codec can significantly impact the editing experience. It is advisable to use codecs that are optimized for editing, such as ProRes or DNxHD, as they provide better performance and lossless quality.
-
Resolution: The resolution of your video should be chosen based on the intended output and the capabilities of your computer system. Higher resolutions, such as 4K or 8K, require more processing power and may not be suitable for older or less powerful computers.
-
Frame rate: Ensure that the frame rate of your video matches the project settings in DaVinci Resolve. Mismatched frame rates can lead to synchronization issues and affect the overall quality of your project.
By selecting the appropriate format, codec, resolution, and frame rate, you can ensure smooth playback and efficient editing in DaVinci Resolve.
Importing video from various sources
DaVinci Resolve allows you to import video from various sources, including camera footage, external hard drives, and stock footage libraries. Here are some common sources and the corresponding import methods:
-
Camera footage: To import video directly from your camera, connect the camera to your computer using a USB cable or card reader. In DaVinci Resolve, go to the Media Pool panel and click on the “Import” button. Browse for the connected camera device and select the desired video files to import.
-
External hard drives: If your video files are stored on an external hard drive, connect the drive to your computer and navigate to the Media Pool panel in DaVinci Resolve. Click on the “Import” button and browse for the external drive. Select the video files you want to import and proceed with the import process.
-
Stock footage libraries: If you have purchased or downloaded video footage from a stock footage library, locate the downloaded files on your computer. In DaVinci Resolve, go to the Media Pool panel, click on the “Import” button, and browse for the downloaded files. Select the desired video files and import them into your project.
Regardless of the source, DaVinci Resolve provides a seamless import process that allows you to easily access and work with your video footage.


