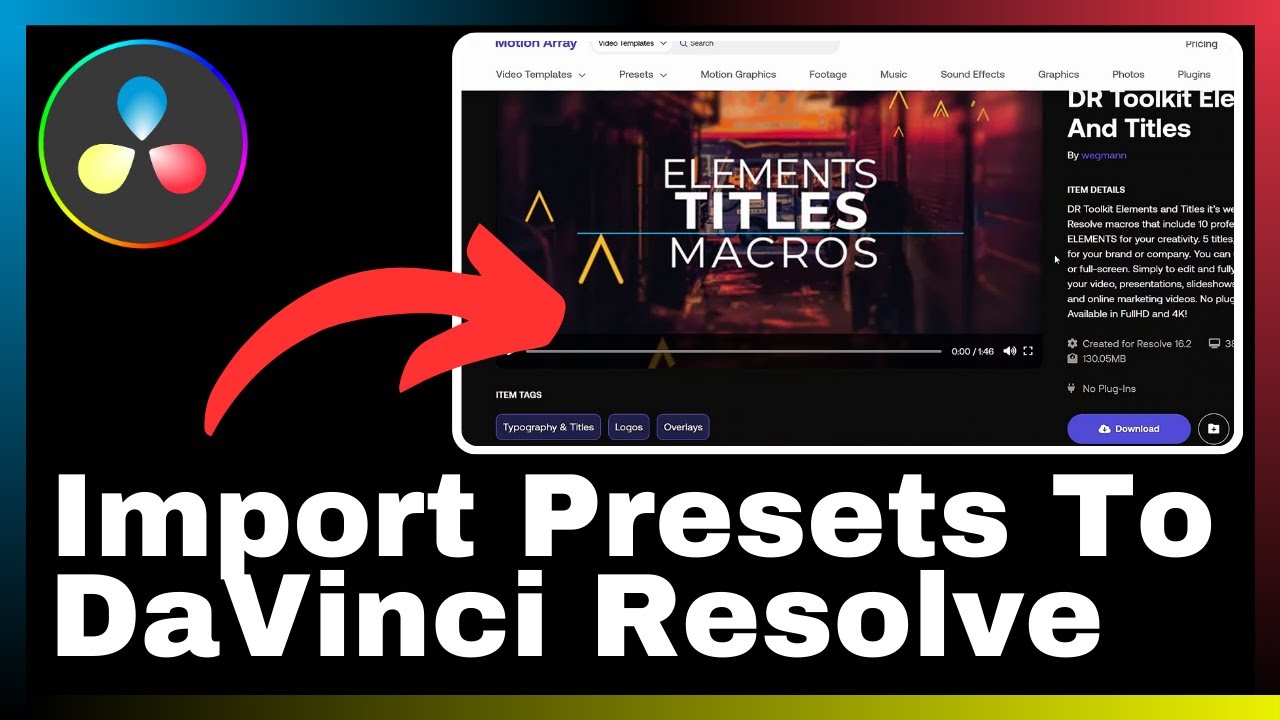
In “How to Import Presets Into DaVinci Resolve (DaVinci Resolve Macros),” brought to you by Media Magnet Guide, you will learn the essential techniques to import presets, including DaVinci Resolve macros, into your DaVinci Resolve software. By incorporating these presets, you will enhance your editing workflow, enabling expanded functionalities and increased efficiency. Throughout this video tutorial, we will guide you step-by-step, ensuring you gain a comprehensive understanding of the import process. As a result, you will have the skills to seamlessly integrate presets into your editing projects, maximizing your productivity with DaVinci Resolve. DaVinci Resolve is a powerful all-in-one software, encompassing video editing, color correction, visual effects, and audio post-production capabilities. Whether you are a seasoned professional or a beginner, its comprehensive set of tools make it an industry-favorite for projects of all sizes and complexities. By importing presets, such as DaVinci Resolve macros, you unlock additional creative possibilities and streamline your editing workflow. Join us in this tutorial to become proficient in importing and utilizing presets within DaVinci Resolve, and discover the countless ways they can enhance your editing experience.
.")
Understanding DaVinci Resolve
Overview of DaVinci Resolve
DaVinci Resolve is a powerful software that provides a comprehensive set of tools for video editing, color correction, visual effects, and audio post-production. It is a favored choice among professionals and beginners alike due to its versatility and capabilities. With DaVinci Resolve, users can edit and enhance videos of all sizes and complexities, resulting in high-quality and visually stunning productions.
The importance of DaVinci Resolve in video editing
Video editing is a crucial aspect of the filmmaking process, as it allows creators to bring their vision to life. DaVinci Resolve plays a significant role in video editing by providing a wide range of features and functionalities that enhance the editing workflow. From basic editing tasks like trimming and arranging clips to more advanced tasks like color grading and visual effects, DaVinci Resolve empowers users to create compelling and professional-looking videos. It streamlines the editing process, improves efficiency, and ensures the highest level of quality in the final product.
Introduction to Presets in DaVinci Resolve
Meaning of presets
Presets in DaVinci Resolve are pre-defined settings or configurations that can be applied to video clips to achieve specific looks or effects. They serve as a shortcut for users, allowing them to quickly apply a set of adjustments without having to manually tweak individual parameters. Presets can be used for various purposes, such as color grading, audio effects, transitions, and more, saving users time and effort in achieving their desired results.
Uses of presets in DaVinci Resolve
Presets offer numerous benefits in the editing process. They provide consistency in style and appearance across multiple clips, ensuring uniformity in the overall look of a video project. Additionally, presets can expedite the editing workflow by allowing users to apply complex effects or adjustments with just a few clicks. They serve as a starting point for customization and experimentation, enabling users to explore different creative possibilities while maintaining efficiency.
Identifying Types of Presets for DaVinci Resolve
Different categories of presets
In DaVinci Resolve, presets are categorized based on their specific functions and effects. Some common categories include color grading presets, audio effects presets, transition presets, and motion graphics presets. Within each category, there may be subcategories or variations that cater to different styles or preferences. Understanding the different types of presets available allows users to choose the most suitable options for their editing needs and achieve the desired visual and auditory impact.
How various presets affect your project
Each preset in DaVinci Resolve has its own unique settings and adjustments that can significantly impact the look and feel of a video project. Color grading presets, for example, can dramatically alter the color balance, contrast, and overall mood of a scene. Audio effects presets can enhance the sound quality, add depth, or create specific artistic effects. Transition presets provide seamless and visually appealing transitions between clips, enhancing the flow of the video. Understanding how various presets affect a project enables users to make informed decisions and effectively communicate their intended message.
")
 in detail.")
Where to Find DaVinci Resolve Presets
Online resources for presets
Numerous online resources offer a wide variety of DaVinci Resolve presets that users can download and use in their projects. These resources often provide both free and paid presets, allowing users to choose according to their budget and needs. Some popular online platforms for DaVinci Resolve presets include online marketplaces, content creator forums, and dedicated preset websites. It is important to ensure that the source is reputable and trustworthy to avoid any potential issues or security risks.
Official DaVinci Resolve website
The official DaVinci Resolve website also provides a collection of presets that users can access. These presets are created and maintained by the software developers themselves, ensuring compatibility and quality. Users can browse through the official website to find presets that suit their requirements and download them directly from the trusted source. This option guarantees a level of reliability and support in case any issues arise during the import or usage of presets.
Third-party websites for presets
In addition to the official sources, there are various third-party websites that offer DaVinci Resolve presets. These websites are often created by experienced professionals or enthusiasts who share their creations with the community. Third-party presets can provide unique and specialized effects that may not be available in official sources. However, it is crucial to exercise caution and verify the credibility of these websites to ensure the safety and integrity of the presets.
Preparing to Import Presets Into DaVinci Resolve
Requirements for importing presets
Before importing presets into DaVinci Resolve, users should ensure that their software version is compatible with the presets they intend to use. Different versions of DaVinci Resolve may have slight differences in functionality, which could affect the compatibility of presets. It is advisable to check the documentation or compatibility information provided by the preset creators or the official DaVinci Resolve website. Additionally, users should ensure they have sufficient storage space on their computer to avoid any import or storage issues.
How to safely download presets
When downloading presets from online sources, it is important to take precautions to ensure the safety and integrity of the files. Users should only download from reputable sources and avoid suspicious or untrusted websites. It is advisable to use antivirus software to scan downloaded files for any potential threats. Additionally, users should verify the authenticity of the presets and ensure they meet their specific requirements before proceeding with the import process.
How to Import Presets into DaVinci Resolve
Step by step process of importing presets
Importing presets into DaVinci Resolve is a straightforward process.
- Start by opening DaVinci Resolve and accessing the desired project.
- Navigate to the appropriate tab or section where the specific type of preset will be applied, such as the color grading tab for color grading presets.
- Look for the option to import presets, which is typically represented by a button or icon with the word “Import” or a similar indication.
- Click on the import button and locate the downloaded preset file on your computer.
- Select the file and confirm the import. DaVinci Resolve will process the preset and make it available for use in the respective section.
How to troubleshoot failed imports
In case a preset import fails or encounters any issues, there are several troubleshooting steps users can follow.
- Verify the compatibility of the preset and DaVinci Resolve version.
- Ensure the preset file is not corrupted or incomplete by re-downloading or verifying its integrity.
- Check the file format or extension of the preset file and make sure it is supported by DaVinci Resolve.
- Restart the software and attempt the import process again.
- If the issue persists, check online forums or community resources for similar experiences and possible solutions.
Understanding DaVinci Resolve Macros
Definition of DaVinci Resolve Macros
DaVinci Resolve Macros are a feature that allows users to automate complex or repetitive tasks within the software. Macros are essentially predefined sequences of actions or commands that can be triggered by a single command or key combination. They help streamline the editing process, reduce manual effort, and improve overall efficiency. Macros can be created by users or downloaded from reliable sources, providing a wide range of automation capabilities.
How Macros Work in DaVinci Resolve
When a macro is triggered, DaVinci Resolve executes a sequence of pre-recorded actions automatically. These actions can include anything from simple tasks like applying a specific effect to more complex operations like batch processing or rendering. Macros can be customized and assigned to specific commands or key combinations for quick and easy execution. They offer a significant time-saving advantage by eliminating the need to manually perform repetitive tasks.
How to Import DaVinci Resolve Macros
Differences between importing presets and macros
Importing macros differs slightly from importing presets in DaVinci Resolve. While presets are applied to individual clips or sections, macros automate the entire editing process by executing a series of actions. Macros can also include presets, making them even more powerful by combining multiple effects and adjustments into a single automation sequence. The import process for macros is similar to presets but may require additional steps or settings to ensure proper functionality.
Procedure for importing Macros
To import DaVinci Resolve Macros, users can follow these steps.
- Open DaVinci Resolve and access the desired project.
- Navigate to the macros section or toolbar, typically located in a designated tab or menu.
- Look for the option to import macros, often denoted by a button or icon resembling the word “Import.”
- Click on the import button and locate the downloaded macro file on your computer.
- Select the file and confirm the import. DaVinci Resolve will process the macro and make it available for use in the macros section.
Using Imported Presets and Macros In Projects
How to apply imported presets in projects
Once imported, presets can be easily applied to specific clips or sections in a project.
- Select the desired clip or section in the timeline or viewer window.
- Navigate to the relevant tab or menu that corresponds to the type of preset, such as the color grading tab for color grading presets.
- Locate the imported preset in the preset library or menu.
- Click on the preset to apply it to the selected clip or section. The preset’s settings and adjustments will be immediately visible and applied.
Employing Macros in video editing
Macros can significantly enhance the video editing process by automating repetitive tasks or complex sequences of actions.
- Assign a custom command or key combination to the macro for easy access and execution.
- Trigger the assigned command or key combination to activate the macro.
- DaVinci Resolve will automatically execute the pre-recorded sequence of actions, saving time and effort.
- Customize the macro’s actions to suit specific editing requirements, such as applying a specific set of effects or executing a series of commands in a particular order.
- Experiment and fine-tune the macros to optimize workflow efficiency and productivity.
Conclusion
Recap of the importance of importing presets and Macros
Importing presets and macros into DaVinci Resolve significantly enhances the editing workflow, providing users with expanded functionalities and increased efficiency. Presets allow for quick and consistent application of specific styles or effects, saving time and ensuring uniformity across a project. Macros automate complex and repetitive tasks, reducing manual effort and improving overall productivity. By utilizing these features, users can streamline their editing process and achieve professional results efficiently.
Closing thoughts on mastering DaVinci Resolve
Mastering DaVinci Resolve requires a comprehensive understanding of its various features, including presets and macros. By familiarizing oneself with these tools and their import process, users can unlock the full potential of the software and elevate their video editing capabilities. Additionally, continuous learning and exploration of DaVinci Resolve’s vast resources and community-driven support can further enhance one’s mastery of the software. Embracing DaVinci Resolve as a versatile and powerful video editing tool opens doors to endless creative possibilities.