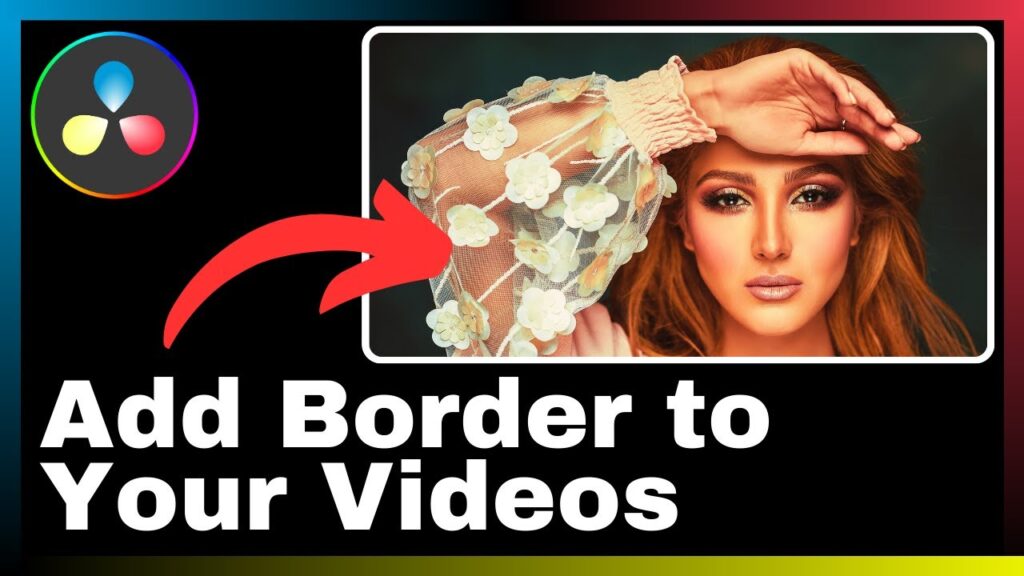
In the tutorial titled “How to Add a Border (Frame) To Your Video in DaVinci Resolve,” Media Magnet Guide provides a step-by-step guide on enhancing your videos through the use of borders or frames using DaVinci Resolve. DaVinci Resolve is an all-in-one software that encompasses video editing, color correction, visual effects, and audio post-production, making it a popular choice for professionals and beginners alike. This tutorial aims to help you navigate the process of adding a border to your videos, allowing you to create visually appealing content.
By following the instructions provided in this tutorial, you will learn how to utilize the comprehensive set of tools offered by DaVinci Resolve to add a border or frame to your videos. Whether you are a seasoned professional or new to video editing, the step-by-step guidance will assist you in enhancing the visual appeal of your footage. With the increasing demand for visually captivating content, learning how to add a border using DaVinci Resolve can benefit creators of all kinds.
Understanding DaVinci Resolve
DaVinci Resolve is a comprehensive software that combines video editing, color correction, visual effects, and audio post-production capabilities. It offers a wide range of tools and features that cater to both professionals and beginners in the field of video editing. With its user-friendly interface and powerful functionality, it has become a popular choice for projects of all sizes and complexities.
Basics of DaVinci Resolve
To get started with DaVinci Resolve, it is essential to understand the fundamentals of the software. The interface of DaVinci Resolve is divided into different panels, namely Media, Edit, Fusion, Color, Fairlight, and Deliver. Each panel serves a specific purpose and allows users to perform different tasks within the software efficiently.
Benefits of using DaVinci Resolve for video editing
There are several advantages to using DaVinci Resolve for video editing. Firstly, it provides a seamless workflow by integrating various editing, color grading, and audio post-production tools into a single platform. This integration allows for efficient collaboration and eliminates the need to switch between different software programs.
Secondly, DaVinci Resolve offers powerful color grading capabilities, making it an ideal choice for enhancing the visual aesthetics of your videos. It provides a wide variety of color correction tools and allows users to achieve professional-grade color grading results.
Additionally, DaVinci Resolve supports a wide range of video formats, making it highly versatile and compatible with different types of footage. This flexibility ensures that you can work with footage from various sources without facing any compatibility issues.
Setting up DaVinci Resolve
Before getting started with DaVinci Resolve, it is essential to ensure that your system meets the minimum system requirements. This includes having an adequate amount of RAM, a powerful graphics card, and sufficient storage space. Once you have verified that your system meets the requirements, you can proceed with downloading and installing DaVinci Resolve.

Navigating the DaVinci Resolve interface
The interface of DaVinci Resolve may seem overwhelming at first, but with some familiarity, navigating the software becomes second nature.
The Media panel allows users to import and organize their media files, while the Edit panel is where the actual video editing takes place. The Fusion panel is used for advanced visual effects, and the Color panel is where users can perform color correction and grading.
The Fairlight panel focuses on audio post-production tasks, such as editing and mixing, while the Deliver panel is used to export the final edited video.
Understanding the purpose of each panel is crucial for efficient workflow management in DaVinci Resolve.
Importing a Video in DaVinci Resolve
Importing a video into DaVinci Resolve is a straightforward process. The steps are as follows:
- Open DaVinci Resolve and navigate to the Media panel.
- Click on the Import button and select the video file you want to import.
- Once imported, the video will appear in the Media pool, ready to be edited.
When importing a video, it is important to consider the best video formats for DaVinci Resolve. The software supports a variety of formats, including popular ones like MP4, MOV, and ProRes. However, for optimal performance and compatibility, it is recommended to use high-quality formats like ProRes or DNxHR.
Basic Video Editing in DaVinci Resolve
Once you have imported your video clips into DaVinci Resolve, you can start the editing process. The first step is to select the clips you want to include in your final video. This can be done by highlighting the desired clips in the Media or Edit panel.
After selecting the clips, you can proceed to cut and trim them to remove any unwanted parts or arrange them in a specific order. DaVinci Resolve provides intuitive editing tools that allow for precise cutting and trimming of video clips.
Another important aspect of basic video editing is layering and ordering media clips. DaVinci Resolve allows users to stack multiple clips on top of each other, creating a layered effect. This can be useful for adding visual effects or overlaying text or images onto the main video.
Advanced Video Editing Techniques
In addition to the basic editing techniques, DaVinci Resolve offers advanced features that can take your video editing skills to the next level. One such feature is color correction and grading. DaVinci Resolve provides powerful tools for adjusting the color and tone of your video, allowing you to achieve the desired look and feel.
Applying transitions and effects is another way to enhance your videos in DaVinci Resolve. The software offers a range of built-in transitions and effects that can be easily applied to your video clips. These transitions and effects can add visual interest and help create a cohesive storytelling experience.
When editing videos, it is important not to overlook the audio component. DaVinci Resolve’s Fairlight panel provides a comprehensive set of tools for adjusting audio levels, applying effects, and mixing different audio tracks. Paying attention to the audio quality can greatly enhance the overall viewing experience.
Understanding Video Borders in DaVinci Resolve
Video borders, also known as frames, can add an extra visual element to your videos. Borders can make your videos stand out and give them a more polished and professional look.
The concept of borders in video editing involves adding a frame around the video footage, much like an actual picture frame. By enclosing your video within a border, you can create a sense of focus and draw attention to the main content.
Adding borders to videos has several benefits. Firstly, it can help improve the overall composition of the video by providing a clear boundary. This can be useful when working with footage that has distracting elements on the edges.
Secondly, borders can be used to create a specific aesthetic or visual style. Different border sizes, colors, and textures can be utilized to evoke different emotions or enhance the theme of the video.
Adding a Border to Your Video
To add a border to your video in DaVinci Resolve, follow these steps:
- Select the video clip to which you want to add a border.
- Navigate to the Effects library in the Edit panel and search for the “Border” effect.
- Drag and drop the Border effect onto the selected video clip.
- Adjust the border settings, such as size, color, and opacity, according to your preferences.
By following these steps, you can easily add a border to your video and customize it to suit your specific needs.
Fine-Tuning the Border on Your Video
Once you have added a border to your video, you may want to fine-tune it to achieve the desired effect. DaVinci Resolve provides several options for adjusting the border settings.
To change the border size, you can simply modify the width or height parameters of the Border effect. Increasing the values will result in a thicker border, while decreasing them will make the border thinner.
Changing the border color is also possible in DaVinci Resolve. By adjusting the color settings, you can choose a specific hue, saturation, and brightness for your video border. This allows for customization and ensures that the border complements the overall color scheme of the video.
In addition to size and color, DaVinci Resolve offers the option to add texture to the border. This can be done by applying a texture overlay to the border, such as a film grain or a pattern. Adding texture can give your video a unique and artistic look.
Conclusion: Increasing Video Quality with DaVinci Resolve
In conclusion, DaVinci Resolve is a powerful software that offers a range of tools and features for video editing, color correction, visual effects, and audio post-production. It provides a seamless workflow and allows users to achieve professional-grade results.
Adding borders to your videos in DaVinci Resolve can enhance their visual appeal and improve overall composition. Borders can be customized to suit your specific needs and can help create a cohesive and polished look.
By exploring the various features and capabilities of DaVinci Resolve, you can further enhance your video editing skills and increase the overall quality of your videos. So, start exploring and unleash your creativity with DaVinci Resolve!


