In the world of video editing, adding flash transitions can significantly enhance the energy and excitement of your video edits. In this tutorial, we will explore how to incorporate flash transitions using DaVinci Resolve. DaVinci Resolve is an all-in-one software that offers a comprehensive set of tools for professionals and beginners alike, making it a popular choice for projects of all sizes and complexities. Watch this tutorial to learn step-by-step instructions on how to add flash transitions to your video edits, and discover the creative possibilities that await you in DaVinci Resolve.
This tutorial is brought to you by Media Magnet Guide, a trusted source for video editing tutorials and tips. Whether you are a seasoned professional or just starting out, this tutorial will provide you with the knowledge and skills you need to add that extra touch of excitement and energy to your videos. Stay tuned and let’s dive into the world of flash transitions in DaVinci Resolve.
Understanding DaVinci Resolve
Overview of DaVinci Resolve
DaVinci Resolve is a comprehensive software that combines video editing, color correction, visual effects, and audio post-production capabilities. It is a popular choice among professionals and beginners due to its powerful toolset and user-friendly interface. Whether you are working on a small project or a large production, DaVinci Resolve provides the necessary features to create high-quality videos.
The importance of transitions in video editing
Transitions play a crucial role in video editing as they help to seamlessly connect different scenes or shots. They enhance the flow of the video and provide a smooth transition between visuals, creating a cohesive viewing experience. Transitions also add visual interest and can be used to convey emotions, set the tone, or signify a change in time or location. In the case of flash transitions, they add energy and excitement to the edits, grabbing the viewer’s attention and making the video more engaging.
Advantage of using DaVinci Resolve for video editing
DaVinci Resolve offers several advantages when it comes to video editing. Firstly, it is a professional-grade software, meaning it provides advanced features and tools for precise editing and manipulation of video footage. Additionally, it supports a wide range of video file formats, allowing you to work with different types of media. The software also offers real-time collaboration, allowing multiple editors to work on the same project simultaneously. Moreover, DaVinci Resolve provides a non-linear editing workflow, which means you can make changes to your edits at any point in the process without affecting the rest of the video. This flexibility and versatility make DaVinci Resolve a favored choice among video editors.
Getting Started with DaVinci Resolve
Downloading and installing the software
To start using DaVinci Resolve, you first need to download and install the software. Visit the official website of Blackmagic Design, the company behind DaVinci Resolve, and navigate to the Downloads section. Choose the version of DaVinci Resolve based on your operating system, and follow the instructions provided to complete the installation process. Once installed, you can launch the software and begin exploring its features and capabilities.
Interface layout and understanding different panels
Upon launching DaVinci Resolve, you will be greeted with its interface, which consists of various panels and tools. Familiarizing yourself with the layout is essential to optimize your workflow and navigate through the software effectively. The main interface consists of panels such as Media Pool, Edit, Color, Fairlight, and Deliver. Each panel serves a specific purpose, such as managing media files, editing footage, color grading, audio post-production, and exporting the final video. Take the time to explore each panel and understand its functionalities to make the most out of DaVinci Resolve.
Creating a new project
To start working on your video project, you need to create a new project in DaVinci Resolve. Click on the “Create New Project” button or navigate to the File menu and select “New Project.” Provide a name for your project and choose the location where you want to save it. You can also customize the project settings, such as resolution, frame rate, and audio settings, to match your specific requirements. Once the project is created, you can begin importing your video clips and start the editing process.
Preparing Your Video Clips
Importing video clips into DaVinci Resolve
To import your video clips into DaVinci Resolve, you first need to navigate to the Media Pool panel. The Media Pool is where you can organize and manage all your media files. You can either drag and drop the video clips from your file explorer directly into the Media Pool or use the import button within the panel to locate and select the files you want to import. Once imported, the video clips will appear in the Media Pool, ready to be used in your project.
Using the media pool to manage clips
The Media Pool in DaVinci Resolve offers various functionalities to help you manage your video clips efficiently. You can organize your clips into different folders or bins, making it easier to locate specific files during the editing process. Additionally, you can add metadata, such as tags and descriptions, to your clips, allowing for quick filtering and sorting. The Media Pool also provides the option to preview your clips and perform basic trimming tasks before adding them to the timeline.
Trimming and arranging clips in the timeline
Once you have imported your video clips into DaVinci Resolve, you can start trimming and arranging them in the timeline. The timeline is where you assemble your video and create the desired sequence of shots. To trim a clip, simply click on it in the timeline and drag the handles at the beginning and end to adjust its duration. You can also use keyboard shortcuts for precise trimming. To arrange the clips, drag and drop them in the desired order within the timeline. This allows you to create a cohesive narrative and control the flow of the video.

Basics of Transitions in DaVinci Resolve
Introduction to transitions
Transitions are used to create a smooth and seamless flow between two video clips. They can be simple cuts to create a discrete change or more elaborate effects to add visual interest. DaVinci Resolve offers a wide range of transition effects, including fades, dissolves, wipes, and more. Transitions can be applied between any two clips in the timeline, and their properties and duration can be customized to achieve the desired effect.
How to add basic transitions between clips
To add a basic transition between two clips in DaVinci Resolve, first, ensure that the clips are positioned adjacent to each other in the timeline. Then, navigate to the Edit panel and select the “Effects Library” tab. Within the Effects Library, locate the “Transitions” category and browse through the available transition effects. Once you find the desired transition, drag and drop it onto the cut point between the two clips in the timeline. The transition will be applied, and you can preview the effect by playing the timeline.
Transition properties and settings
After adding a transition between two clips in DaVinci Resolve, you can adjust its properties and settings to further refine the effect. Select the transition in the timeline, and its properties will be displayed in the Inspector panel. Here, you can modify the duration of the transition, the type of effect, and any additional parameters specific to the chosen transition. Experiment with different settings to achieve the desired look and feel for your video.
Understanding Flash Transition
What is a flash transition?
A flash transition is a type of transition effect commonly used in video editing to create a quick burst of light or color, often accompanied by a brief fade in or fade out. It adds a dynamic and energetic element to video edits, instantly capturing the viewer’s attention and creating a seamless transition between shots.
When to use flash transitions in your edits
Flash transitions can be used in various scenarios to enhance the impact of your video edits. They are particularly effective in fast-paced or action-packed sequences where you want to emphasize the movement or change in the footage. Flash transitions can also be used to convey excitement, to signify the passage of time, or to create a visual break between different scenes or locations. Ultimately, the decision to use flash transitions should align with the overall style and message of your video.
Impact of flash transition on viewer engagement
Flash transitions have a significant impact on viewer engagement as they create a sense of energy and excitement. By incorporating flash transitions in your edits, you can captivate your audience and hold their attention throughout the video. The sudden burst of light or color draws the viewer’s eyes to the screen, creating a memorable viewing experience. When used strategically and in moderation, flash transitions can contribute to the overall storytelling and enhance the visual appeal of your video.
Adding Flash Transitions in DaVinci Resolve
Locating flash transitions in the effects library
To add flash transitions in DaVinci Resolve, navigate to the Edit panel and select the “Effects Library” tab. Within the Effects Library, locate the “Transitions” category, and search for flash transitions or effects that fit your desired style. DaVinci Resolve offers a wide range of transition effects, including various types of flash transitions. Browse through the available options and select the one that suits your editing needs.
Adding a flash transition between two clips
After selecting the desired flash transition from the Effects Library, drag and drop it onto the cut point between two clips in the timeline. The flash transition will be added, and you can preview the effect by playing the timeline. Adjust the duration of the flash transition by dragging its handles in the timeline or by modifying its properties in the Inspector panel. This allows you to control the timing and intensity of the flash effect.
Adjusting the duration and properties of the flash transition
To modify the duration and properties of a flash transition in DaVinci Resolve, select the transition in the timeline and navigate to the Inspector panel. Here, you can adjust the duration of the transition by dragging its handles or by entering a specific value. Additionally, you can customize the properties of the flash transition, such as the color, intensity, and timing, to achieve the desired effect. The Inspector panel provides a range of parameters that can be adjusted to fine-tune the flash transition according to your creative vision.
Advanced Tips for Flash Transitions
Making flash transition more unique with customization
To make your flash transitions more unique and tailored to your videos, consider customizing them in DaVinci Resolve. Experiment with different color schemes, intensity levels, and timing options to create a flash transition that aligns with your overall visual style. DaVinci Resolve offers extensive customization options, allowing you to create a unique and personalized look for your flash transitions.
Applying flash transition to multiple clips at once
To apply a flash transition to multiple clips at once in DaVinci Resolve, select all the clips in the timeline that you want to apply the transition to. Then, add the flash transition to one of the selected clips by following the previous instructions. The flash transition will now be applied to all the selected clips, creating a consistent visual effect throughout the sequence. This saves time and ensures consistency in your edits.
Pairing flash transitions with sound effects for maximum impact
To maximize the impact of your flash transitions, consider pairing them with sound effects in DaVinci Resolve. By synchronizing a sound effect, such as a quick whoosh or a sharp sound, with the flash transition, you can create a more immersive and engaging viewing experience. Experiment with different sound effects and their timing to find the perfect combination that enhances the energy and excitement of your flash transitions.
Troubleshooting Common Issues
Resolving issues with transition not showing up
If you encounter issues with a transition not showing up in DaVinci Resolve, there are a few troubleshooting steps you can take. Firstly, ensure that the transition is properly applied to the cut point between the two clips in the timeline. Verify that the transition duration is set correctly and that there are no overlapping clips or other effects that may be affecting the visibility of the transition. If the issue persists, try restarting DaVinci Resolve or clearing the cache to resolve any temporary glitches.
What to do when transitions disrupt video playback
If transitions are disrupting video playback in DaVinci Resolve, it may indicate a performance issue. Transitions can be computationally intensive, especially when applied to high-resolution or complex projects. To address this, try optimizing your system resources by closing any unnecessary background applications or processes. You can also adjust the playback quality settings within DaVinci Resolve to reduce the strain on your computer’s resources. If the problem persists, consider upgrading your hardware or consulting the official DaVinci Resolve support channels for further assistance.
Solving problems with mismatched duration and timing
If you encounter problems with mismatched duration and timing of transitions in DaVinci Resolve, it may be due to improper configuration or accidental adjustments. To solve this, double-check the duration settings of the transitions in the Inspector panel. Ensure that the transition duration matches your intended timing and that there are no accidental changes or modifications. If needed, manually adjust the transition handles in the timeline to align with the desired duration. Regularly save your project as you work to prevent any loss of progress and enable easy restoration in case of unintentional changes.
Optimizing Your Workflow in DaVinci Resolve
Using keyboard shortcuts
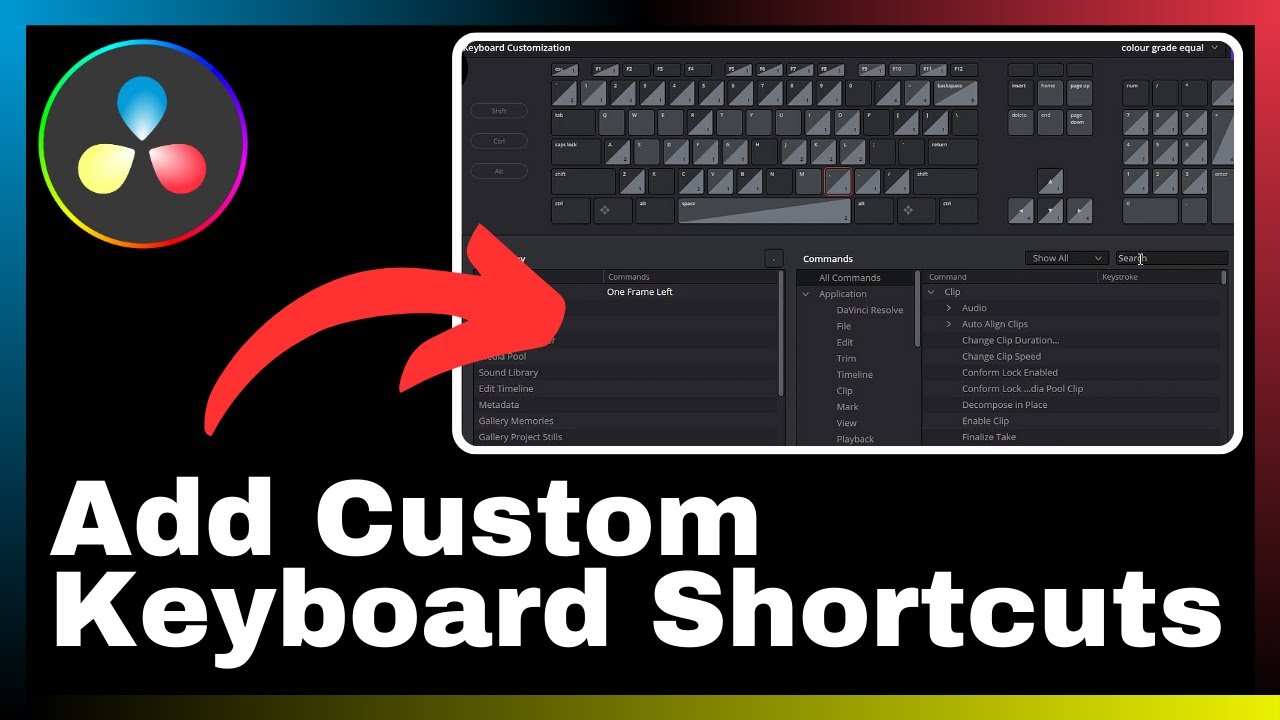
Keyboard shortcuts are a powerful tool to optimize your workflow in DaVinci Resolve, allowing you to perform tasks quickly and efficiently. Familiarize yourself with the keyboard shortcuts for common functions such as trimming, splitting clips, applying transitions, and navigating through the interface. DaVinci Resolve provides a comprehensive list of keyboard shortcuts that can be accessed within the software or through the official documentation. By incorporating keyboard shortcuts into your editing process, you can significantly improve productivity and streamline your workflow.
Saving and reusing transition presets
To enhance efficiency and consistency in your edits, DaVinci Resolve allows you to save and reuse transition presets. Once you have customized a transition to your liking, you can save it as a preset for future use. Select the transition in the timeline, navigate to the Inspector panel, and click on the “Save Preset” button. Give your preset a meaningful name and save it to a location of your choice. The saved preset can be easily applied to other clips or projects, saving you time and ensuring a consistent look across different edits.
Enhancing productivity with the dual screen mode
If you have access to multiple monitors, consider utilizing the dual screen mode in DaVinci Resolve to enhance productivity. With the dual screen mode, you can have the Timeline and Edit panels displayed on one monitor, while the Color, Fairlight, and Deliver panels are shown on the other monitor. This setup allows for a more efficient workflow as you can have different panels and tools accessible simultaneously. By spreading out the interface across two screens, you can streamline your editing process and work more effectively.
Conclusion
Recapitulating the process of adding flash transition in DaVinci Resolve
Adding flash transitions in DaVinci Resolve involves downloading and installing the software, understanding the interface and different panels, creating a new project, importing video clips into the Media Pool, trimming and arranging clips in the timeline, and applying transitions between clips. Flash transitions can be located in the effects library, added between two clips in the timeline, and customized in terms of duration and properties.
Encouraging continual learning and practice for mastery
As with any video editing software, mastering DaVinci Resolve and incorporating flash transitions requires continual learning and practice. Experiment with different techniques, explore advanced features, and stay up-to-date with the latest tutorials and resources available. By dedicating time and effort to learning, you can enhance your skills and create professional-quality videos that captivate your viewers.
Final remarks and next steps for the reader
Adding flash transitions in DaVinci Resolve can take your video edits to the next level by injecting energy and excitement. By following the steps outlined in this guide, you can incorporate flash transitions seamlessly into your edits. Remember to explore and experiment with different customization options, as well as explore other advanced features and techniques offered by DaVinci Resolve. Embrace the learning process and continue to refine your skills, as each project will present new opportunities to showcase your creativity and proficiency in video editing.


