This article titled “How To Archive Instagram Posts All At Once” is a video guide by Media Magnet Guide that provides step-by-step instructions on how to efficiently archive multiple Instagram posts to declutter your profile. The video emphasizes the swift and simple nature of the process. It begins by demonstrating how to access the profile icon in the Instagram app, allowing users to navigate to their collection of posts. From there, users can select posts individually or choose to select all of them at once. The article also explains how users can organize or filter their posts based on their preferences, such as archiving posts older than a year or six months. After confirming their selections, users can promptly archive the chosen posts with a single tap. It is important to note that the article mentions the option to reverse the archiving action by selecting specific posts to unarchive, reinstating them on the profile for others to view.
If you found this video helpful, consider liking, subscribing, and commenting to support Media Magnet Guide’s content creation journey. Additionally, for more knowledge, you can explore additional tutorials on their website.
How to Archive Instagram Posts All at Once
In this article, we will guide you step by step on how to quickly archive multiple Instagram posts at once, allowing you to declutter your profile and organize your content more efficiently. Archiving your posts is a simple and effective way to put them on hold without permanently deleting them.

Launch the Instagram App
To begin archiving your Instagram posts, start by launching the Instagram app on your mobile device. Make sure you are logged in to your account.
Locate the Profile Icon
Once you are in the Instagram app, locate the profile icon, which is usually situated at the lower right corner of the screen. Tap on this icon to access your profile.
Access Your Collection of Posts
After tapping on the profile icon, you will be taken to your profile page. From here, you can access your collection of posts. This is where all your photos and videos that you have shared on Instagram are stored.
Return to the Profile Page
To proceed with archiving your posts, return to the profile page by tapping the three-line menu icon at the upper right corner of the screen. This will open a menu with various options.
Navigate to the Your Activity Section
Within the menu, navigate to the “Your Activity” section. This section contains different aspects of your Instagram activity, including posts, likes, comments, and more.
Select Posts under the Content You Shared Segment
In the “Your Activity” section, select the “Posts” option under the “Content You Shared” segment. This view will showcase all your posts arranged chronologically, from newest to oldest.
Organize or Filter Your Posts
Once you are in the “Posts” view, you have the flexibility to organize or filter your posts. For example, you can choose to archive posts older than a year or six months, depending on your preference. This will help you declutter your profile and keep it updated with fresh content.
Press the Select Button
To proceed with selecting the posts you want to archive, locate and press the “Select” button, typically found towards the upper right corner of the screen. This will enable you to browse through your posts and make multiple selections.
Make Multiple Selections
After pressing the “Select” button, you can start making your selections. Scroll through your posts and tap on the ones you wish to archive. You can select posts individually or choose to select all of them at once.
Select All Posts at Once
If you prefer to archive all your posts at once, you have the option to do so. After pressing the “Select” button, look to the bottom left corner of the screen, where you’ll find the “Archive” button accompanied by the count of selected posts in parentheses. For example, if you have selected 20 posts, the count will be displayed as “(20 posts)”. This allows you to have a clear overview of the number of posts you have selected for archiving.
Tap the Archive Button
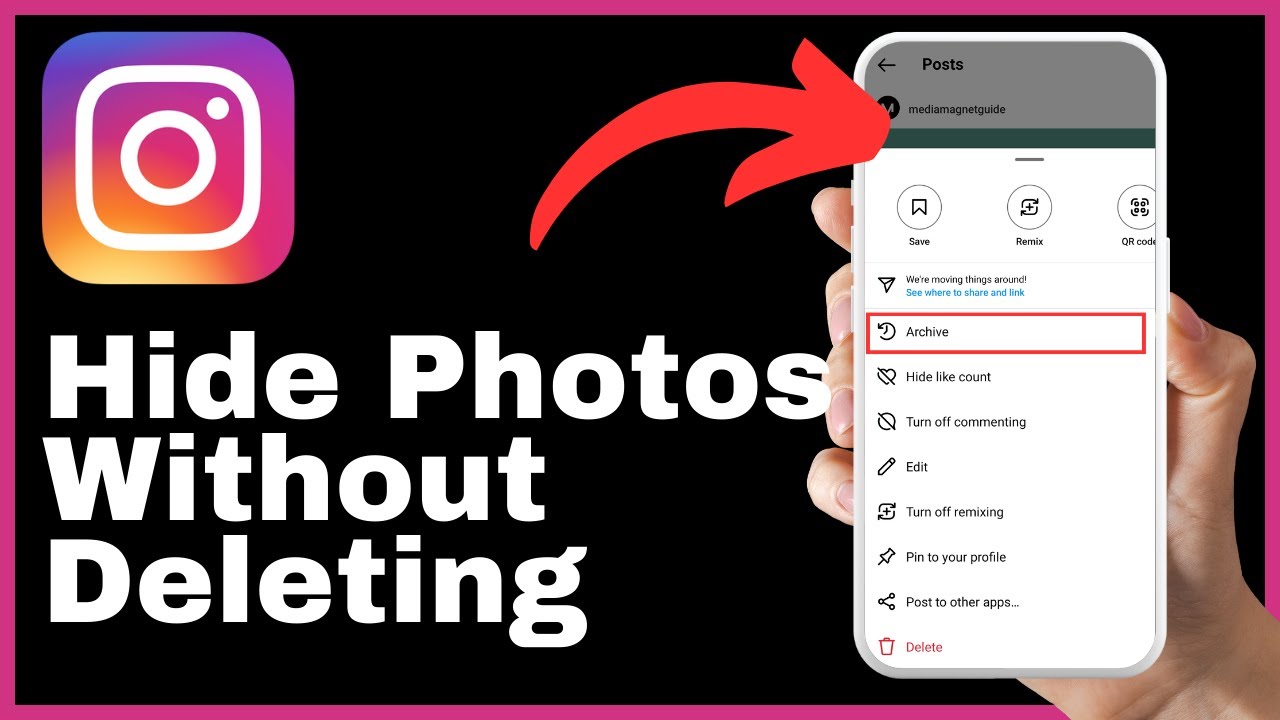
Once you have made your selections and are satisfied with the number of posts you have chosen to archive, tap the “Archive” button. This action will promptly archive all the chosen posts in one go. Archiving your posts will hide them from your profile, but they will still be stored and can be accessed later if desired.
Confirmation and Archiving of Posts
After tapping the “Archive” button, you will receive a confirmation message stating that your selected posts have been archived successfully. You can now have peace of mind knowing that your archived posts are no longer visible on your profile but are still preserved.
Reverse the Archiving Action
Remember that you always have the option to reverse the archiving action. If you decide to bring a specific post back to your profile for others to view, simply revisit the archive and select the specific post you wish to unarchive. By unarchiving the post, it will be reinstated to your profile, allowing others to see it again.
Reinstate Archived Posts to Your Profile
To reinstate an archived post to your profile, locate the post in the archive and select it. You will then be given the option to unarchive it, which will bring it back to your profile, making it visible to your followers.
Subscribe to the Channel and Ring the Notification Bell
If you found this guide helpful, be sure to subscribe to our channel and ring the notification bell. By subscribing, you can stay updated with our latest videos and tutorials, helping you enhance your Instagram experience and discover more valuable content.
In conclusion, archiving your Instagram posts all at once is a simple process that can help you declutter your profile and organize your content more efficiently. By following the steps outlined in this article, you can easily archive multiple posts, giving you the flexibility to hide them temporarily while keeping them safely stored for future use.


