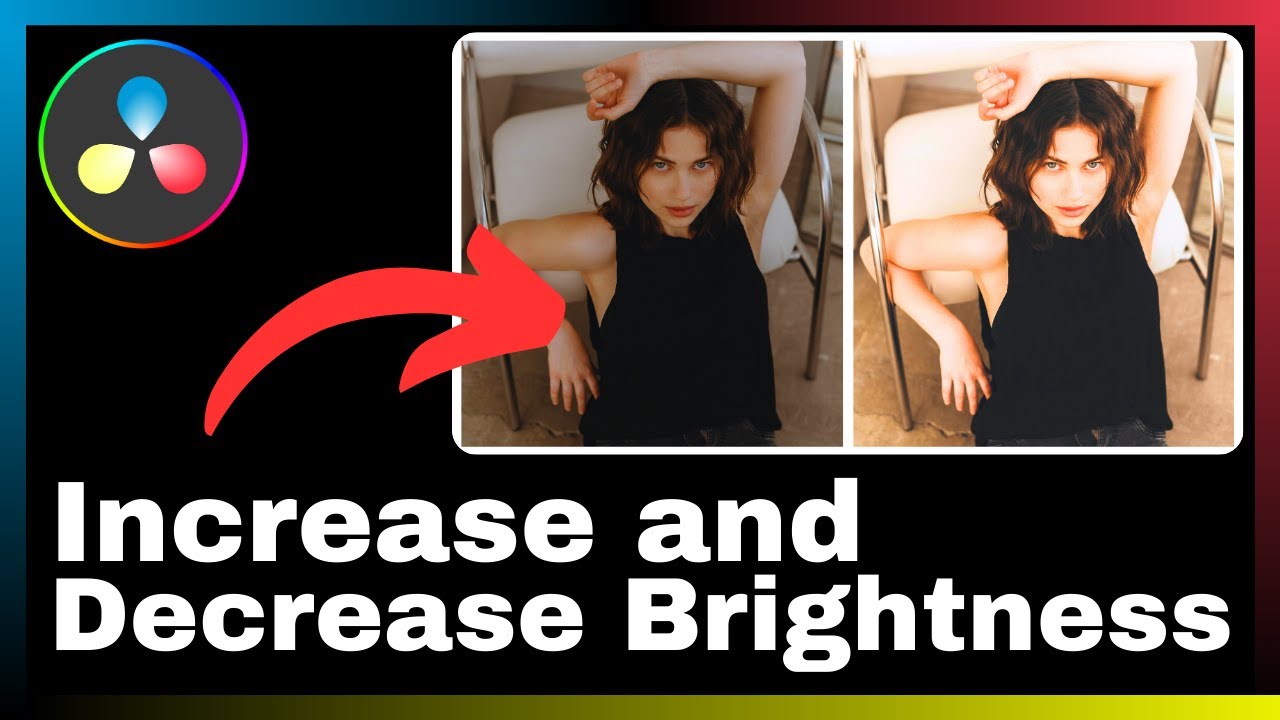
In the realm of video editing, adding special effects can enhance the overall quality and impact of your content. Particularly, the flicker or shake effect can bring a sense of intensity and style to your videos. In this article, we will explore how to create the flicker (shake) effect using DaVinci Resolve, a comprehensive software that offers a range of tools for professionals and beginners alike. Through step-by-step instructions and visual demonstrations, we will guide you through the process of adding this captivating effect to your videos, elevating the visual appeal and engaging your audience in a whole new way.
From understanding the fundamentals of DaVinci Resolve to creating a flicker or shake effect, this article aims to equip you with the knowledge and skills necessary to execute this technique successfully. By following our tutorial, you will have the opportunity to master this effect and incorporate it into your own videos, adding depth and creativity to your content. Get ready to take your video editing skills to the next level as we delve into the world of creating flicker (shake) effects in DaVinci Resolve.
Understanding DaVinci Resolve
 Effect in DaVinci Resolve")
 Effect in DaVinci Resolve here.")
Brief Overview of DaVinci Resolve
DaVinci Resolve is an all-in-one video editing, color correction, visual effects, and audio post-production software that offers a comprehensive set of tools for professionals and beginners alike. With its wide range of features, DaVinci Resolve has become a popular choice for projects of all sizes and complexities.
Importance of DaVinci Resolve in video editing
DaVinci Resolve is an essential tool for video editing due to its extensive capabilities and user-friendly interface. It allows users to enhance their videos with various effects, such as the flicker or shake effect, to add intensity and style. The software’s advanced features enable professionals to create high-quality videos, and beginners can learn and improve their editing skills with ease.
Prerequisites to Create Flicker (Shake) Effect in DaVinci Resolve
Familiarity with DaVinci Resolve interface
Before creating a flicker or shake effect in DaVinci Resolve, it is important to have a basic understanding of the software’s interface. Familiarity with the different panels and tools will make the editing process smoother and more efficient.
Basic editing skills needed
To create a flicker or shake effect, it is essential to have basic editing skills. This includes knowledge of importing video files, navigating the timeline, and making cuts and adjustments to the footage. These skills will form the foundation for applying and manipulating the effect.
Setting Up Your Project in DaVinci Resolve
Starting a new project
To create a flicker or shake effect, start by opening DaVinci Resolve and selecting “Start a new project.” This will prompt you to name your project and set the project settings, such as resolution and frame rate.
Importing the video files
After setting up the project, import the video files you want to add the flicker or shake effect to. Simply click on the “Media” tab, locate the video files on your computer, and drag them into the media pool. The files will now be available for editing in the timeline.
 Effect in DaVinci Resolve on this page.")
Understanding Flicker (Shake) Effect
Definition of flicker (shake) effect
The flicker or shake effect is a visual effect that creates an illusion of movement or instability in the footage. It adds an element of intensity and style to the video, making it visually captivating for the viewers.
Appropriate scenarios for using a shake effect
The shake effect can be used in various scenarios to enhance the storytelling in your videos. It can be used to simulate an earthquake, add tension in an action sequence, or create a sense of disorientation or chaos. Understanding the context and purpose of the video will help determine when and how to use the shake effect effectively.
Accessing DaVinci Resolve’s Effect Library
Locating the Effect Library
To access DaVinci Resolve’s Effect Library, navigate to the “Color” or “Fusion” tab, depending on your preference. In the Effect Library panel, you will find a wide range of effects and filters to choose from, including the shake effect.
Understanding the different effects available
The Effect Library in DaVinci Resolve offers a plethora of effects and filters to enhance your videos. It includes color correction tools, visual effects, audio effects, and more. Exploring the different effects available will broaden your creative options and allow you to experiment with various styles and looks.
Applying the Flicker (Shake) Effect
Choosing the video clip
Select the video clip on the timeline that you want to apply the flicker or shake effect to. By clicking on the clip, it will be highlighted, indicating that it is the active clip for editing.
Opening the inspector panel for effects
To apply the flicker or shake effect, open the inspector panel by clicking on the “Inspector” tab. Here, you will find a list of parameters and options that can be adjusted to create the desired effect. Scroll down and locate the “Effects” section, where the shake effect can be found.
Adjusting Parameters for Flicker (Shake) Effect
Modifying Motion Parameters
Within the Effects section of the inspector panel, there will be motion parameters that can be adjusted to control the intensity and direction of the shake effect. These parameters include position, rotation, scale, and opacity. Experiment with different values to achieve the desired effect.
Changing the intensity of the shake effect
To change the intensity of the shake effect, adjust the values of the parameters related to motion. Increasing the values will intensify the shake, while decreasing the values will make it more subtle. It is important to find the right balance that enhances the video without overpowering it.
Adding Keyframes for Flicker (Shake) Effect
Understanding the concept of keyframes
Keyframes are markers that define specific points in the timeline where changes in the effect will occur. By adding keyframes for the shake effect, you can control when and how the shake occurs. This allows for precise control over the timing and duration of the effect.
Inserting and adjusting keyframes to control shake effect
To add keyframes, navigate to the desired point in the timeline where you want the shake effect to start or change. In the inspector panel, locate the keyframe parameters for the shake effect and click on the “Add Keyframe” button. Adjust the values of the keyframes to control the intensity and direction of the shake effect at different points in the timeline.
Previewing and Finalizing Flicker (Shake) Effect
How to preview your edited video
To preview your edited video with the flicker or shake effect, click on the play button in the viewer panel. This will play the video in real-time, allowing you to assess the effect and make any necessary adjustments. You can also use the timeline scrubber to navigate through the video and preview specific sections.
Saving your finished project
Once you are satisfied with the flicker or shake effect, it is time to save your finished project. Click on the “File” tab and select “Save Project.” Choose a location on your computer to save the project file, and give it a descriptive name.
Conclusion: Enhancing your Videos with DaVinci Resolve’s Flicker Effect
Advantages of using Flicker (Shake) Effect
The flicker or shake effect is a powerful tool for enhancing your videos in DaVinci Resolve. By adding intensity and style, it can captivate viewers and elevate the overall quality of your videos. The versatility of the effect allows for creative storytelling and enables you to convey emotions and narratives effectively.
Practical tips for superior editing results
To achieve superior editing results with the flicker or shake effect, consider the following tips:
- Use the shake effect sparingly and strategically to avoid overwhelming the audience.
- Experiment with different parameters and keyframes to find the right balance and timing for the effect.
- Take into account the narrative and purpose of the video when applying the shake effect.
- Utilize other editing techniques, such as color grading and sound design, to complement the flicker effect and create a cohesive visual experience.
By implementing these tips, you can enhance your videos and create impactful content using DaVinci Resolve’s flicker or shake effect.