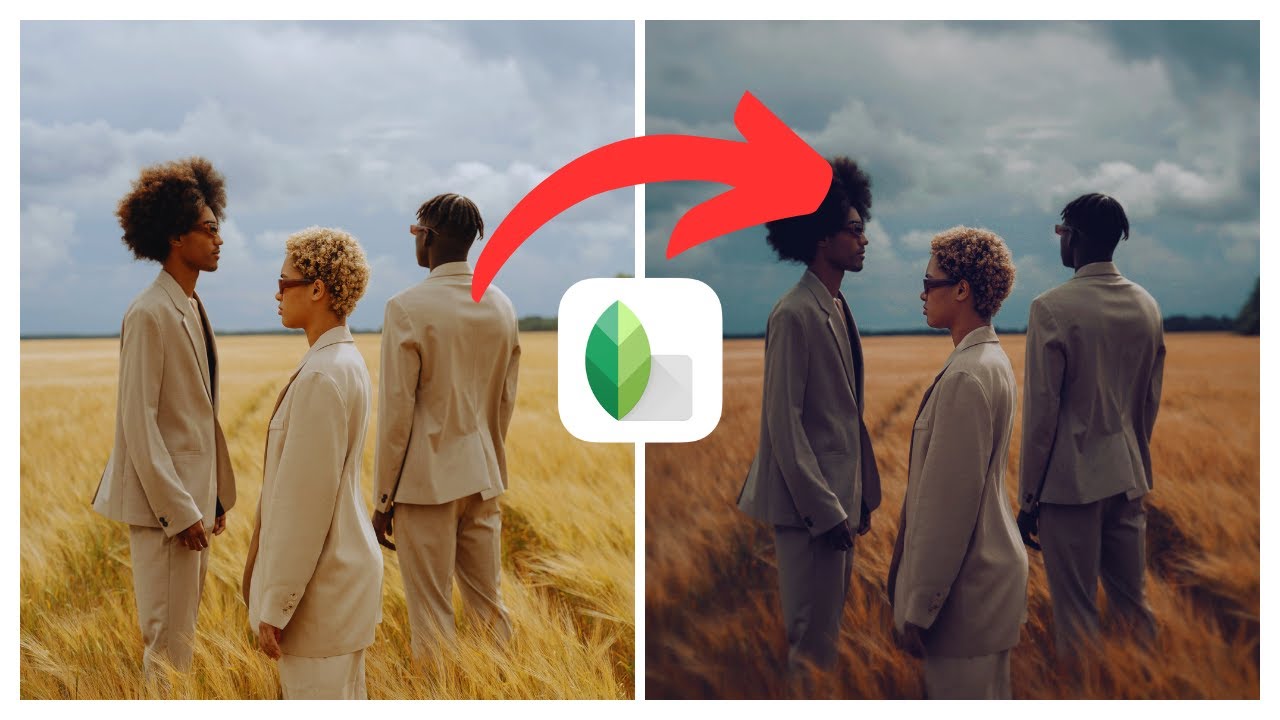
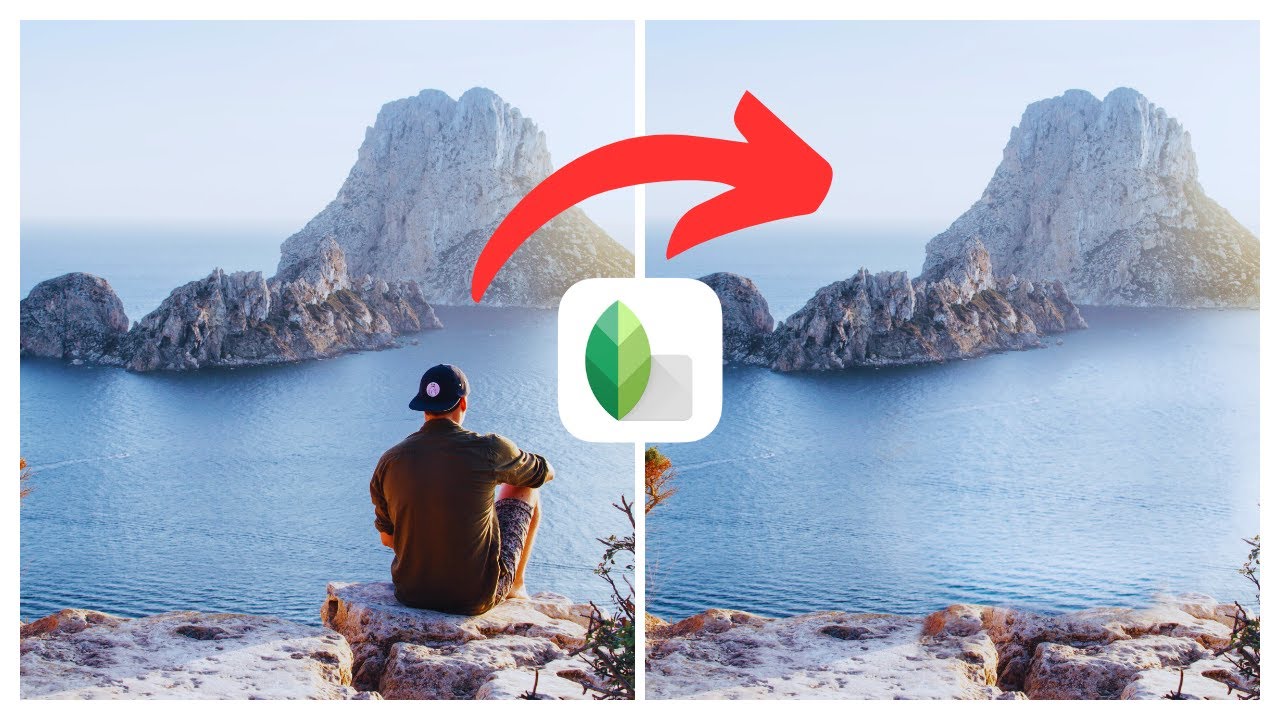
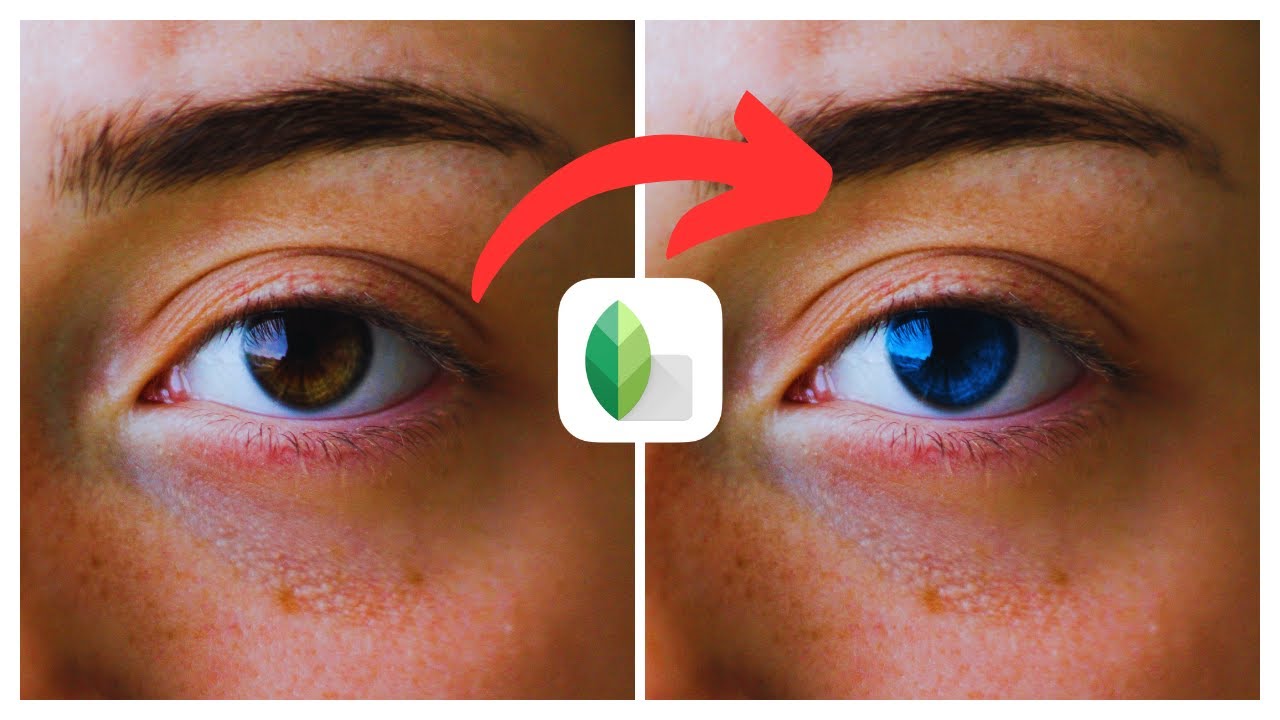
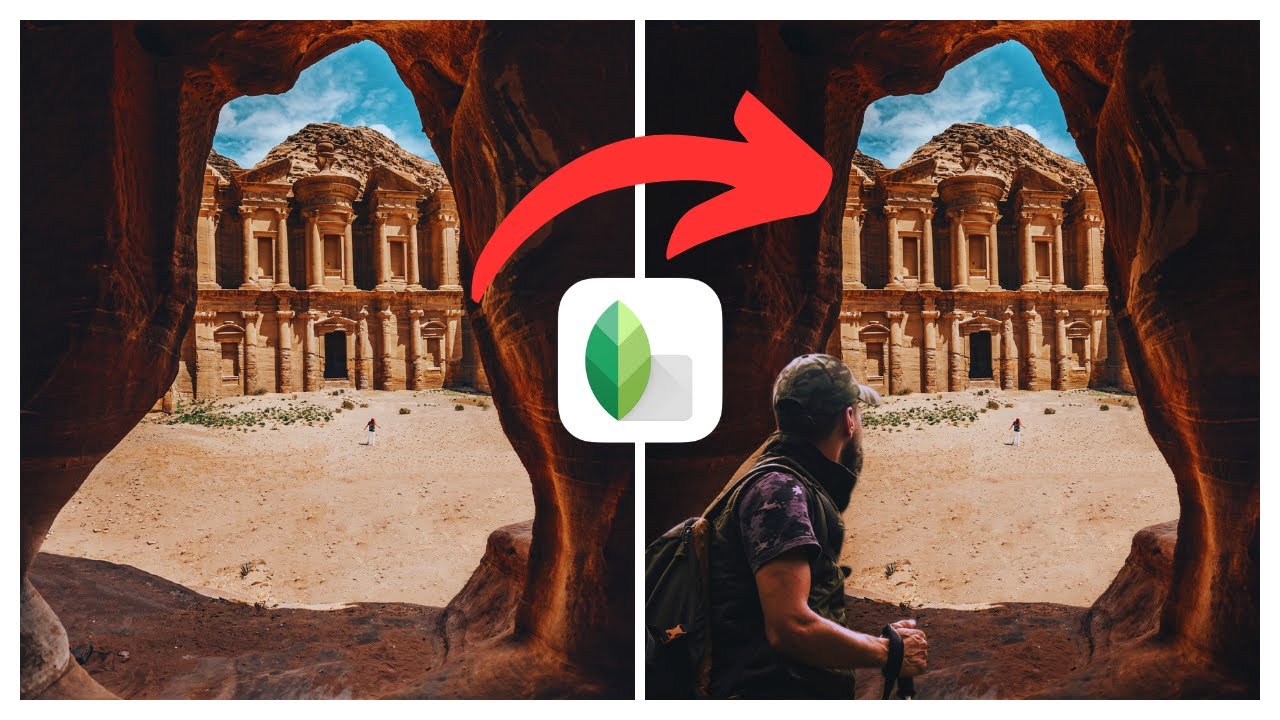
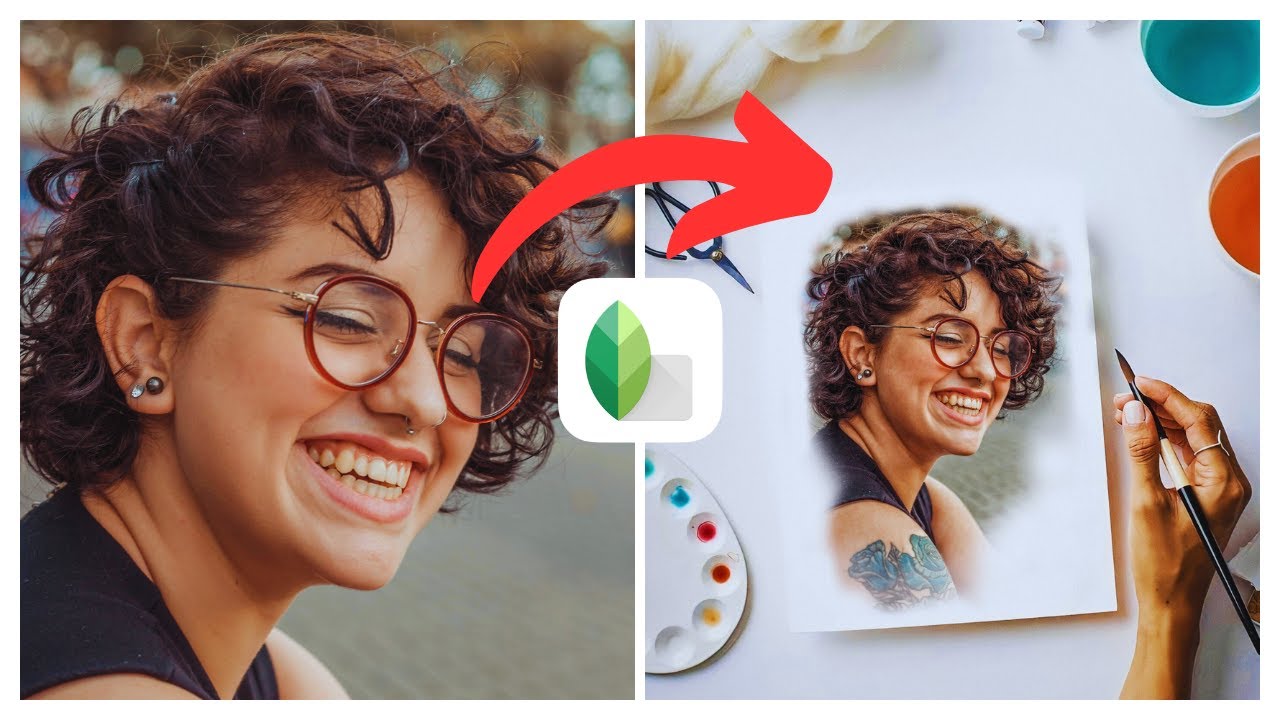
In the video titled “How to Create Moody Dark Photos in Snapseed | (iOS & Android)” by Media Magnet Guide, you will discover a step-by-step guide on how to achieve moody and dark-toned photos using the popular photo editing app, Snapseed. With the techniques demonstrated in this tutorial, you will be able to add drama and atmosphere to your images, enhancing their visual impact. This video is suitable for users of both iOS and Android devices, making it accessible to a wide range of individuals looking to elevate their photography skills.
Snapseed, developed by Google, is a powerful and user-friendly photo editing app that offers a vast array of editing tools and filters. Whether you are a beginner or an advanced user, Snapseed provides creative freedom and flexibility to transform your photos with ease. From simple adjustments to more advanced editing techniques, this tutorial aims to equip you with the necessary skills to level up your photography game and achieve stunning results. Subscribe to the Media Magnet Guide channel for more informative tutorials on Snapseed and other valuable content for photographers.
Understanding the Basics of Snapseed

Introduction to Snapseed
Snapseed is a powerful and user-friendly photo editing app developed by Google. It is available for both iOS and Android devices, offering a wide range of editing tools and filters to enhance and transform your photos with ease.
Key Features of Snapseed
Snapseed provides various key features that make it a popular choice among photographers and photo enthusiasts. Some of its notable features include:
- Non-destructive editing: Snapseed allows you to make edits to your photos without permanently altering the original image, ensuring that you can always revert back to the original if needed.
- Advanced editing tools: The app offers a diverse range of tools such as curves, selective tools, healing brush, and perspective adjustment, allowing for precise and professional-level editing.
- Creative filters: Snapseed provides a collection of filters that can instantly transform the mood and tone of your photos, including vintage, black and white, and grainy film filters.
- Healing brush: This tool allows you to remove unwanted objects or blemishes from your photos, creating a cleaner and more polished image.
- Selective editing: With Snapseed, you can selectively adjust specific areas of your photo, allowing for targeted enhancements and corrections.
Getting Started With Snapseed on iOS and Android
To get started with Snapseed on your iOS or Android device, you can follow these steps:
- Download and install the Snapseed app from the App Store or Google Play Store.
- Open the app and grant the necessary permissions to access your photos.
- Select the photo you want to edit by tapping on the “+” button and navigating to the desired image.
- Once you have imported the photo, you will be taken to the editing interface where you can begin making adjustments and enhancements.
Preparing Your Photo for Editing
Choosing the Right Photo
When selecting a photo to edit in Snapseed, it’s important to choose an image that has the potential to create a moody and dark-toned effect. Look for photos with strong contrasts, interesting lighting, and rich colors or textures. Consider the subject matter and the emotions you want to evoke through your final edit.
Importing Your Photo Into Snapseed
To import your chosen photo into Snapseed, follow these steps:
- Open the Snapseed app on your device.
- Tap on the “+” button to access the photo selection menu.
- Navigate through your device’s albums or folders to locate the desired photo.
- Select the photo by tapping on it, and it will be imported into the Snapseed editing interface.
Initial Adjustments to Your Photo
Before diving into creating the moody dark effect, it’s essential to make some initial adjustments to your photo. These adjustments will help set the foundation for your edit and ensure that you have a well-balanced image to work with. Consider making the following adjustments:
- Crop and straighten: Use the crop tool to remove any unnecessary elements or to improve the composition. Straighten the image if needed to correct any tilted angles.
- Exposure and brightness: Adjust the exposure and brightness levels to ensure that your photo is properly exposed and the details are visible.
- White balance: Correct the white balance to ensure accurate colors in your photo.
- Sharpening: Apply a subtle amount of sharpening to enhance the details and clarity in your photo.
Creating the Moody Dark Effect
Understanding the Concept of Moody Dark Photography
Moody dark photography is a style characterized by low-key lighting, deep shadows, and a strong emphasis on conveying emotions and atmosphere. It often evokes feelings of mystery, drama, and introspection. Understanding the concept behind this type of photography is crucial for creating an impactful moody dark effect in Snapseed.
Identifying the Key Characteristics of Moody Dark Photos
To create an authentic moody dark effect, it’s essential to identify and incorporate the key characteristics of this style into your edit. Some common characteristics of moody dark photos include:
- High contrast: Moody dark photos often have a stark contrast between the highlights and shadows, creating a dramatic and visually striking effect.
- Reduced saturation: Colors in moody dark photos are often desaturated, giving a more muted and toned-down appearance.
- Enhanced shadows: Deep shadows are a defining feature of moody dark photos, adding depth and dimension to the image.
- Selective lighting: Moody dark photos often feature focused or directional lighting, highlighting specific areas of the image while leaving others in darkness.
Starting the Process of Creating the Moody Dark Effect
Once you have familiarized yourself with the concept and characteristics of moody dark photography, you can begin the process of creating the moody dark effect in Snapseed. Follow these steps as a starting point for your edit:
- Open your chosen photo in Snapseed and proceed to the editing interface.
- Review the photo and assess which aspects can be enhanced to create a moody and dark-toned effect.
- Begin adjusting the brightness and contrast, saturation and ambiance, and applying filters to achieve the desired mood.
- Refine the edited photo using Snapseed’s additional tools and adjustments.
- Save and share your final moody dark photo.
Adjusting Photo Brightness and Contrast
Importance of Adjusting Brightness and Contrast
Adjusting the brightness and contrast of your photo is crucial for creating a moody dark effect. These adjustments allow you to control the overall exposure and emphasize the contrast between light and dark areas, enhancing the drama and mood of the image.
Tools in Snapseed for Adjusting Brightness and Contrast
Snapseed offers several tools for adjusting brightness and contrast. Some of the key tools include:
- Brightness: This tool allows you to increase or decrease the overall brightness of your photo.
- Contrast: Use this tool to adjust the tonal range and strengthen the contrast between light and dark areas.
- Shadows and Highlights: Snapseed provides separate tools for adjusting shadows and highlights, giving you precise control over the tonal balance of your photo.
- Curves: The curves tool allows for advanced adjustments to brightness and contrast by manipulating the curve graph.
Steps to Adjust Brightness and Contrast in Snapseed
To adjust the brightness and contrast of your photo in Snapseed, follow these steps:
- Open your photo in Snapseed and navigate to the editing interface.
- Tap on the “Tune Image” tool to access the basic adjustments.
- Adjust the brightness slider to increase or decrease the overall brightness of your photo.
- Use the contrast slider to control the tonal range and enhance the contrast.
- If needed, use the shadows and highlights tools to fine-tune the tonal balance.
- For more advanced adjustments, use the curves tool to manipulate the brightness and contrast through the curve graph.
- Review the changes and continue with the next steps of your editing process.
Adjusting Photo Saturation and Ambiance
Role of Saturation and Ambiance in Moody Dark Photos
Saturation and ambiance adjustments play a vital role in creating a moody dark effect. By reducing the saturation and adjusting the ambiance, you can enhance the muted and toned-down appearance of the photo, contributing to the overall atmosphere and mood.
Using Snapseed Tools to Adjust Saturation and Ambiance
Snapseed offers tools specifically designed for adjusting saturation and ambiance, including:
- Saturation: This tool allows you to increase or decrease the intensity of colors in your photo.
- Ambiance: Use this tool to adjust the overall warmth and atmosphere of your image, enhancing or reducing the overall tone.
Steps to Adjust Saturation and Ambiance in Snapseed
To adjust the saturation and ambiance of your photo in Snapseed, follow these steps:
- Open your photo in Snapseed and proceed to the editing interface.
- Tap on the “Tune Image” tool to access the basic adjustments.
- Adjust the saturation slider to decrease the intensity of colors and create a more muted appearance.
- Use the ambiance slider to control the overall warmth and atmosphere of your photo.
- Review the changes and continue with the next steps of your editing process.
Using Snapseed Filters for a Darker Effect
Overview of Snapseed Filters
Snapseed offers a range of creative filters that can be used to transform your photo and achieve a darker effect. These filters can significantly enhance the mood, add drama, and create a unique atmosphere in your images.
Choosing the Right Filter for Moody Dark Effect
To choose the right filter for a moody dark effect in Snapseed, consider the overall mood and atmosphere you want to convey. Experiment with different filters to see which one best enhances your photo and aligns with your creative vision.
How to Apply Filters in Snapseed
To apply filters in Snapseed, follow these steps:
- Open your photo in Snapseed and navigate to the editing interface.
- Tap on the “Filters” tool to access the available filters.
- Choose a filter that aligns with your desired moody dark effect.
- Adjust the intensity of the filter using the slider to achieve the desired impact.
- Review the changes and continue with the next steps of your editing process.
Adding Drama to Your Photo
Understanding the Drama Effect
Adding drama to your photo is crucial for creating a compelling moody dark effect. The drama effect emphasizes the contrast, texture, and overall impact of the image, enhancing the visual storytelling elements.
How to Add Drama to Your Photo using Snapseed
To add drama to your photo using Snapseed, follow these steps:
- Open your photo in Snapseed and proceed to the editing interface.
- Tap on the “Drama” tool to access the various settings.
- Adjust the saturation, brightness, and contrast sliders to intensify the drama effect.
- Use the structure slider to enhance the texture and details in your photo.
- Experiment with different settings to find the right balance of drama for your image.
- Review the changes and continue with the next steps of your editing process.
Tips for Effectively Adding Drama to Your Photos
- Start with a well-exposed and high-quality photo to ensure that the drama effect doesn’t introduce unwanted noise or artifacts.
- Use the drama effect sparingly and avoid overdoing it, as it can quickly become overwhelming and distract from the overall composition.
- Consider the subject matter and the story you want to convey through your photo. The drama effect should enhance and complement the narrative, rather than overpower it.
Refining the Moody Dark Effect
Importance of Refining Edited Photos
Refining your edited photo is a crucial step in creating a professional and polished moody dark effect. It allows you to fine-tune the various adjustments, ensure a cohesive look, and address any potential issues or inconsistencies.
Snapseed Tools for Refining Your Photo
Snapseed offers several tools that can be used to refine your moody dark photos, including:
- Selective adjustments: This tool allows for precise adjustments to specific areas of your photo, ensuring that every detail is accounted for in the refinement process.
- Healing brush: Use this tool to remove any remaining blemishes or distractions that might detract from the overall impact of your moody dark effect.
- Vignette: The vignette tool can be used to darken the corners of your photo, focusing the viewer’s attention towards the center and adding a subtle yet impactful finishing touch.
Steps to Refine Your Photo in Snapseed
To refine your photo in Snapseed, follow these steps:
- Open your edited photo in Snapseed and navigate to the editing interface.
- Use the selective adjustments tool to make precise adjustments to specific areas of your photo, ensuring that every detail is accounted for.
- Apply the healing brush to remove any remaining blemishes or distractions.
- If desired, add a subtle vignette to darken the edges of your photo and draw attention to the center.
- Review the refined photo and make any final adjustments as needed.
Saving and Sharing Your Edited Photo
How to Save Your Edited Photo in Snapseed
To save your edited photo in Snapseed, follow these steps:
- Ensure that you are satisfied with the final edit of your photo.
- Tap on the checkmark or the “Save” button, depending on your device, to save the edited photo.
- Choose the desired size and quality settings for your saved photo.
- Select the destination folder or album for your edited photo.
- Wait for the saving process to complete, and your edited photo will be saved to your device.
Options for Sharing Your Snapseed Photo
Snapseed offers various options for sharing your edited photo directly from the app. Some of the sharing options include:
- Social media platforms: You can directly share your photo to platforms like Instagram, Facebook, or Twitter, allowing you to showcase your edited photo to a wider audience.
- Messaging apps: Send your edited photo to friends or family members through messaging apps, such as WhatsApp or iMessage.
- Cloud storage: You can save your edited photo to cloud storage platforms like Google Drive or Dropbox, making it easily accessible from any device.
Tips for Ensuring High Quality When Saving and Sharing
- When saving your edited photo, choose the highest quality settings available to preserve the details and integrity of your image.
- Ensure that the platform or app you are sharing your photo to supports high-quality images. Some platforms may compress or downgrade the quality of your photo, affecting its overall impact.
- Consider resizing or cropping your photo to fit the requirements of the platform or app you are sharing it on, ensuring optimal display and viewing experience.
Conclusion
Recap of How to Create Moody Dark Photos in Snapseed
Creating moody dark photos in Snapseed involves a series of steps and adjustments that contribute to the overall atmospheric and dramatic effect. By understanding the basics of Snapseed, preparing your photo for editing, adjusting brightness and contrast, tweaking saturation and ambiance, using filters, adding drama, refining the effect, and finally saving and sharing your edited photo, you can achieve stunning and captivating moody dark effects.
Encouragement to Experiment with Snapseed
Snapseed provides a wide range of tools and features that allow for creative freedom and experimentation. Don’t be afraid to explore different editing techniques, try out various filters, and discover your unique style within the moody dark photography genre.
Suggestions for Further Learning Resources
To further enhance your skills in creating moody dark photos in Snapseed, consider exploring other tutorials, online resources, and communities dedicated to photography and photo editing. These platforms can provide valuable insights, tips, and techniques to continue expanding your knowledge and producing even more stunning moody dark effects.

