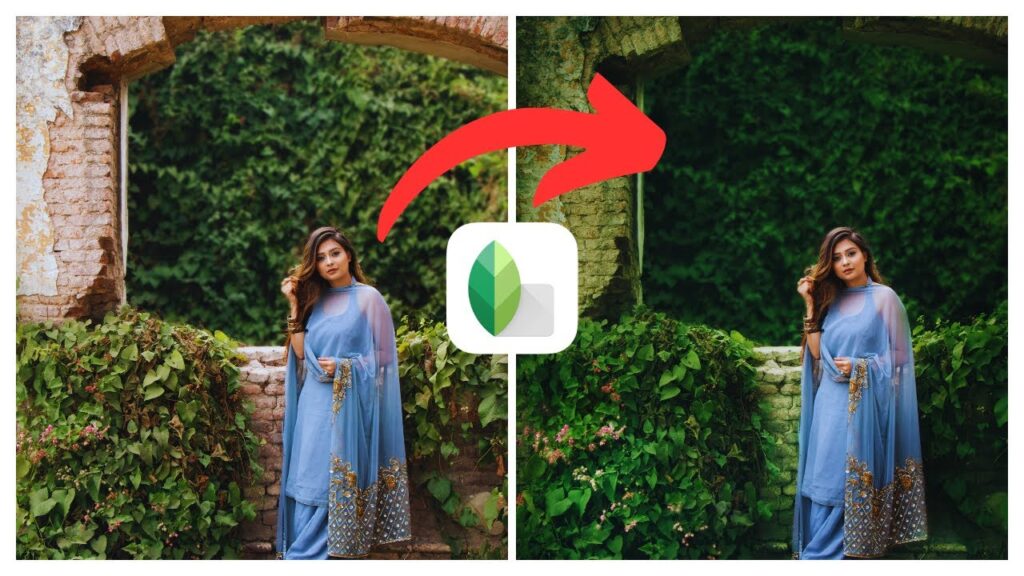
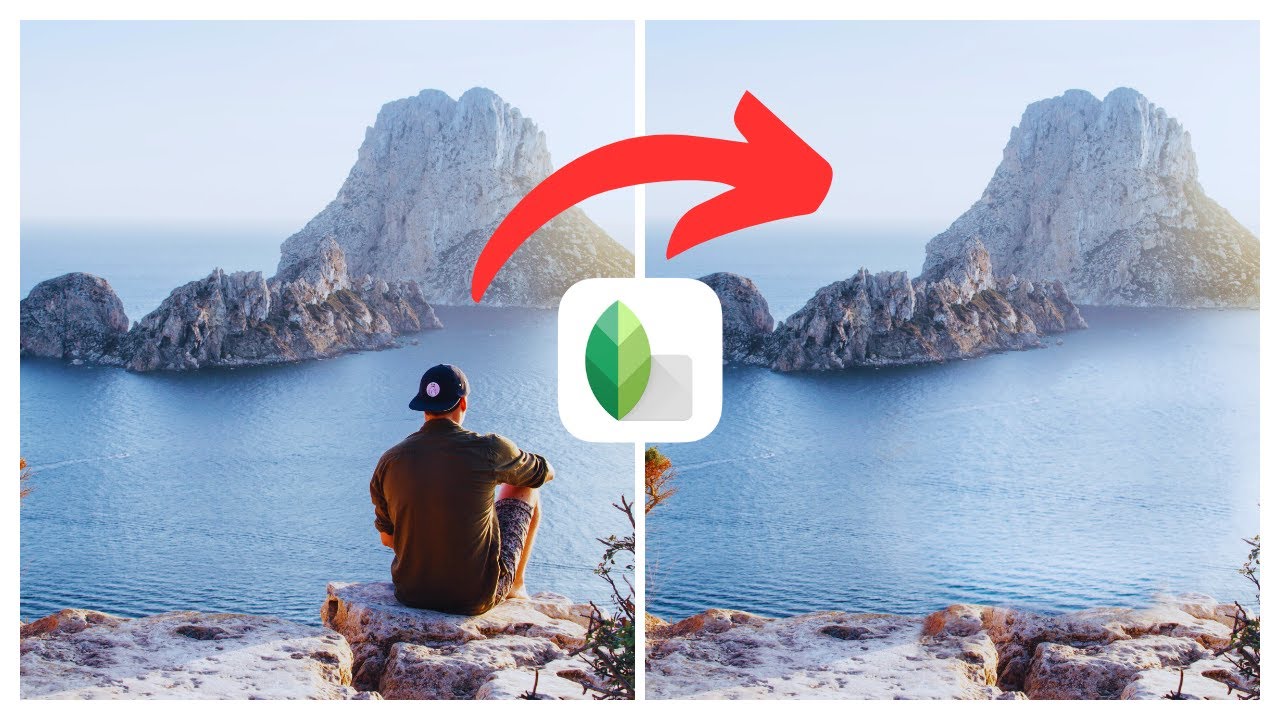
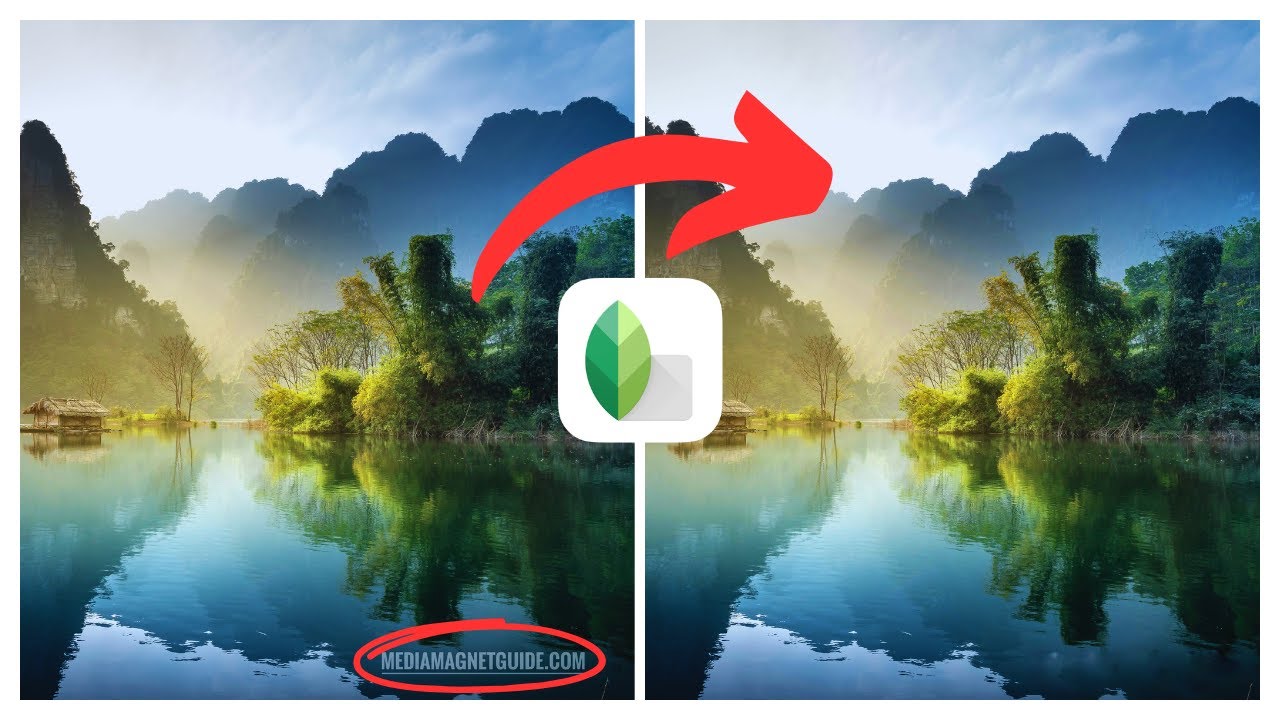
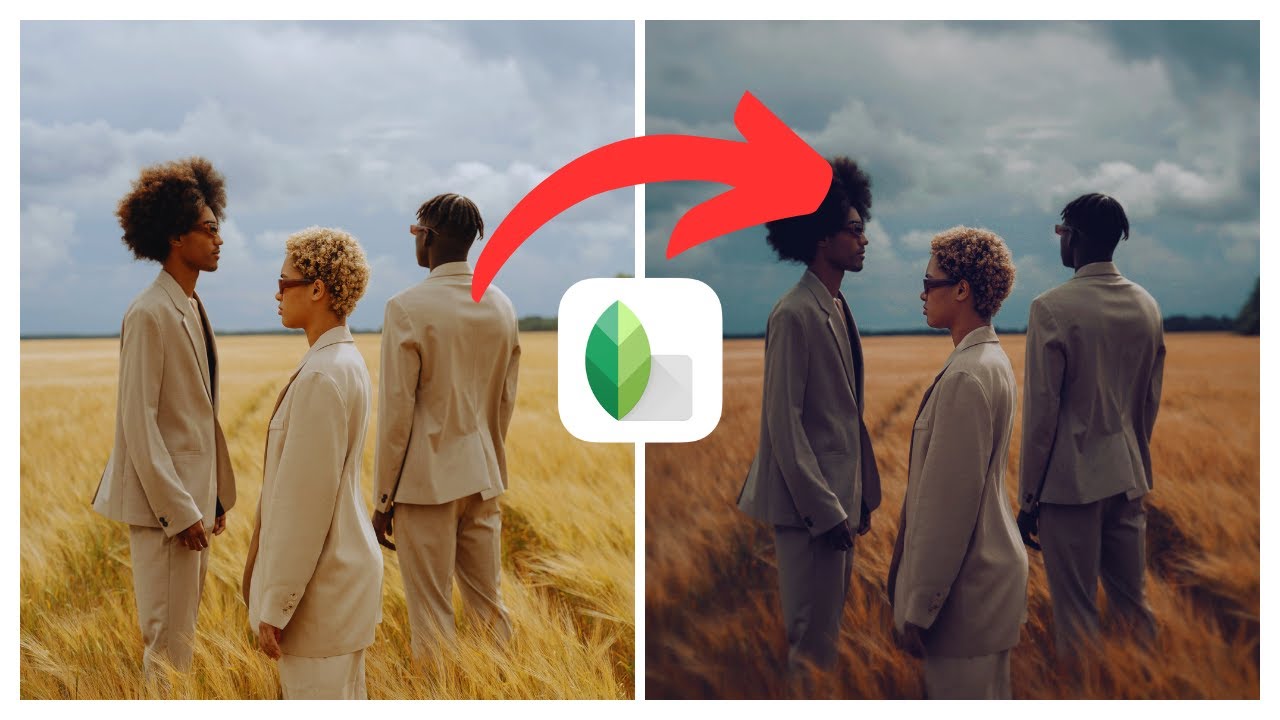
In the video, “How to Create Realistic Green Tone in Snapseed | (iOS & Android),” presented by Media Magnet Guide, you will discover the step-by-step process of creating a realistic green tone in your photos using the popular photo editing app, Snapseed. Whether you are using an iOS or Android device, this tutorial will teach you how to add a natural and vibrant touch to your images. By showcasing the power and user-friendliness of Snapseed, the video aims to provide you with the necessary tools and techniques to enhance and transform your photos with ease. Watch the tutorial and unlock your creative freedom to level up your photography game.
Please note that the content presented in this video is for educational purposes only and does not promote any illegal activities. The video is based on individual research and does not provide financial advice. The channel is not liable for the content and services provided by external websites.
Understanding Snapseed
Definition of Snapseed
Snapseed is a powerful and user-friendly photo editing app developed by Google. With a wide range of editing tools and filters, Snapseed allows users to enhance and transform their photos with ease. From basic adjustments to advanced editing techniques, this app offers creative freedom for anyone looking to elevate their photography game.
Origins and developers of Snapseed
Snapseed was initially developed by Nik Software, a company known for its innovative imaging technologies. In 2012, Google acquired Nik Software, including Snapseed, to enhance its mobile photo editing capabilities. Since then, Google has continued to improve and update Snapseed, making it one of the most popular photo editing apps available today.
Highlight of Snapseed’s unique features
Snapseed stands out from other photo editing apps due to its unique features that allow users to achieve stunning and realistic results. Some of the standout tools in Snapseed include:
-
Selective Adjust: This tool allows you to selectively adjust specific areas of an image for precise editing control. You can enhance brightness, contrast, saturation, and other parameters in specific parts of the photo.
-
Healing Brush: The Healing Brush tool lets you remove unwanted objects or blemishes from your photos seamlessly. It intelligently analyzes the surrounding pixels and blends them together to create a flawless result.
-
Perspective Tool: With the Perspective tool, you can correct skewed lines and adjust the perspective of your images. This is particularly useful when photographing architecture or landscapes where straight lines need to appear straight.
-
Double Exposure: Snapseed offers a Double Exposure tool that allows you to blend two images together for a creative effect. You can adjust the intensity and transparency to create unique and striking compositions.
These are just a few examples of the powerful and unique features Snapseed has to offer. Exploring the app’s editing tools will unveil even more possibilities for enhancing your photos.
Getting Started with the App
Downloading and installing Snapseed
Getting started with Snapseed is easy. Simply visit the App Store (for iOS users) or the Play Store (for Android users) and search for “Snapseed.” Download and install the app on your device.
Navigating the homepage of Snapseed
Once installed, open Snapseed, and you’ll be greeted with the homepage, which showcases your recent photos. From here, you can select an image to edit or explore the different features available in the app. The homepage provides a user-friendly interface, making it easy to navigate and find the editing tools you need.
Essential Editing Tools in Snapseed
Exploring the toolbar for edits
The toolbar in Snapseed contains a variety of editing tools that allow you to enhance and transform your photos. By tapping on the pencil icon at the bottom of the screen, you’ll gain access to the editing toolbar. This toolbar includes options such as Tune Image, Details, Curves, Vintage, and many more.
Understanding the purpose of each editing tool
Each tool in the editing toolbar serves a specific purpose, giving you control over various aspects of your photo. Here are some of the essential editing tools and their functions:
-
Tune Image: This tool enables you to adjust the brightness, contrast, saturation, ambiance, and other parameters of your photo.
-
Details: The Details tool enhances sharpness and brings out finer details in your image. It allows you to adjust parameters like Structure and Sharpening.
-
Curves: The Curves tool lets you modify the tonal range of your image by adjusting the brightness and contrast curve. This provides fine control over the overall exposure and can significantly impact the mood of your photo.
-
Vintage: The Vintage tool offers a range of filters that can give your photo a nostalgic or retro look. You can experiment with different preset filters and adjust their intensity for a desired effect.
These are just a few examples of the editing tools available in Snapseed. Exploring each tool and understanding its purpose will help you achieve the desired edits for your photos.

Importance of Green Tone in Photography
Defining Green Tone
Green tone refers to the overall presence of green colors in a photo. It can significantly impact the mood and atmosphere of an image, creating a sense of freshness, tranquility, or vibrancy. Green tones are commonly found in landscapes, nature photography, and environmental subjects.
Exploring the effects of Green Tone on an image
Introducing green tones to a photo can evoke a variety of emotions and enhance the visual impact. For example, a lush green landscape can create a feeling of serenity and rejuvenation, while vibrant green tones in a cityscape can add a lively and energetic ambiance. The effects of green tone are subjective and depend on the specific context and composition of the photo.
Understanding the contexts suitable for Green Tone
Green tones are particularly suitable for photos that feature nature, foliage, gardens, or outdoor settings. They can enhance the natural beauty of these subjects and create a harmonious color palette. Additionally, green tones can also be used creatively in other genres of photography, such as portraiture or architectural photography, to add a unique and eye-catching element.
Creating Realistic Green Tone in iOS
Opening an image in Snapseed on iOS
To create a realistic green tone in your photos using Snapseed on iOS, start by opening the app and selecting the image you want to edit from the homepage. You can either tap on a recent photo or browse your device’s photo library to choose the desired image.
Accessing and utilizing the Green Tone tool
Once you’ve opened the image in Snapseed, navigate to the editing toolbar by tapping on the pencil icon at the bottom of the screen. From the toolbar, select the “Tune Image” tool. Within the “Tune Image” tool, you’ll find various controls to adjust different aspects of your photo, including the Green control.
To enhance the green tones in your photo, slide the Green control to the right. This will increase the saturation of green colors in the image, making them more vibrant and prominent. You can also adjust other parameters like Brightness, Contrast, and Saturation to achieve the desired overall look.
Making necessary adjustments to achieve desired results
Creating a realistic green tone involves finding the right balance between natural-looking green shades and an aesthetically pleasing result. Experiment with the Green control, as well as other settings, until you achieve a tone that complements your photo and enhances its visual impact. Remember to refer to the original image for comparison and make adjustments accordingly.
Repeat the process for other photos you want to add a realistic green tone to, and continue refining your editing skills to achieve the best results.
Creating Realistic Green Tone in Android
Opening an image in Snapseed on Android
To create a realistic green tone in your photos using Snapseed on Android, begin by launching the app and selecting the desired image from the homepage or your device’s photo library. This will open the image in Snapseed’s editing interface.
Accessing and utilizing the Green Tone tool
Once the image is open in Snapseed, tap on the pencil icon at the bottom of the screen to access the editing toolbar. From there, select the “Tune Image” tool, which will provide you with various controls to adjust the photo.
Within the “Tune Image” tool, you’ll find the Green control. Slide the control to the right to increase the saturation and prominence of green tones in the image. Experiment with different settings to achieve the desired realistic green tone.
Making necessary adjustments to achieve desired results
Creating a realistic green tone involves striking a balance between vibrant green colors and a natural-looking result. Make adjustments to the Green control, as well as other parameters like Brightness, Contrast, and Saturation, until you achieve the desired effect.
Remember to compare the edited photo with the original image to ensure that the green tone looks realistic and enhances the overall aesthetic. Practice with different photos to refine your skills and develop an eye for creating stunning green tones.
Comparing Green Tone Effects on iOS and Android
Highlighting the similarities
Creating realistic green tones using Snapseed on both iOS and Android follows a similar process. The editing tools and controls are consistent across the two platforms, allowing users to achieve comparable results. Whether you’re using an iOS device or an Android device, Snapseed provides a seamless editing experience for creating captivating green tones.
Discussing the differences
While the editing process remains consistent, there may be slight variations in the performance and user interface between the iOS and Android versions of Snapseed. These differences can stem from device-specific capabilities and software optimizations. However, the end goal of creating realistic green tones can be achieved on both platforms, ensuring a cohesive experience for Snapseed users.
Tips and Tricks for Better Results
Advice on image selection for Green Tone effects
When selecting images for green tone effects, keep in mind that certain photos lend themselves better to this particular style. Images featuring natural landscapes, lush foliage, or vibrant outdoor scenes are ideal candidates for enhancing with green tones. Consider the existing green elements in the photo and how they will interact with the green tone effect to create a cohesive and visually pleasing result.
Tips on achieving a balance in Green Tone
To achieve a balance in green tone, it’s essential to consider the overall composition and color palette of the photo. Avoid over-saturating the green tones, as this can result in an artificial and unrealistic look. Moderation is key when adjusting the Green control, as subtle enhancements can often yield more visually striking results. Additionally, it’s important to evaluate the image as a whole and ensure that the green tone complements the subject and enhances its visual impact.
Potential Missteps and How to Avoid Them
Common errors while using Green Tone feature
When using the green tone feature in Snapseed, it’s important to be aware of potential missteps that could detract from the desired realistic effect. Common errors include:
-
Over-saturating green tones: When increasing the saturation of green colors, it’s easy to go overboard and create an unnatural look. Be mindful of the overall balance of colors within the photo and adjust the Green control accordingly.
-
Neglecting other editing parameters: While enhancing green tones is a significant part of creating a realistic green tone, it’s important to consider the impact of other editing parameters as well. Make sure to adjust brightness, contrast, and other settings to achieve a cohesive and visually pleasing result.
Steps to prevent or correct these errors
To prevent or correct errors while using the green tone feature, follow these steps:
-
Exercise moderation: When adjusting the Green control, do so in moderation and evaluate the impact on the overall image. Subtle enhancements often yield more realistic and visually appealing results.
-
Compare with the original: Continually refer back to the original image to ensure that the green tone looks natural and enhances the overall aesthetic. If the tones appear unrealistic or overpowering, make adjustments to achieve a better balance.
By being mindful of these potential missteps and taking the necessary corrective measures, you can avoid common errors and achieve more realistic and visually striking green tones.
Conclusion
Recap of the entire process
Creating a realistic green tone in your photos using Snapseed on both iOS and Android is a straightforward and rewarding process. By utilizing the editing tools and controls in Snapseed, you can enhance green tones, add vibrancy to your images, and create captivating compositions.
To begin, download and install Snapseed on your device. Familiarize yourself with the editing toolbar and understand the purpose of each editing tool. When it comes to green tone, remember to define your desired look, explore the effects of green tone on an image, and consider the contexts suitable for this style.
Whether you’re using Snapseed on iOS or Android, the process remains consistent. Open an image in Snapseed, access the Green Tone tool, and make necessary adjustments to achieve the desired realistic green tone. Along the way, compare the edited photo with the original to ensure the best results.
Reiteration of the benefits of using Green Tone on Snapseed
Using the Green Tone feature in Snapseed offers numerous benefits for photographers. It allows you to add natural and vibrant green tones to your photos, enhancing their visual impact. Whether you’re capturing nature, landscapes, or other subject matter, green tones can evoke specific moods and create a more captivating composition.
Experiment with Snapseed’s editing tools and explore the possibilities of green tone to elevate your photography game. With practice and attention to detail, you can achieve stunning and realistic green tones in your photos, making them stand out and leaving a lasting impression.


