Have you been considering leaving Facebook? If so, Media Magnet Guide has you covered with their latest video on how to delete your Facebook account for good. In this step-by-step guide, you will learn how to easily and permanently delete your account. The video starts by encouraging viewers to hit the like button if they’re excited to learn this process and to share their thoughts in the comments below. It emphasizes the importance of doing it right and provides a friendly guide to get started. The guide walks viewers through the process of logging into their Facebook account, accessing the settings and privacy options, and navigating to the account center. From there, they are directed to click on personal details and ultimately choose the option for deactivation or deletion. The guide prompts viewers to join their channel as a member to support their content creation journey, and then explains how to select the desired Facebook account for deletion and proceed through the confirmation steps. After completing these steps, the video assures viewers that their Facebook account will vanish from the platform, including their profile, name, and all the content they have posted. However, there is a 30-day period during which everything will be hidden in case they change their mind and want to bring it all back. The video concludes by asking viewers to like, comment, and subscribe if they found the content helpful, as this support drives the creation of more valuable content.
In summary, this informative video by Media Magnet Guide offers a comprehensive guide on deleting a Facebook account permanently, highlighting the importance of doing it right and providing step-by-step instructions. By following this guide, viewers can successfully remove their Facebook account, ensuring that their profile and all their posted content will be hidden for 30 days before being permanently deleted.

Understanding Facebook Account Deletion
Deleting a Facebook account is a significant decision that requires careful consideration. It is essential to understand the significance of this action and what information will be wiped out from your account. In this comprehensive guide, we will walk you through the steps to delete your Facebook account and provide insights into what happens during and after the process.
Significance of Deleting a Facebook Account
Deleting a Facebook account can have both personal and professional implications. From a personal standpoint, it allows individuals to regain control over their privacy and reduce the amount of personal information available online. It can also be a way to limit social media usage and focus on more meaningful interactions.
From a professional perspective, deleting a Facebook account can help in maintaining a professional reputation, especially if social media presence is not relevant to an individual’s career or industry. It can also provide a clear separation between personal and professional life.
Which information is Wiped Out
When you delete your Facebook account, certain information is permanently wiped out. This includes your profile, name, photos, videos, and all the content you have posted or shared on the platform. Additionally, your friends’ list, messages, and any associated activity will also be deleted.
It is important to note that once the account is deleted, this information cannot be recovered, and you will lose access to it permanently. Therefore, it is crucial to make sure you have a backup of any data or content you wish to keep before initiating the deletion process.
Pre-Deletion Steps
Before proceeding with deleting your Facebook account, there are a few important steps to consider.
Doing a Quick Review of Your Account
Take some time to review your account and check for any important information or content that you may want to keep. This could include photos, videos, or personal messages. Ensure that you have made appropriate backups before proceeding with the deletion process.
Download Your Facebook Data
Facebook provides an option to download a copy of your data before deleting your account. This includes information such as your photos, posts, messages, and more. To download your data, go to the “Settings” menu, click on “Your Facebook Information,” and select “Download Your Information.” Choose the specific data you want to download and click on “Create File.”
Inform Your Contacts About Account Deactivation
If you want your friends and contacts to know that you are deactivating your Facebook account, consider informing them beforehand. This will help ensure that they are aware of your decision and can find alternative ways to stay in touch if necessary.


Getting Started: Logging Into Your Account
To begin the process of deleting your Facebook account, you first need to log in.
Accessing Facebook
Open your preferred web browser and go to the Facebook website (www.facebook.com).
Logging in With Your Credentials
Enter your email or phone number and password associated with your Facebook account. Click on the “Log In” button to access your account.
Plotting Your Route to Deletion
Once you have logged into your Facebook account, you need to navigate through the user interface to access the account deletion options.
Navigating the User Interface
At the top of the Facebook page, locate the menu. It is symbolized by three horizontal lines and is typically situated on the right-hand side of the page.
Accessing Settings and Privacy Options
Click on the menu icon to reveal a dropdown list of options. Within this list, look for the gear icon, which represents the settings menu. Click on the gear icon to access the settings and privacy options.
Locating the Account Center
Within the settings menu, scroll down until you find an option called “Account Center.” Click on “See More” to expand the menu and reveal additional options.
Getting Into Account Ownership and Control
Once you have accessed the account center, you can proceed to the account ownership and control settings.
Finding Options Under the Account Center
Within the account center, you will find a range of options related to your account settings. Look for “Personal Details” and click on it to access the account ownership and control settings.
Accessing Personal Details
By clicking on “Personal Details,” you will be taken to a page where you can view and modify information associated with your account.
Locating Account Ownership and Control
Within the personal details section, you will find the option for “Account Ownership and Control.” Click on this option to proceed with the deletion process.
Choosing Deactivation or Deletion
At this stage, you will need to identify whether you want to deactivate or delete your Facebook account.
Identifying the Deactivation or Deletion Option
Within the account ownership and control settings, you will find the options for deactivation and deletion. Carefully read the descriptions of these options to understand the consequences of each choice.
Clicking on the Deactivation or Deletion Option
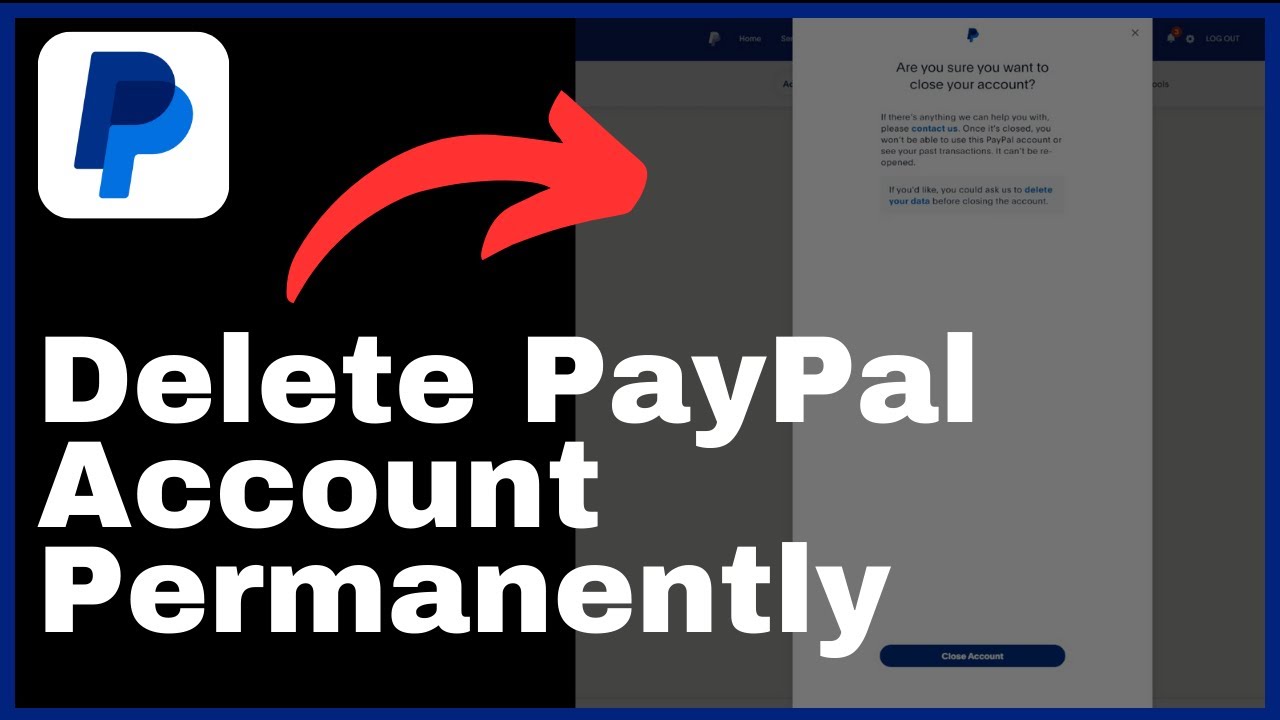
Once you have made your decision, click on the corresponding option. A confirmation prompt may appear, asking you to confirm your choice. Review the prompt and proceed if you are sure about your decision.
Preparing to Bid Goodbye to Your Account
Before finalizing the deletion process, there are a few more steps to follow.
Choosing the Account to Be Deleted
If you have multiple Facebook accounts associated with the email or phone number you used to log in, make sure you have selected the correct account to be deleted. Double-check and verify that you have chosen the right account.
Locating the Delete Account Option
After confirming the account to be deleted, you will see the option to “Delete Account.” This option is usually located at the bottom of the page, after scrolling down.
Clicking on the Delete Account Option
Click on the “Delete Account” option to proceed with the deletion process. Depending on your account settings, Facebook may prompt you to re-enter your password for verification.
Finalizing the Process
To complete the deletion process, you will need to go through a final stage of confirmation.
Choosing Reasons for Leaving
Facebook may present you with a list of reasons for leaving. You can select the reason that best aligns with your decision to delete your account. This information helps Facebook gather feedback and improve its services.
Inputting Your Password
To ensure the deletion process is authorized, you will be required to enter your password once again. Type in your password in the provided field and click on the “Continue” button to proceed.
Seeing the Confirm Permanent Account Deletion Stage
After entering your password, you will reach the final stage of the deletion process. Here, Facebook will display a confirmation message, emphasizing that the deletion is permanent and cannot be undone. Review the information and ensure that you are absolutely sure about deleting your account.
What Happens After Deletion
Understanding what happens after deleting your Facebook account is crucial to managing your expectations.
Understanding the 30 Days Grace Period
Once you have successfully deleted your Facebook account, a grace period of approximately 30 days begins. During this period, your account will be temporarily deactivated, and your data will be hidden from other users.
Retrieving Your Account Within the Grace Period
If you have a change of heart within the 30-day grace period, you can retrieve your account by logging in with your credentials. However, after the grace period expires, your account will be permanently deleted, and you will not be able to recover any of the data or content associated with it.
Conclusion
Deleting a Facebook account is a significant decision that should not be taken lightly. It is important to understand the process and the implications it may have on your personal and professional life. By following the steps outlined in this guide, you can confidently navigate through the account deletion process, ensuring that your personal information is securely removed from the platform. Remember to make backup copies of any data or content you wish to keep and inform your contacts about your decision. Take the time to recontemplate your decision and ensure that it aligns with your goals and priorities.