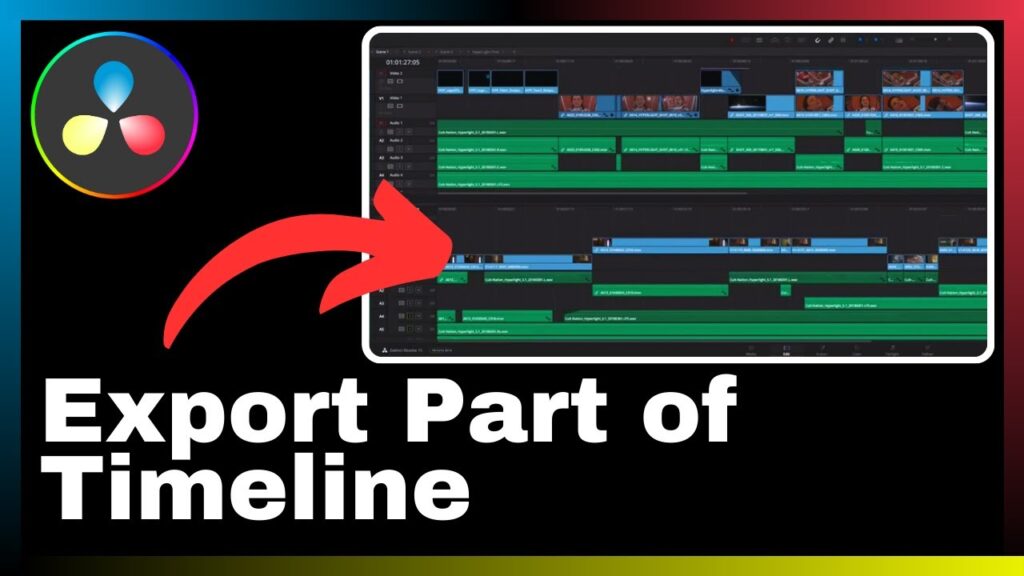
In the world of video editing, efficiency is key. Whether you’re a professional or a beginner, being able to export specific parts of your timeline can greatly enhance your video sharing process. In this article, “How to Export Part of Timeline in DaVinci Resolve,” we will explore the step-by-step process of exporting specific sections of your timeline using DaVinci Resolve. Created by Media Magnet Guide, this comprehensive guide aims to provide you with the necessary knowledge and skills to optimize your video editing workflow. From color correction to audio post-production, DaVinci Resolve offers a range of tools to cater to projects of all sizes and complexities. So, join us as we delve into this tutorial and discover how to effectively export parts of your timeline in DaVinci Resolve.

Understanding DaVinci Resolve
Introduction to DaVinci Resolve
DaVinci Resolve is a versatile and powerful video editing, color correction, visual effects, and audio post-production software. It is widely used by professionals and beginners alike for projects of all sizes and complexities. With its comprehensive set of tools, DaVinci Resolve has become a popular choice in the industry.
Who uses DaVinci Resolve?
DaVinci Resolve is used by a diverse range of professionals, including filmmakers, video editors, colorists, visual effects artists, and audio engineers. It is also popular among beginners who are looking to learn and improve their video editing skills. DaVinci Resolve’s wide range of features and tools cater to the needs of various industries and individuals.
Functions of DaVinci Resolve
DaVinci Resolve provides a wide array of functions to help users create professional-quality videos. These functions include video editing, color grading, visual effects, audio post-production, and media management. From importing media files to exporting the final product, DaVinci Resolve offers an all-in-one solution for all stages of video production.
Navigating the DaVinci Resolve Interface
Getting familiar with the main dashboard
When you open DaVinci Resolve, you will be greeted by the main dashboard. This is the central hub where you can access all the features and tools of the software. Take some time to explore the different sections and familiarize yourself with the layout of the interface. Understanding the main dashboard is a crucial first step in using DaVinci Resolve efficiently.
Understanding the different panels
DaVinci Resolve is divided into several panels, each serving a specific purpose. These panels include media pool, timeline, inspector, and color grading. The media pool panel allows you to import and organize your media files, while the timeline panel is where you arrange and edit your video clips. The inspector panel provides detailed information and controls for your selected clips, and the color grading panel enables you to adjust the color and tone of your footage.
Identifying the timeline area
The timeline area is where you assemble and edit your video clips to create a cohesive sequence. It is located in the center of the interface, below the media pool panel. Understanding the timeline area is essential for making precise edits, adding effects, and arranging your video clips in the desired order. Familiarize yourself with the different controls and features available in the timeline area to maximize your editing capabilities.
Importing Video Files in DaVinci Resolve
How to import media files
Importing media files into DaVinci Resolve is a straightforward process. In the media pool panel, click on the import button and navigate to the location of your files. Select the files you want to import and click the import button. DaVinci Resolve supports a wide range of media formats, making it easy to work with various types of video files.
Organizing media in the media pool
Once you’ve imported your media files, it’s essential to organize them in the media pool. This allows you to quickly find and access your files when working on a project. You can create folders, bins, and sub-bins to categorize your media files based on their type, location, or any other criteria that are relevant to your workflow. Organizing your media files will help you stay organized and improve your efficiency while editing.
Creating a new timeline
To start working on your video project, you need to create a new timeline. In the timeline panel, click on the create timeline button, and a new timeline will be added to your project. You can customize the timeline settings, such as the resolution and frame rate, based on your project requirements. Creating a new timeline allows you to assemble your video clips and start editing them within a dedicated workspace.
Understanding the Timeline Feature
Basics of the timeline
The timeline is the heart of your video editing process in DaVinci Resolve. It is where you arrange your video clips in the desired order and make edits to create a cohesive sequence. The timeline consists of multiple tracks, each representing a different element of your video, such as video clips, audio tracks, and effects. Understanding the basics of the timeline, including track management and navigation, is crucial for efficient editing.
How to add clips to the timeline
Adding video clips to the timeline is a simple drag-and-drop process. You can select the desired clips from the media pool and drag them onto the timeline tracks. Once the clips are on the timeline, you can trim, rearrange, and edit them to create your desired sequence. DaVinci Resolve provides various editing tools and techniques to help you make precise edits and transitions.
Customizing the timeline view
DaVinci Resolve allows you to customize the timeline view to suit your editing style and preferences. You can adjust the zoom level to see more or fewer frames on the timeline and change the appearance of the tracks, such as their height and color. Customizing the timeline view can help you focus on specific aspects of your edit and improve your overall workflow.
Selecting Part of the Timeline
How to mark the timeline
In DaVinci Resolve, you can mark specific portions of the timeline to make precise selections for editing or exporting. To mark the timeline, position the playhead at the desired start point, and press the “I” key on your keyboard to set the in-point. Similarly, position the playhead at the desired end point and press the “O” key to set the out-point. This marks the selected portion of the timeline for further manipulation.
Using in and out points
In and out points are essential tools for selecting specific parts of the timeline. They allow you to define the start and end of the portion you want to work with. By setting the in and out points, you can isolate specific clips, trim unwanted footage, or export only a selected section of your video. Understanding how to use in and out points effectively will significantly enhance your editing capabilities in DaVinci Resolve.
Adjusting timeline selection
If you need to make adjustments to your timeline selection, DaVinci Resolve provides various methods to modify the in and out points. You can drag the in and out points directly on the timeline to change their positions. Alternatively, you can use keyboard shortcuts or the range selection tool to fine-tune your selection. Being able to adjust your timeline selection accurately is important for precise editing and exporting.
Preparing for Export
Switching to the Deliver page
To prepare your timeline for export, you need to switch to the Deliver page in DaVinci Resolve. The Deliver page is where you can configure the export settings and options before finalizing your video project. By switching to the Deliver page, you can access the necessary tools and features specific to the export process.
Choosing export settings
On the Deliver page, you can choose the export settings for your video. This includes selecting the desired output format, resolution, frame rate, and other parameters that are relevant to your project. DaVinci Resolve provides a wide range of export options to ensure compatibility with various devices and platforms. Choosing the right export settings is crucial for delivering high-quality videos that meet your specific requirements.
Naming and saving your export preset
To streamline your export process and save time in future projects, it’s beneficial to name and save your export preset. This allows you to quickly apply the same export settings to multiple timelines or projects without having to configure them every time. By creating and saving your export preset, you can maintain consistency in your exports and simplify your workflow.
Exporting Part of Timeline
Steps to export selected part of timeline
Exporting a selected part of the timeline in DaVinci Resolve involves a few simple steps. First, mark the desired portion of the timeline using the in and out points. Then, switch to the Deliver page and configure the export settings. Finally, click the export button to initiate the exporting process. DaVinci Resolve will render and export only the selected part of the timeline, resulting in a trimmed and focused video export.
Choosing the format and destination
When exporting a part of the timeline, you have the flexibility to choose the desired output format and destination. DaVinci Resolve supports a wide range of video formats, allowing you to select the one that best suits your needs. Additionally, you can choose the destination folder or storage location for the exported file. By choosing the appropriate format and destination, you can ensure the compatibility and accessibility of your exported video.
Starting the export
Once you have configured the export settings and selected the desired format and destination, you can start the export process. Click the export button on the Deliver page, and DaVinci Resolve will begin rendering and exporting the selected part of the timeline. The export progress will be displayed, giving you an estimate of the time remaining. Once the export is complete, the file will be saved to the specified destination.
Inspecting the Exported Part
Opening the exported file
To inspect the exported part of the timeline, navigate to the destination folder where the file was saved. Double-click on the file to open it in your media player or video editing software. By opening the exported file, you can review the content and ensure that the desired portion of the timeline was exported correctly. This step is crucial for verifying the accuracy and quality of your exported video.
Checking the timing and content
When inspecting the exported part of the timeline, pay close attention to the timing and content of the video. Confirm that the selected portion of the timeline was exported accurately, without any missing or additional frames. Verify that the video content aligns with your intended edit and does not contain any unexpected changes or errors. Checking the timing and content ensures the integrity and consistency of your exported video.
Troubleshooting possible errors
If you encounter any errors or issues with the exported part of the timeline, it’s important to troubleshoot and identify the underlying problems. Check the export settings, timeline selection, and any relevant parameters to ensure they are configured correctly. If necessary, refer to DaVinci Resolve’s documentation or online resources for guidance on troubleshooting common errors. Resolving any issues promptly will help you deliver high-quality videos and maintain professional standards.
Exporting Multiple Parts of A Timeline
Creating multiple in and out points
Exporting multiple parts of a timeline in DaVinci Resolve requires the creation of multiple in and out points. Set the initial in and out points for the first section, then adjust the selection and set new in and out points for subsequent sections. By creating multiple in and out points, you can export various parts of the timeline as separate video files.
Exporting multiple parts at once
DaVinci Resolve allows you to export multiple parts of a timeline simultaneously. After setting the in and out points for each section, switch to the Deliver page and configure the export settings. Once everything is set, click the export button, and DaVinci Resolve will render and export all the selected parts of the timeline in one go. This feature saves time and effort when exporting multiple sections of a video project.
Organizing multiple exports
When exporting multiple parts of a timeline, it’s crucial to keep your exports organized. Use clear and descriptive file names for each exported section to easily identify and locate them later. You may consider creating separate folders or a naming convention to categorize and organize your exported files. Organizing multiple exports ensures that you can efficiently manage and access your video content when needed.
Conclusion
Benefits of exporting parts of a timeline
Exporting specific parts of a timeline in DaVinci Resolve offers several benefits. It allows you to focus on selected sections of your video project, making editing and exporting more efficient. Exporting parts of a timeline also enables you to create custom previews, highlight specific segments, or share shorter clips on social media platforms. By exporting only the necessary sections, you can save time and storage space while delivering targeted content to your audience.
Possible uses for partial exports
There are various use cases for exporting parts of a timeline. For example, you can export a specific scene to share with collaborators for feedback or create a highlight reel of the best moments from a project. Partial exports are also useful for creating teasers, promotional videos, or social media content. The ability to export specific sections provides flexibility and versatility in sharing and showcasing your video content.
Resources for further learning
If you want to delve deeper into the capabilities of DaVinci Resolve and expand your editing skills, there are ample resources available for further learning. Online tutorials, official documentation, and user communities are valuable sources of information and guidance. You can explore video editing courses or workshops to enhance your proficiency in DaVinci Resolve. Continuously learning and staying updated with the software’s features and techniques will help you make the most out of DaVinci Resolve’s powerful capabilities.
In conclusion, DaVinci Resolve is a robust software that offers a comprehensive set of tools for video editing, color correction, visual effects, and audio post-production. By understanding the various features and controls within the software, you can navigate the interface, import media files, manipulate the timeline, select specific parts, and export them efficiently. Mastering these processes allows you to create professional-quality videos and deliver targeted content to your audience. With the benefits of partial exports and the availability of resources for further learning, DaVinci Resolve is an excellent choice for both professionals and beginners in the field of video production.


