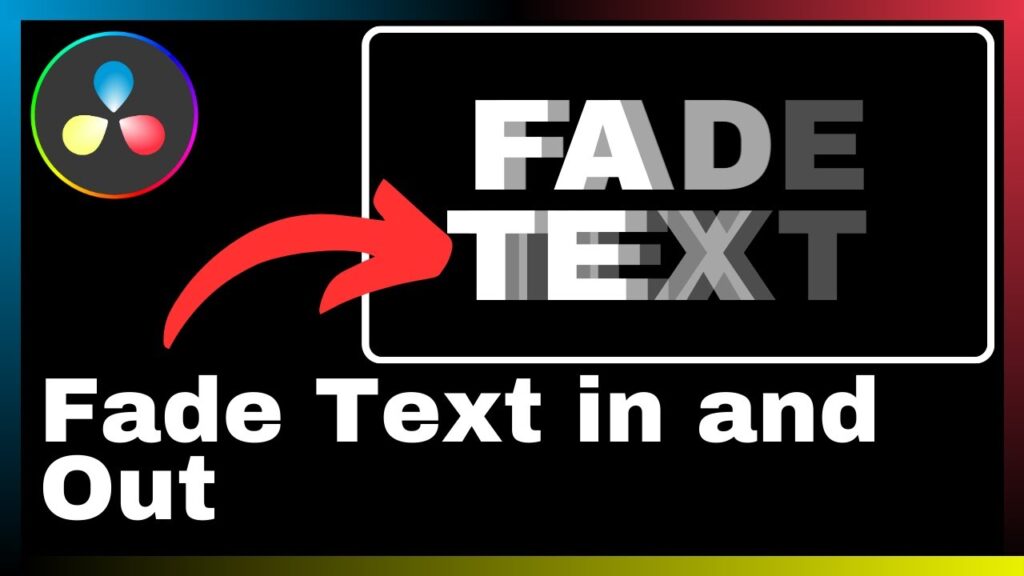
“How to Fade Text in and Out in DaVinci Resolve” is an informative tutorial video created by Media Magnet Guide. The video aims to teach viewers how to incorporate fading text effects into their video presentations using DaVinci Resolve. With its user-friendly interface and wide range of tools, DaVinci Resolve has become a popular choice for professionals and beginners alike in the field of video editing, color correction, visual effects, and audio post-production. By following this tutorial, viewers will learn how to add dynamic and engaging elements to their videos, enhancing their overall visual appeal.
Throughout the video, Media Magnet Guide provides step-by-step instructions on how to achieve the desired fading text effects. From adjusting opacity levels to creating smooth transitions, viewers will gain valuable insights and practical knowledge on creating professional-looking videos using DaVinci Resolve. Whether you are a seasoned video editor or just starting out, this tutorial is designed to help you enhance your video presentations and captivate your audience.
Understanding DaVinci Resolve
Overview of DaVinci Resolve
DaVinci Resolve is an all-in-one video editing, color correction, visual effects, and audio post-production software. It is a powerful tool that offers a comprehensive set of tools for professionals and beginners alike. With its user-friendly interface and robust features, DaVinci Resolve has become a popular choice for video editing projects of all sizes and complexities.
Importance of DaVinci Resolve in video editing
DaVinci Resolve is a widely used software in the video editing industry due to its extensive capabilities and advanced features. It provides professionals with the tools they need to create high-quality videos, manipulate colors, and add visual effects. The software also offers a range of audio post-production features, making it a one-stop solution for all video editing needs. Whether you are a seasoned professional or just starting out in video editing, DaVinci Resolve is a crucial tool to have in your arsenal.
Getting started with DaVinci Resolve
To get started with DaVinci Resolve, you first need to download and install the software on your computer. Once installed, you can launch the program and begin exploring its various features and functionalities. It is recommended to familiarize yourself with the layout of the interface and understand the different tools available to you. DaVinci Resolve offers a vast array of editing, color grading, and audio post-production tools, so taking the time to learn and practice with these tools will greatly enhance your video editing skills.
Navigating the DaVinci Resolve Interface
Understanding the DaVinci Resolve workspace
The DaVinci Resolve workspace is divided into several panels, each serving a specific purpose. The main panel is the timeline, where you can assemble your video clips and make edits. On the left side, you will find the media pool panel, which displays all the media files you have imported into DaVinci Resolve. The inspector panel on the right side provides detailed information about the selected media or clip. Additionally, there are panels for color grading, audio editing, and effects, allowing you to perform various tasks within the same interface.
Locating the essential editing tools
DaVinci Resolve offers a wide range of editing tools to help you create professional-looking videos. Some of the essential tools include the trim tool, which allows you to adjust the duration of video clips; the ripple edit tool, which helps you maintain the timing of your edits while making changes; and the slip tool, which lets you change the in and out points of a clip without affecting its duration.
To locate these tools, you can refer to the toolbar at the top of the interface. The toolbar provides easy access to the most commonly used tools, making it convenient to edit your videos efficiently.
Importing and Adding Text
How to import media files into DaVinci Resolve
Importing media files into DaVinci Resolve is a straightforward process. First, click on the media pool panel on the left side of the interface. Then, click on the import button, which is represented by a folder icon. This will open a file browser window, allowing you to navigate to the location where your media files are stored. Select the files you wish to import and click on the “Open” button. DaVinci Resolve will then import the selected files and display them in the media pool panel.
Adding text to your video in DaVinci Resolve
To add text to your video in DaVinci Resolve, you can use the Text+ tool, which is available in the effects panel. First, navigate to the effects panel and search for the Text+ tool. Once found, drag and drop the Text+ tool onto the timeline at the desired location. A text box will appear on the screen, allowing you to enter and customize the text. You can change the font, size, color, and position of the text using the options available in the inspector panel. Once you are satisfied with the text, you can further adjust its properties and effects using the various tools in DaVinci Resolve.

Adjusting the Text Properties
Choosing a font and size
Choosing the right font and size for your text is crucial in creating visually appealing videos. DaVinci Resolve offers a wide selection of fonts that you can choose from. To select a font, go to the inspector panel and navigate to the “Font” option. Click on the dropdown menu to view the available fonts and select the one that best suits your video. Similarly, you can adjust the font size by navigating to the “Size” option in the inspector panel. Experiment with different fonts and sizes to find the perfect combination for your text.
Changing the color and style of your text
DaVinci Resolve allows you to change the color and style of your text to create visually stunning effects. To change the color of your text, go to the inspector panel and navigate to the “Color” option. Click on the color swatch to open the color picker and choose the desired color. You can also experiment with different text styles, such as bold, italic, or underline, by navigating to the “Style” option in the inspector panel. Play around with different color and style combinations to make your text stand out in your videos.
Fading Text In
What is text fading?
Text fading is a technique used to gradually bring text into view in a video. It adds a stylish and dynamic effect to your videos by smoothly transitioning the text from invisible to fully visible. Text fading is commonly used in video introductions, titles, and credits to create a visually pleasing and engaging experience for the viewers.
Steps to create a fading in effect on text
To create a fading in effect on text in DaVinci Resolve, you can utilize the keyframe feature. First, select the text on the timeline and navigate to the inspector panel. Locate the “Opacity” option and click on the diamond-shaped keyframe icon to set a keyframe at the beginning of the text. Then, move the playhead to the desired time where you want the text to be fully visible. Adjust the opacity value to 100% and set another keyframe. DaVinci Resolve will automatically create a smooth fade-in effect between these two keyframes. You can further fine-tune the speed and duration of the fade-in effect using the keyframe controls.
Fading Text Out
Understanding the concept of Text fade out
Text fade out is the opposite of text fade in. Instead of gradually bringing text into view, text fade out gradually makes text disappear from the video. It is often used in video endings, credits, or transitions to create a smooth and visually appealing effect.
Procedure to create a fading out effect
To create a fading out effect on text in DaVinci Resolve, you can follow a similar process to the fade in effect. Start by selecting the text on the timeline and navigating to the inspector panel. Locate the “Opacity” option and set a keyframe at the beginning of the text with an opacity value of 100%. Then, move the playhead to the desired time where you want the text to be fully invisible. Adjust the opacity value to 0% and set another keyframe. DaVinci Resolve will automatically create a smooth fade-out effect between these two keyframes. You can adjust the speed and duration of the fade-out effect using the keyframe controls.
Fine-tuning Fade Effects
Adjusting the speed and duration of your fade effects
DaVinci Resolve provides various controls to fine-tune the speed and duration of your fade effects. Once you have created a fade-in or fade-out effect on text, you can select the keyframes on the timeline and adjust their position to change the speed of the fade effect. Moving the keyframes closer together will make the fade effect faster, while moving them farther apart will make it slower. You can also adjust the duration of the fade effect by selecting the keyframes and dragging them along the timeline.
Using keyframes to customize your text fades
Keyframes in DaVinci Resolve allow you to customize your text fades even further. You can add additional keyframes between the beginning and end keyframes to create more complex fade effects. By adjusting the opacity values of these intermediate keyframes, you can create unique and visually engaging text fades. Experiment with different keyframe placements and opacity values to achieve the desired effect for your text fades.
Text Animation with Keyframes
Introduction to keyframe animation in DaVinci Resolve
Keyframe animation is a powerful feature in DaVinci Resolve that allows you to create dynamic and engaging text animations. With keyframes, you can manipulate various properties of your text, such as position, rotation, scale, and opacity, over time. By setting keyframes at different points on the timeline and adjusting the properties, you can create intricate text animations that bring your videos to life.
Animating text using keyframes
To animate text using keyframes in DaVinci Resolve, first select the text on the timeline and navigate to the inspector panel. Choose the property you want to animate, such as position or rotation, and click on the diamond-shaped keyframe icon to set a keyframe at the desired starting point. Then, move the playhead to a different time on the timeline and adjust the property value to the desired endpoint. DaVinci Resolve will automatically create a smooth animation between these two keyframes. You can add more keyframes at different points to create complex text animations, or adjust the properties of existing keyframes to fine-tune the animation.
Common Issues and Troubleshooting
Common problems when fading text in and out
When fading text in and out in DaVinci Resolve, there are a few common issues that you may encounter. One issue is the text appearing too quickly or too slowly during the fade effect. This can be resolved by adjusting the position and timing of the keyframes on the timeline. Another common problem is the text not fading smoothly, resulting in abrupt transitions. To fix this, you can add more keyframes and adjust their opacity values to create a smoother fade effect. Additionally, if the text is not positioned correctly or is overlapping with other elements in the video, you can adjust its position or use layering techniques to ensure proper visibility.
Tips for troubleshooting and solutions
To troubleshoot and resolve any issues you may encounter when fading text in and out in DaVinci Resolve, here are some tips and solutions:
- Double-check the positions and timing of the keyframes on the timeline to ensure the fade effects occur at the desired moments.
- Experiment with different opacity values for keyframes to create smoother fade effects.
- Make sure that the text is properly positioned and not overlapping with other elements in the video.
- Adjust the speed and duration of the fade effects by moving the keyframes closer together or farther apart.
- Utilize layering techniques to ensure the visibility of the text and prevent any potential overlap.
Conclusion
Recap of how to fade text in and out in DaVinci Resolve
In conclusion, DaVinci Resolve is a powerful and versatile video editing software that offers a wide array of features and tools for creating professional-looking videos. Fading text in and out is a popular technique that adds a dynamic and engaging effect to your videos. By following the steps outlined in this article, you can easily create fading text effects using DaVinci Resolve. From importing media files to adjusting text properties and fine-tuning fade effects, each step is crucial in achieving the desired result. With practice and experimentation, you can master the art of fading text in and out and create visually stunning videos.
Final thoughts on using DaVinci Resolve for video editing
DaVinci Resolve is a reliable and comprehensive software for video editing, with its vast range of features and user-friendly interface. It provides professionals and beginners alike with the tools they need to bring their creative vision to life. Whether you’re a filmmaker, content creator, or hobbyist, DaVinci Resolve offers the flexibility and power to produce high-quality videos. From basic editing to advanced color grading and effects, DaVinci Resolve is a valuable asset in the world of video editing. So, dive into the world of DaVinci Resolve and unleash your creativity.


