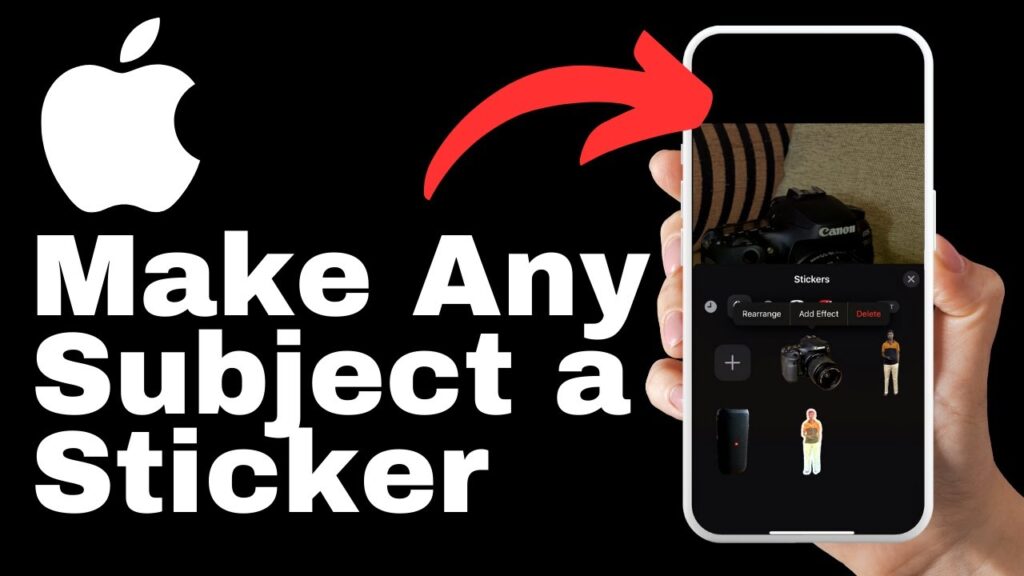
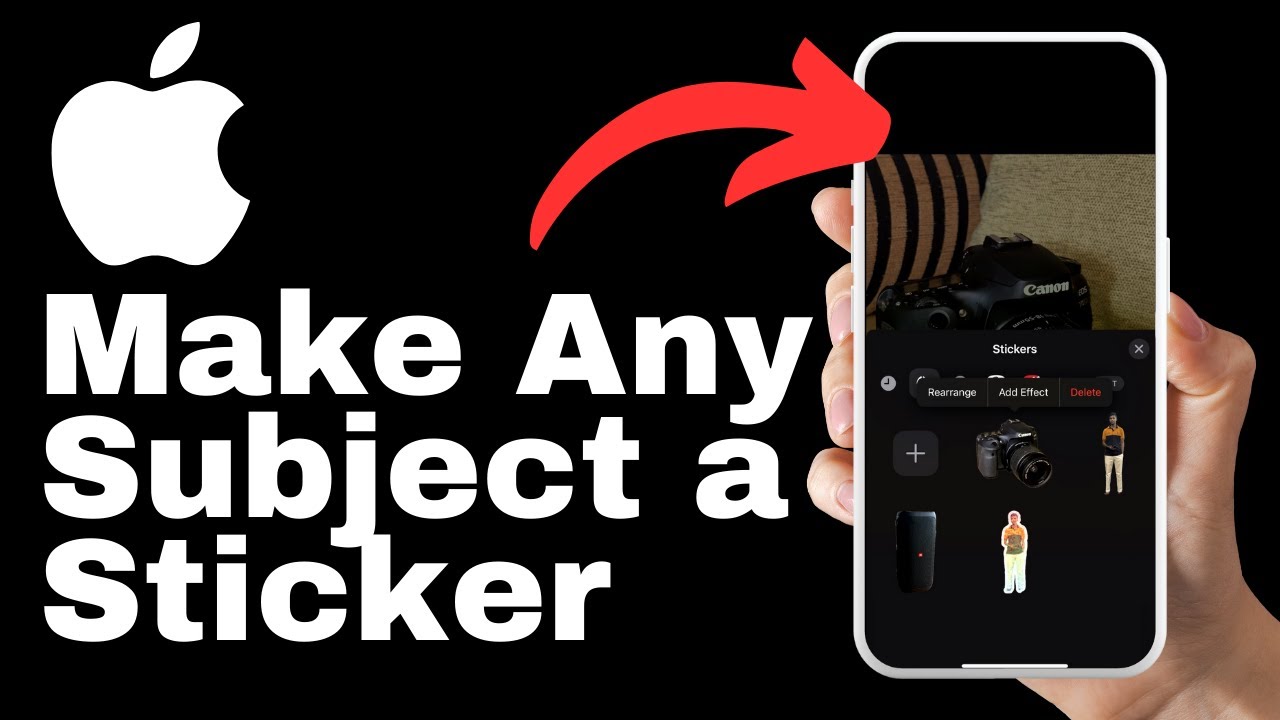
In this article, we will explore the fascinating process of transforming any subject into a sticker using your iPhone 15. With the help of simple techniques, you can unlock your creativity and add a unique touch to your messages and photos. iPhones, known for their sleek design, powerful performance, and user-friendly interface, have revolutionized the way we communicate and capture memories. With this tutorial, you’ll learn how to turn your favorite subjects into stickers, enhancing your communication and making it more engaging. Plus, we’ll even show you how to add effects to your custom stickers for an extra touch of personalization. So, join us as we guide you through the step-by-step process of creating stunning stickers on your iPhone 15.
In the video presented by Media Magnet Guide, you’ll discover the simple steps to transform any subject into a sticker on your iPhone 15. From capturing a clear photo of the subject to adding effects, we’ll cover all the necessary techniques. Alongside the detailed tutorial, you’ll also find additional resources on our website, where you can explore more iPhone 15 tutorials. We value your feedback and encourage you to like, comment, and subscribe to our channel. By doing so, you’ll ensure you don’t miss any future tutorials and help us create more valuable content for you. Start enhancing your messages and photos with custom stickers today!
Understanding the Concept of Custom Stickers
The role of stickers in modern communication
Stickers have become an integral part of modern communication. They add a touch of fun and creativity to our messages and photos, allowing us to express ourselves in a more engaging and interactive way. Whether it’s a cute animal sticker or a funny meme sticker, these small graphics have the power to convey emotions and ideas that words alone cannot capture. Stickers have transformed the way we communicate and have become a language of their own in the digital world.
The need for custom stickers
While pre-made stickers are widely available, there is a growing demand for custom stickers that allow users to create their own unique designs. Custom stickers give individuals the freedom to express their creativity and personalize their messages and photos. Whether it’s a sticker featuring a loved one’s face or a sticker with a witty quote, custom stickers allow us to add a personal touch to our conversations. They also provide a way to stand out and make our messages more memorable in a sea of generic content.
The joy of creating your own stickers
Creating your own custom stickers is not only a practical skill but also a joyful experience. It allows you to showcase your creativity and turn ordinary subjects into stickers that are truly one-of-a-kind. The sense of accomplishment and the satisfaction of seeing your creations come to life is a unique feeling. Additionally, making your own stickers gives you the opportunity to experiment with different styles, colors, and effects, allowing you to explore and develop your artistic skills. So, let’s dive into the process of making any subject into a sticker using the iPhone 15.
Preparing Your Subject for a Sticker
Choosing the appropriate subject for a sticker
The first step in creating a sticker is selecting a subject that you want to transform into a sticker. The subject can be anything you like, whether it’s a photograph of a friend, a beautiful landscape, or even a drawing or painting you’ve created yourself. The key is to choose a subject that you find visually appealing and that you think will make a great sticker.
Setting up your subject for a clear shot
Once you have chosen your subject, it’s important to set it up in a way that allows for a clear and focused shot. Make sure that the subject is well lit and positioned in a way that highlights its features. Consider the background and make sure it is not distracting or cluttered. Taking the time to set up your subject properly will ensure that you capture a high-quality image that will later be transformed into a sticker.
Using iPhone 15’s camera for the best shot
The iPhone 15 is equipped with a powerful camera that can capture stunningly detailed photos. To make the most of this feature, it’s important to familiarize yourself with the camera settings and options on your iPhone 15. Explore features like portrait mode, HDR, and different shooting modes to find the settings that work best for the subject you are photographing. Experimenting with the camera settings will help you achieve the best shot possible, ensuring that your sticker turns out clear and visually appealing.
Taking a Shot of Your Subject
Understanding the best camera settings for stickers
When taking a shot of your subject, there are a few camera settings you should consider to ensure the best results. First, make sure the focus is set correctly on your subject. This can be done by tapping on the screen where the subject is located or by enabling the auto-focus feature on your iPhone 15. Next, adjust the exposure to ensure that your subject is well-lit and the details are clearly visible. You can do this by swiping up or down on the screen to adjust the exposure level. Finally, consider using the grid feature on your camera to help you compose a well-balanced and visually pleasing shot.
Ensuring proper lighting and contrast
Lighting plays a crucial role in photography, and it’s no different when capturing a shot for a sticker. Make sure that your subject is well-illuminated and that there are no harsh shadows or overly bright spots. Natural light is often the best option, so consider taking your shot near a window or in a well-lit area. If necessary, you can also use additional lighting sources to ensure optimal lighting conditions. Additionally, pay attention to the contrast in your shot. Make sure that the subject stands out against the background by choosing a subject and background with contrasting colors or tones.
Reviewing the shot before proceeding
Before moving on to the next step, take a moment to review the shot you’ve taken. Check for any blurriness, overexposure, or other issues that may affect the quality of the sticker. If necessary, retake the shot to ensure that you have a clear and visually appealing image to work with. Remember, the quality of the shot will directly impact the final result of the sticker, so it’s important to take the time to get it right.

Accessing the Photo Gallery on iPhone 15
Navigating to the gallery
To access your photo gallery on the iPhone 15, tap on the Photos app icon on your home screen. This will open up your photo library, where you can view all the photos and videos you have captured with your iPhone 15’s camera.
Finding the photo you want to convert into a sticker
Once you’re in the photo gallery, scroll through your photos to find the one you want to convert into a sticker. You can browse through your photos by swiping left or right, or you can use the search bar at the top of the screen to search for a specific photo by name, date, or location.
Understanding different gallery options on iPhone 15
The gallery on the iPhone 15 offers various options to help you organize and manage your photos. These options include albums, favorites, memories, and more. Albums allow you to group photos based on specific criteria, while favorites allow you to mark photos that you want to easily access later. Memories automatically create photo albums based on dates, locations, or specific themes. Familiarize yourself with these options so that you can easily navigate and find your desired photo for conversion into a sticker.
Selecting Your Subject in the Photo
Using the tap and hold gesture
To select your subject in the photo, use the tap and hold gesture. Simply tap and hold your finger on the subject you want to convert into a sticker.
Understanding the animation that pops up around your selection
When you tap and hold on the subject, you will notice an animation that pops up around your selection. This animation helps indicate that your selection has been recognized by the iPhone 15 and is ready to be converted into a sticker.
Releasing the tap and hold
After the animation pops up around your selection, release the tap and hold to proceed to the next step. This will trigger a small window to appear with various options for you to choose from.
Adding Sticker from the Options
Navigating the option window
Once the small window appears after releasing the tap and hold, you can navigate through the options by scrolling up or down. This window will provide you with different options for what you can do with your selected subject, one of which is adding a sticker.
Selecting add sticker from the options
To add your selected subject as a sticker, scroll until you find the option to add a sticker. Once you have located this option, tap on it to proceed with the sticker creation process.
Understanding what happens after selecting the add sticker option
When you select the “add sticker” option, the iPhone 15 will automatically convert your selected subject into a sticker. The sticker will be saved in your sticker collection, ready to be used in your messages, photos, and other digital communications.
Enhancing Your Sticker With Effects
Accessing the add effects option
To enhance your sticker with effects, tap on the sticker you just created. This will open up the sticker editing options, one of which is adding effects.
Understanding different available effects
The iPhone 15 offers a range of effects that you can apply to your stickers to make them even more visually appealing and engaging. These effects can range from filters that adjust the color and mood of the sticker to animated effects that add movement and interest to the sticker. Take the time to explore the different effects available and choose the ones that best enhance your sticker and suit your personal style or preference.
Choosing the best effect for your sticker
When selecting an effect for your sticker, consider the subject and the message you want to convey. A playful subject may benefit from a fun and animated effect, while a more serious subject may require a subtle filter to enhance its aesthetics. Experiment with different effects and preview them before making your final selection. Remember, the goal is to enhance the sticker and make it more visually appealing, so choose an effect that achieves this objective.
Previewing Your Sticker
The need for previewing your sticker
Before using your sticker in your messages or photos, it’s important to preview it to ensure that it looks exactly how you want it to. Previewing allows you to make any necessary adjustments or changes before sharing your sticker with others.
How to preview your stickers
To preview your sticker, open a messaging platform like WhatsApp and create a new conversation. Once in the conversation, access the sticker section and scroll through your sticker collection to find the sticker you want to preview. Tap on the sticker to send it to the conversation. This will allow you to see how the sticker appears in the messaging platform and how it interacts with other elements in the conversation.
Checking your sticker in a messaging platform like WhatsApp
When previewing your sticker in a messaging platform like WhatsApp, pay attention to its size, quality, and how it blends with the background. Make sure that the sticker is clear and visually appealing, and that it doesn’t appear distorted or pixelated. If you are satisfied with the preview, your sticker is ready to be used in your messages and photos.
Creating Sticker With Videos
Knowing the possibilities with videos
In addition to creating stickers from photos, the iPhone 15 also allows you to create stickers from videos. This opens up a whole new realm of possibilities for creating custom stickers from your memorable moments captured in videos.
Following the same steps for video as well
The process of creating a sticker from a video is similar to creating a sticker from a photo. Simply select the video you want to extract a sticker from, follow the steps outlined earlier to select your subject, and proceed to the sticker creation process. The iPhone 15 will automatically convert a still frame from the video into a sticker, allowing you to add a personalized touch to your videos.
Adding custom stickers over your memorable moments
Once you have created a sticker from a video, you can use it to add a personalized touch to your memorable moments. Whether it’s a wedding video, a birthday celebration, or a vacation montage, adding custom stickers can make your videos more fun and engaging. Place the custom stickers over specific moments in the video to highlight certain elements or to add a touch of creativity and humor. The possibilities are endless.
Conclusion
Recap of how to create stickers of any subjects in iPhone 15
In this article, we have explored the process of creating custom stickers from any subject using the iPhone 15. We covered the importance of stickers in modern communication, the need for custom stickers, and the joy of creating your own stickers. We also discussed the steps involved in preparing your subject for a sticker, taking a shot of your subject, accessing the photo gallery on iPhone 15, selecting your subject in the photo, adding stickers from the options, enhancing stickers with effects, previewing stickers, and creating stickers with videos.
The fun and benefits of creating your own custom stickers
Creating your own custom stickers is a fun and rewarding experience. It allows you to express your creativity, personalize your messages and photos, and stand out in the digital world. Custom stickers add a touch of fun and uniqueness to your conversations and help you create memorable moments.
Invitation to like, comment, and subscribe for more tutorial content
We hope that this tutorial has been helpful in guiding you through the process of creating custom stickers on the iPhone 15. If you found this article informative and enjoyable, we invite you to like, comment, and subscribe to our channel for more tutorial content. Your support inspires us to create valuable content and ensures that you won’t miss any future tutorials. Thank you for your time and happy sticker creation!


