In the realm of video editing, adding glitch effects has become a popular technique to infuse a dynamic and edgy touch to your videos. If you’re interested in learning how to create these captivating glitch effects using DaVinci Resolve, look no further. In this tutorial by Media Magnet Guide, you will discover step-by-step instructions on how to master this technique and take your videos to the next level.
DaVinci Resolve, an all-in-one software for video editing, color correction, visual effects, and audio post-production, offers a comprehensive set of tools suitable for professionals and beginners alike. With its user-friendly interface and powerful features, it has emerged as a preferred choice for projects of varying sizes and complexities. Whether you’re a seasoned editor or venturing into video editing for the first time, this tutorial will equip you with the skills to create glitch effects and elevate the visual impact of your videos. Stay tuned for a captivating tutorial that will guide you through the process step by step.


Understanding DaVinci Resolve
DaVinci Resolve is an all-in-one video editing, color correction, visual effects, and audio post-production software. It is widely used by professionals and beginners alike due to its comprehensive set of tools and ease of use. With DaVinci Resolve, you can create stunning glitch effects to add a dynamic and edgy touch to your videos. In this article, we will guide you through the process of creating glitch effects in DaVinci Resolve, from downloading and installing the software to finalizing and exporting your glitch video.
Getting started with DaVinci Resolve
Before you can create glitch effects in DaVinci Resolve, you will need to download and install the software. DaVinci Resolve is available for free on the official website, and it is compatible with both Windows and Mac operating systems. Once you have installed DaVinci Resolve, you will need to do an initial setup and familiarize yourself with the interface. The interface of DaVinci Resolve may seem overwhelming at first, but with some practice, you will be able to navigate through it smoothly. As a beginner, it is important to start with the basics and gradually explore the advanced features of the software.
The Basics of Glitch Effects
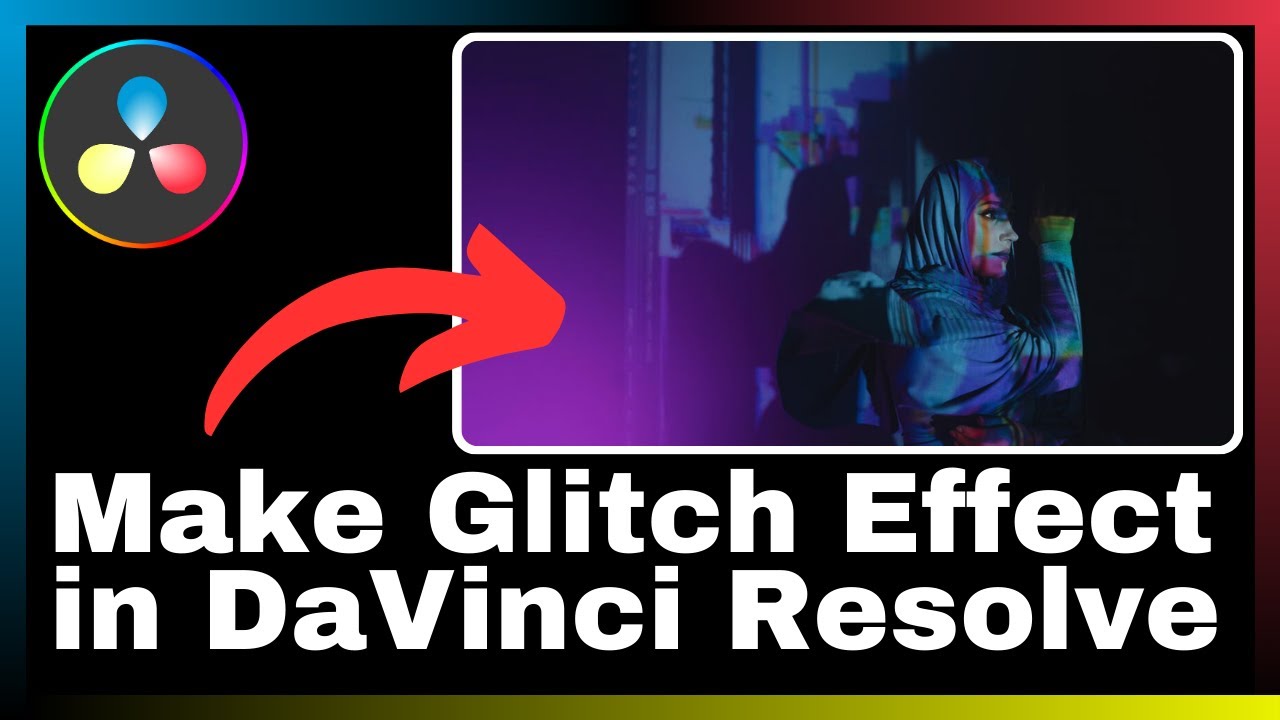
Glitch effects are a popular trend in video editing, as they add a unique and visually appealing touch to videos. A glitch effect refers to the intentional distortion or disruption of the video or audio to create a digital glitch or malfunctioning effect. This effect is often used to convey a sense of digital chaos or to create an edgy and futuristic look.
Glitch effects are important in videos because they help to capture the viewer’s attention and add a sense of style and creativity to the content. They can be used in a wide range of videos, from music videos to promotional videos, to enhance the overall visual experience.
There are various types of glitch effects that you can create, depending on your preferences and the aesthetic you want to achieve. Some common types of glitch effects include pixelation, screen tearing, color channel separation, and audio distortion.

Creating Your First Glitch Effect
To create your first glitch effect in DaVinci Resolve, you will need to open the project in the software. Once you have opened the project, you can select the clip to which you want to apply the glitch effect. DaVinci Resolve offers a wide range of video effects, including glitch effects, which you can apply to your selected clip. These video effects allow you to manipulate various parameters to achieve the desired glitch effect. It is important to experiment with different combinations of settings and parameters to find the perfect glitch effect for your video.
Implementing Glitch Transitions
Glitch transitions are a great way to transition between clips while adding a glitch effect. DaVinci Resolve offers a variety of glitch transitions that you can choose from to achieve a seamless and visually appealing transition. When choosing a glitch transition, it is important to consider the overall tone and style of your video, as well as the purpose of the transition. Once you have selected the appropriate glitch transition, you can adjust the transition settings to customize it according to your preferences. These settings may include parameters such as duration, intensity, and direction of the glitch effect. After adjusting the transition settings, you can apply the glitch transition between your clips to create a smooth and visually stunning transition.
Adjusting the Glitch Parameters
While the default glitch effects in DaVinci Resolve may already produce impressive results, you can further improve the glitch effect by using adjustment layers. Adjustment layers allow you to apply effects to multiple clips at once, providing you with more control over the overall look of your glitch effect. You can manipulate various glitch parameters, such as intensity, frequency, and timing, to achieve the desired effect. It is important to experiment with these parameters and make small adjustments to achieve the optimal glitch effect for your video.
Adding Audio For Glitch Effects
Adding audio to your glitch effects can enhance the overall impact of the effect and create a more immersive viewing experience. When adding audio to your glitch effect, it is important to find suitable sound effects that complement the glitch visuals. There are various online libraries and resources where you can find glitch sound effects to use in your videos. Once you have found a suitable sound effect, you can add it to your timeline and sync it with the glitch effect. It is also important to adjust the audio parameters, such as volume and EQ, to ensure that the audio blends well with the glitch effect and does not overpower it.
Previewing and Refining the Glitch Effect
Previewing the glitch effect is an essential step in the process of creating glitch effects in DaVinci Resolve. It allows you to see how the glitch effect will appear in the final video and make any necessary adjustments. Previewing the glitch effect can be done in real-time within the DaVinci Resolve interface. Make sure to pay attention to the overall composition, timing, and synchronization of the glitch effect. If you are not satisfied with the result, you can make additional adjustments to the glitch parameters, transition settings, or audio parameters. It is important to keep refining and fine-tuning the glitch effect until you are completely satisfied with the result.
Finalizing and Exporting Your Video
Before exporting your glitch video from DaVinci Resolve, it is recommended to do a final check-through to ensure that everything is in order. This includes reviewing the overall video composition, checking for any errors or inconsistencies, and ensuring that the glitch effect is applied consistently throughout the video. Once you are satisfied with the final result, you can proceed to choose the export settings. DaVinci Resolve offers a wide range of export options, allowing you to customize the format, resolution, and quality of your exported video. It is important to choose the appropriate export settings based on your desired output and platform. After selecting the export settings, you can initiate the export process and wait for the software to generate the final glitch video.
Conclusion
In conclusion, creating glitch effects in DaVinci Resolve offers a creative and visually appealing way to enhance your videos. With the comprehensive set of tools and features available in DaVinci Resolve, you can easily create stunning glitch effects that will captivate your audience. By following the outlined steps in this article, from downloading and installing the software to finalizing and exporting your glitch video, you can confidently create glitch effects that add a dynamic and edgy touch to your videos. So, start exploring the possibilities of glitch effects in DaVinci Resolve and continue practicing to hone your skills.