“How To Make Slideshow Video In Canva” is a tutorial video presented by Media Magnet Guide that aims to teach you how to transform your Canva designs into engaging slideshow videos. The video will demonstrate a step-by-step process to create a captivating slideshow in Canva, even if you are a novice. By accessing Canva and signing in, you can create a blank video canvas and customize its size and frame duration according to your needs. The tutorial will guide you through the process of adding images, experimenting with transitions, and using text manipulation to create a professional-looking slideshow. The video also provides insights on sharing your slideshow and obtaining an mp4 version to share across various platforms.
Understanding Canva’s Interface
Introduction to Canva’s interface
When using Canva, it’s important to familiarize yourself with its interface. Canva’s interface is user-friendly and intuitive, making it easy for beginners to navigate. The interface is designed to provide a seamless experience for users, whether they are creating designs or slideshow videos. By understanding how Canva’s interface works, you can make the most out of its features and create stunning slideshow videos.
Navigating through Canva’s main features
Canva offers a wide range of features that allow users to create visually appealing slideshow videos. To navigate through these features, start by accessing Canva’s main dashboard. From there, you can choose the video tab to begin creating your slideshow video. Canva’s video tools and library are easily accessible, making it convenient to add media, customize slides, and incorporate transitions and animations. By learning how to navigate through Canva’s main features, you can efficiently create compelling slideshow videos.
Overview of Canva’s diverse templates
One of Canva’s standout features is its vast collection of templates. These templates cover a wide range of themes, styles, and purposes, making it easy to find the perfect design for your slideshow video. Whether you’re creating a business presentation, a personal slideshow, or a promotional video, Canva has templates to suit your needs. By exploring Canva’s diverse templates, you can save time and effort in designing your slideshow video and achieve a professional and polished result.
Getting Started With Canva
Creating an account on Canva
Before you can start creating slideshow videos on Canva, you need to create an account. Signing up for an account on Canva is free and easy. Simply visit Canva’s website and click on the “Sign up” button. You can register with your email address, or you can choose to sign up using your Google or Facebook account. Creating an account will give you access to Canva’s full range of features and allow you to save and share your projects.
Accessing Canva’s library and tools
Once you have created an account and logged in to Canva, you will have access to its library and tools. Canva’s library contains a vast collection of images, illustrations, icons, and other media assets that you can use to enhance your slideshow video. The tools provided by Canva enable you to customize and edit these media assets, as well as add text, transitions, and animations to your slides. Familiarizing yourself with Canva’s library and tools is essential for creating visually appealing and engaging slideshow videos.
Selecting the video tab from Canva dashboard
To begin creating a slideshow video on Canva, navigate to the video tab on the Canva dashboard. This tab is specifically dedicated to creating videos and provides a range of features and options that are tailored to video creation. By selecting the video tab, you can access all the tools and templates necessary to design and produce your slideshow video. The video tab is where the magic happens, so make sure to familiarize yourself with its features and capabilities.
Setting Up The Slideshow Video
Choosing the size of the video canvas
Canva allows you to customize the size of your video canvas according to your preferences. While there is a default size of 920 x 1080 pixels, you can adjust it to suit your specific requirements. Consider factors such as the platform where you plan to share your slideshow video and the aspect ratio you want to maintain. By choosing the appropriate size for your video canvas, you can ensure that your slideshow video displays correctly and looks professional.
Understanding the frame duration
The frame duration refers to the length of time each slide is displayed in your slideshow video. By default, Canva sets the frame duration to 5 seconds. However, you can adjust this duration to fit your needs. It’s important to strike a balance between giving viewers enough time to absorb the information on each slide and keeping the video engaging and fast-paced. Experiment with different frame durations to find the perfect balance for your slideshow video.
Customizing the video duration according to requirements
In addition to the frame duration, you also have control over the overall video duration of your slideshow. Depending on the content and purpose of your slideshow video, you may need to adjust its duration accordingly. Longer videos may be suitable for presentations or educational purposes, while shorter videos may be more suitable for social media platforms. By customizing the video duration, you can ensure that your slideshow video effectively communicates your message within the allotted time.
Adding Media to the Slideshow
Understanding personal uploads and Canva’s own library
When creating a slideshow video on Canva, you have two options for adding media: personal uploads and Canva’s own library. Personal uploads allow you to use your own images, videos, and other media assets in your slideshow. Canva’s own library, on the other hand, provides a vast collection of high-quality images, videos, illustrations, icons, and more that you can use in your slideshow. By understanding the differences between personal uploads and Canva’s library, you can choose the most suitable media assets for your slideshow video.
Resizing and adjusting the images to fit the frame
To ensure that your images fit properly within the frame of your slideshow video, you may need to resize and adjust them. Canva’s editing tools make it easy to resize and crop images, as well as adjust their position and orientation. By resizing and adjusting your images, you can create a visually appealing and cohesive slideshow video that maintains a professional look. Pay attention to the composition of your slides and make any necessary adjustments to ensure that your images are optimized for the video format.
Creating Slides For The Slideshow
Adding a new page for each slide
To create slides for your slideshow video, you need to add a new page for each slide. Canva’s interface makes it easy to add and manage multiple pages within your video project. By adding a new page for each slide, you can keep your content organized and structured. This allows viewers to easily follow along and understand the information being presented. Take advantage of this feature to create a seamless and professional slideshow video.
Layers and depth concept in Canva
Canva’s concept of layers and depth allows you to add visual interest and depth to your slides. By layering images, text, and other elements, you can create a sense of depth and dimension in your slideshow video. This adds visual appeal and can make your slides more engaging. Experiment with different layering techniques and consider how they can enhance the overall aesthetic of your slideshow.

Ensuring regular intervals between slides
When creating a slideshow video, it’s important to ensure regular intervals between slides. This helps maintain a consistent pace and rhythm throughout the video. Canva makes it easy to set the duration of each slide, allowing you to control the timing of your slideshow. Consider factors such as the amount of information on each slide and the intended viewer experience when determining the intervals between slides. By ensuring regular intervals, you can create a smooth and well-paced slideshow video.
Selecting Transitions
Introduction to transition options in Canva
Transitions play a crucial role in creating a seamless and visually pleasing slideshow video. Canva offers a range of transition options that allow you to smoothly transition between slides. These transitions add a professional touch to your video and make it more engaging for viewers. Experiment with different transition options and select the ones that best suit the tone and content of your slideshow.
The effect of transitions on slideshow videos
Transitions have a significant impact on the overall viewing experience of a slideshow video. Well-chosen transitions can enhance the flow of information, add visual interest, and create a sense of continuity between slides. On the other hand, poorly executed transitions can be distracting and disrupt the viewer’s engagement. When selecting transitions for your slideshow video, consider how they contribute to the overall narrative and ensure that they complement the content of each slide.
Choosing flow transition for a seamless viewing experience
Among the various transition options available in Canva, the flow transition stands out for providing a seamless viewing experience. The flow transition smoothly moves from one slide to the next, creating a fluid visual transition that enhances the overall cohesiveness of the slideshow video. Consider using the flow transition to maintain a consistent visual flow and ensure that your viewers can seamlessly follow along without any sudden disruptions.
Adding Text to the Slideshow
Choosing from Canva’s font options
When adding text to your slideshow video, you have access to Canva’s extensive collection of font options. Canva offers a wide range of fonts, from simple and minimalist to bold and decorative. Select fonts that align with the tone and message of your slideshow video. Consider readability and legibility, ensuring that the text is clear and easy to read, even when displayed on smaller screens.
Manipulating text on the slides
Canva’s text manipulation tools allow you to customize the appearance of text on your slides. Adjusting the text size, color, alignment, and other attributes can help create visual interest and emphasize key points. Experiment with different text manipulation techniques to enhance the visual appeal and clarity of your slideshow video. Remember to strike a balance between creativity and readability to ensure that your text effectively communicates your message.
Ungrouping and adjusting text for clarity
Sometimes, the text elements within Canva’s templates can be grouped together. If this is the case, you may need to ungroup the text elements and adjust them individually for clarity. By ungrouping the text, you can customize each element to suit your specific needs. This ensures that the text is legible and easy to understand, even when displayed in a slideshow format. Take the time to review and adjust the text on each slide to maintain a professional look.
Adding Animations in the Slideshow
Understanding the animation tool in Canva
Canva’s animation tool allows you to add dynamic effects to your slideshow video. Animations can bring your slides to life and captivate your audience. By using Canva’s animation tool, you can create eye-catching effects that emphasize key points or add visual interest. However, it’s important to use animations sparingly and purposefully to avoid overwhelming or distracting viewers. Consider how animations can enhance the overall narrative and impact of your slideshow video.
Adding dynamic appearance to the slideshow
To create a dynamic appearance in your slideshow video, consider using animations that introduce elements onto the slides or create movement within the frame. By adding these dynamic effects, you can engage and maintain your viewers’ attention throughout the video. Experiment with different animation options and select those that enhance the overall visual experience without overshadowing the content of your slideshow.
Choosing between static and animated text
When it comes to text in your slideshow video, you have the option to keep it static or apply animation effects. Static text can be clean and minimalistic, allowing the focus to remain on the content. On the other hand, animated text can add flair and draw attention to key points or messages. Consider the overall tone and purpose of your slideshow when deciding whether to use static or animated text. Be mindful of not overusing animations, as they can become distracting if not used purposefully.
Finalizing and Sharing the Slideshow
Final review of the slideshow video
Before sharing your slideshow video, it’s essential to conduct a final review. Take the time to watch the video from start to finish, paying attention to any errors, inconsistencies, or areas that need improvement. Consider factors such as the timing of transitions, the clarity of images and text, and the overall flow of information. By conducting a final review, you can ensure that your slideshow is polished, professional, and ready for sharing.
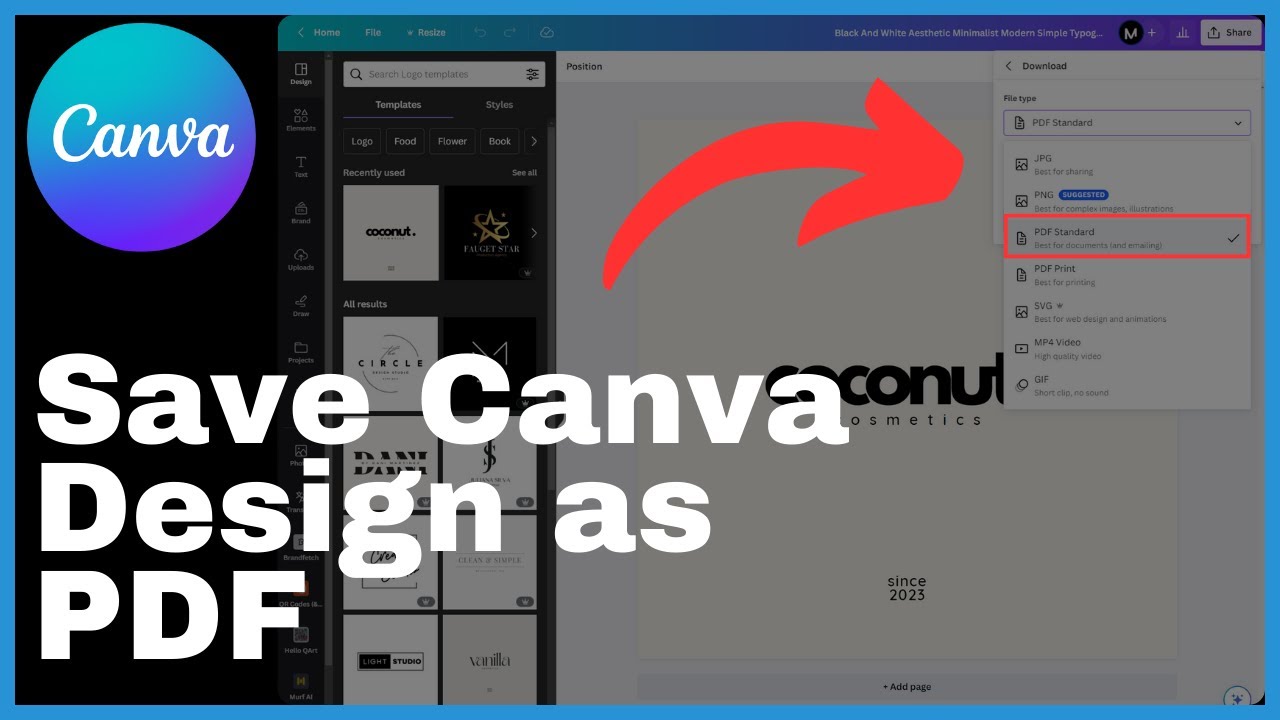
Sharing the slideshow: view-only link vs MP4 version
Canva provides different options for sharing your slideshow video. You can generate a view-only link, which allows others to view the video without being able to make any edits or changes. Alternatively, you can download the video as an MP4 file, which can be easily shared across various platforms and devices. Consider the specific audience and purpose of your slideshow when deciding on the best sharing option. Both options provide a convenient way to distribute your professional-looking slideshow video.
Updating the slideshow after sharing
If you need to make changes or updates to your slideshow video after sharing it, Canva makes it easy to do so. By editing the original project, you can make any necessary modifications, such as adding or removing slides, adjusting the timing, or updating the media assets. Once you have made the changes, you can simply regenerate the view-only link or download the updated MP4 file. This flexibility allows you to keep your slideshow video up to date and ensures that viewers see the most recent version without the need for a new link.
Conclusion
Brief Recap of Making Slideshow Video in Canva
In this comprehensive guide, we have explored the step-by-step process of creating a captivating slideshow video in Canva. From understanding the interface and navigating through its main features to setting up the video canvas, adding media and text, and incorporating transitions and animations, Canva provides all the tools necessary to create professional-looking slideshow videos. By following the outlined steps and considering best practices, you can unleash your creativity and achieve impressive results.
Exploring Advanced Features and Premium Options on Canva
Beyond the basics covered in this guide, Canva offers advanced features and premium options that can further enhance your slideshow videos. These include premium templates, access to additional media assets, advanced editing capabilities, and more. Exploring these advanced features and premium options can take your slideshow videos to the next level, allowing you to create even more visually stunning and impactful presentations.
Additional Resources and Tutorials for Further Learning
As you continue your journey of creating slideshow videos in Canva, it can be beneficial to explore additional resources and tutorials for further learning. Canva provides a wealth of tutorials and guides on their website, covering various topics and techniques. Additionally, there are numerous online communities and forums where you can connect with other Canva users and learn from their experiences. Take advantage of these resources to expand your knowledge and continue honing your skills in creating slideshow videos with Canva.