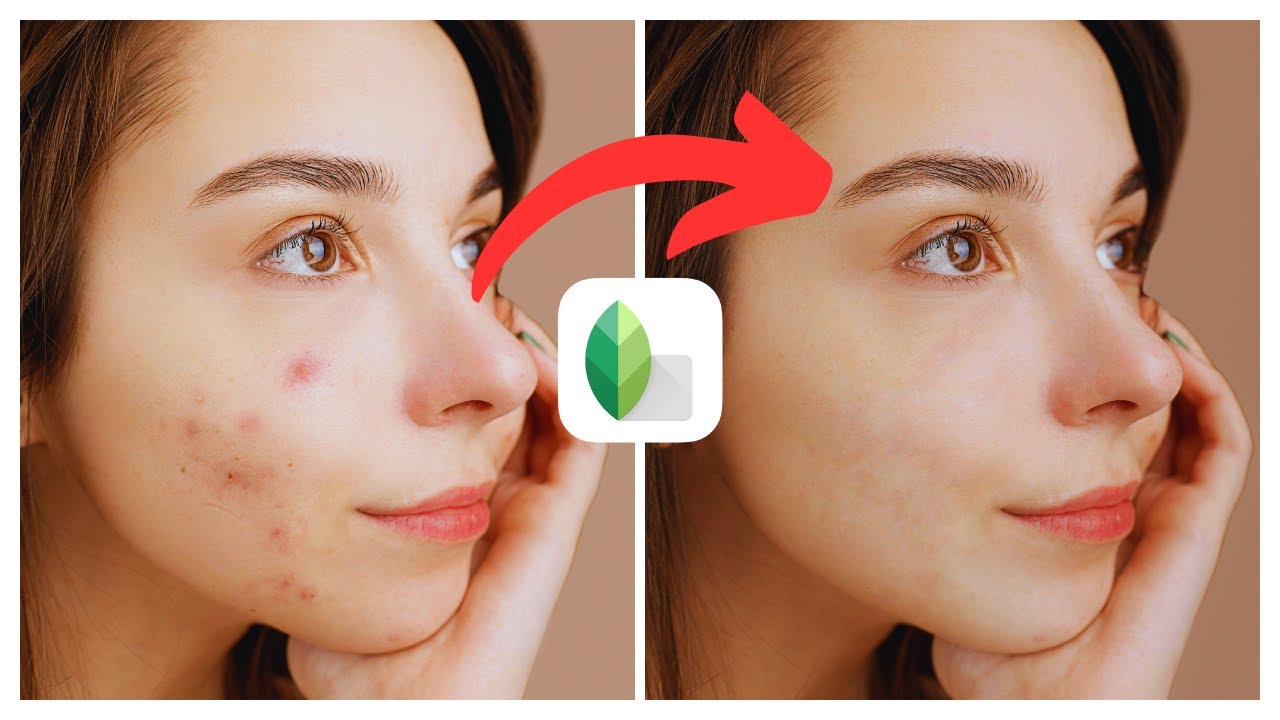
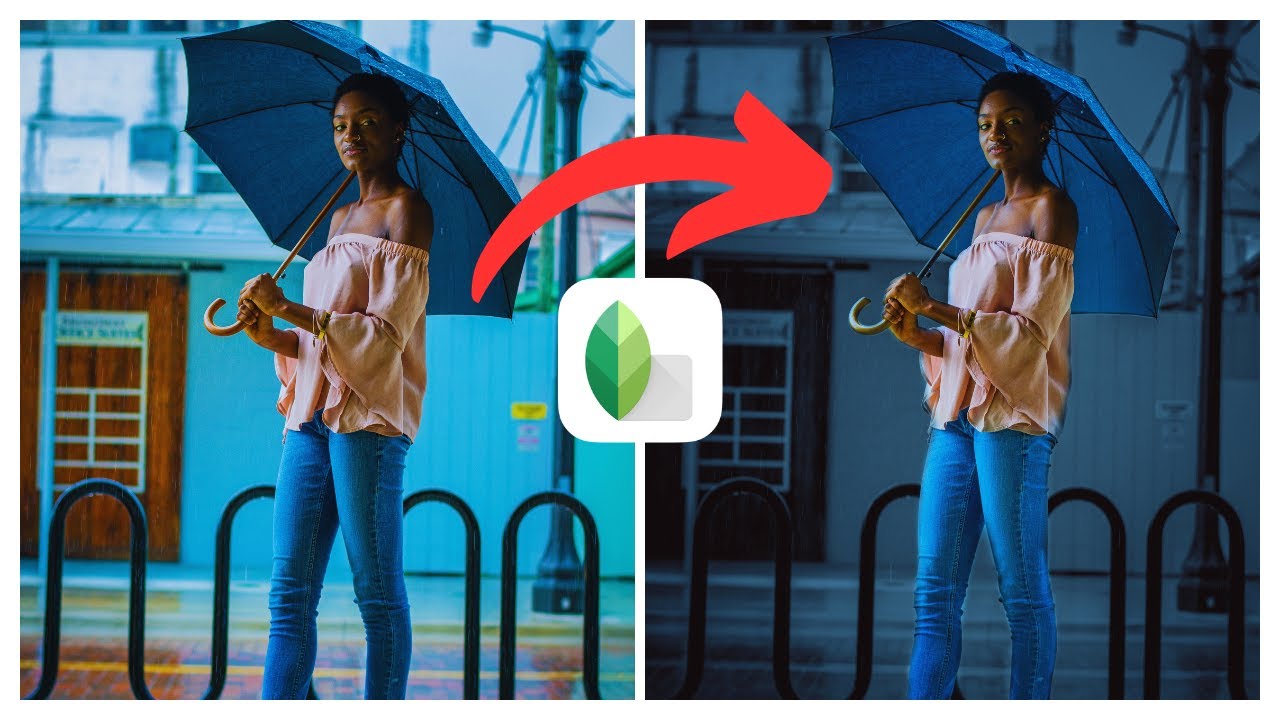
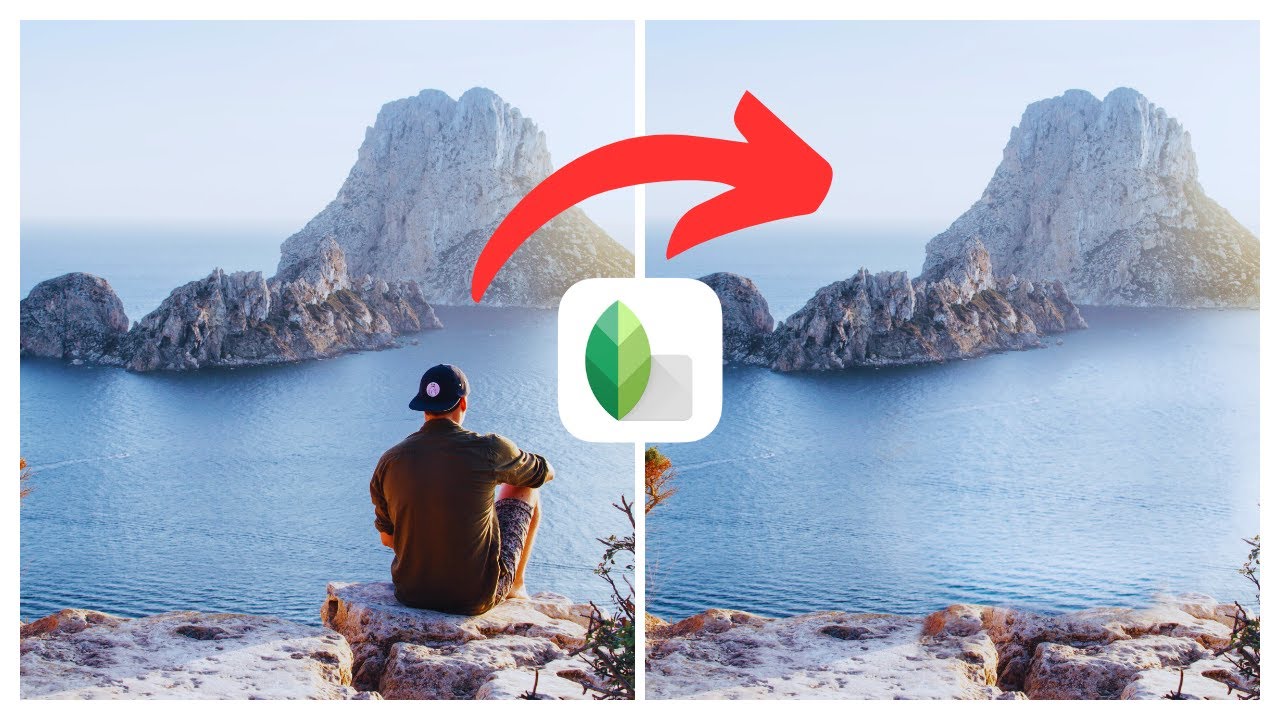
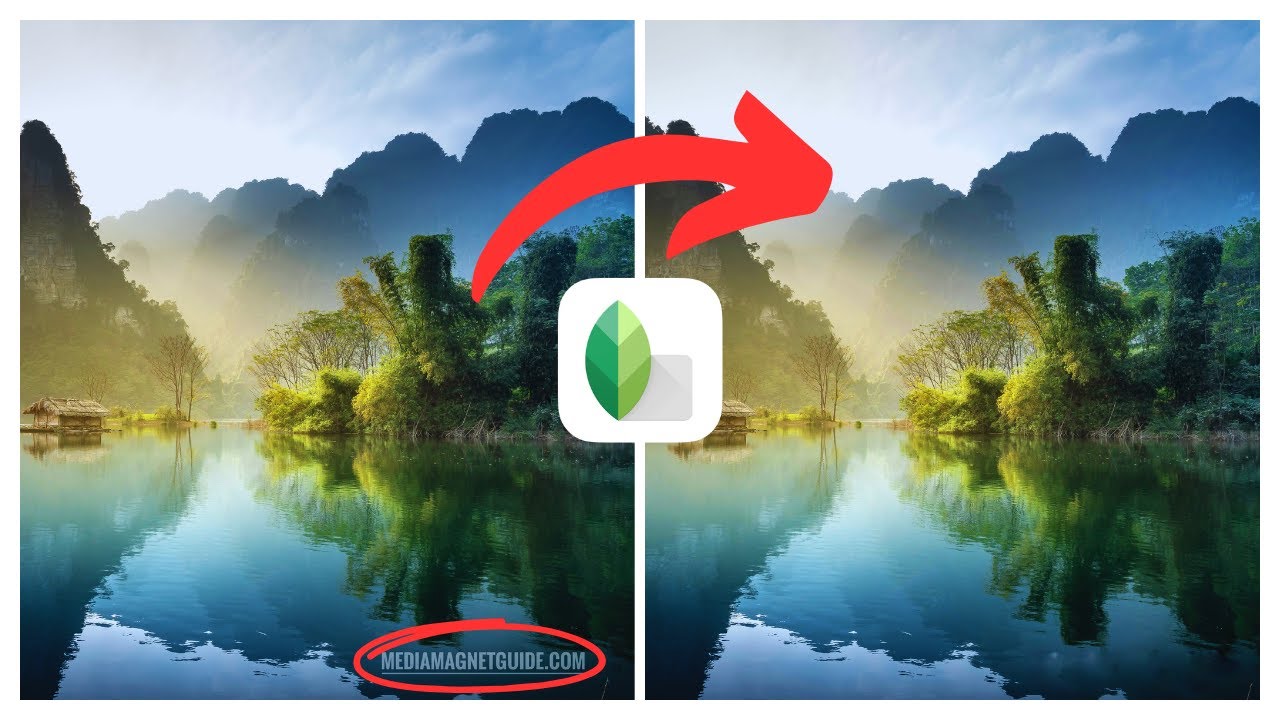
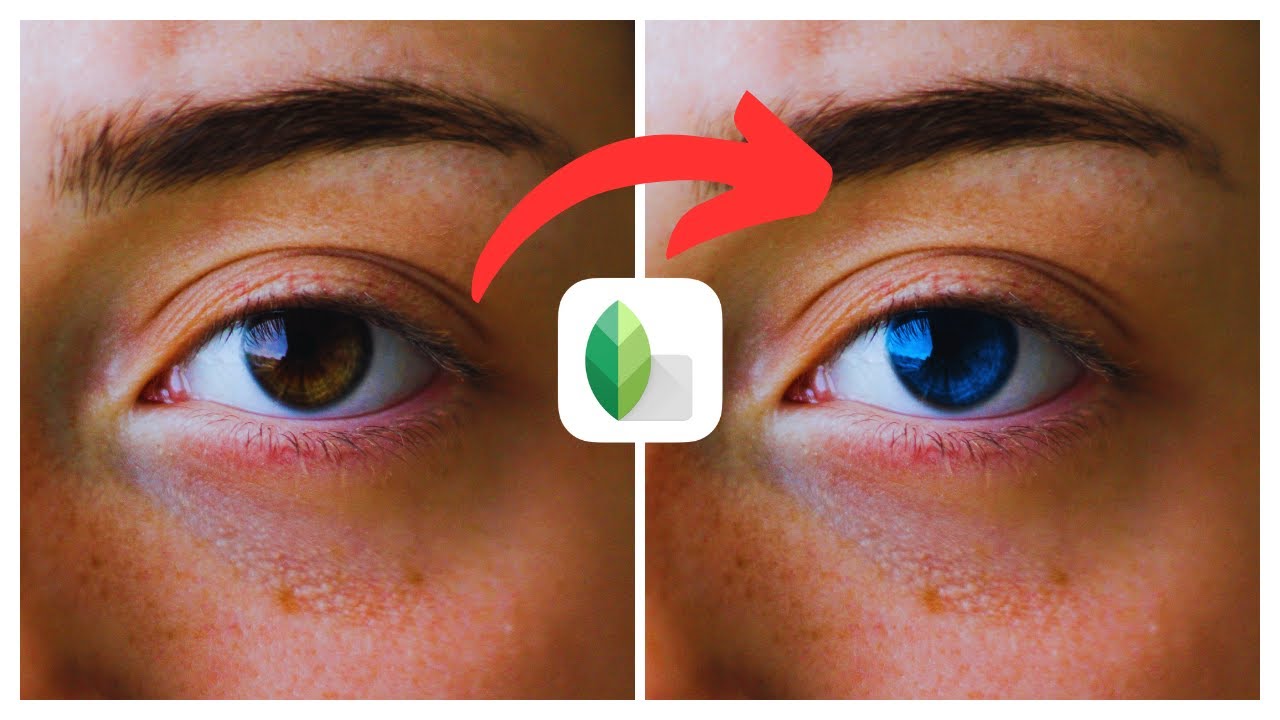
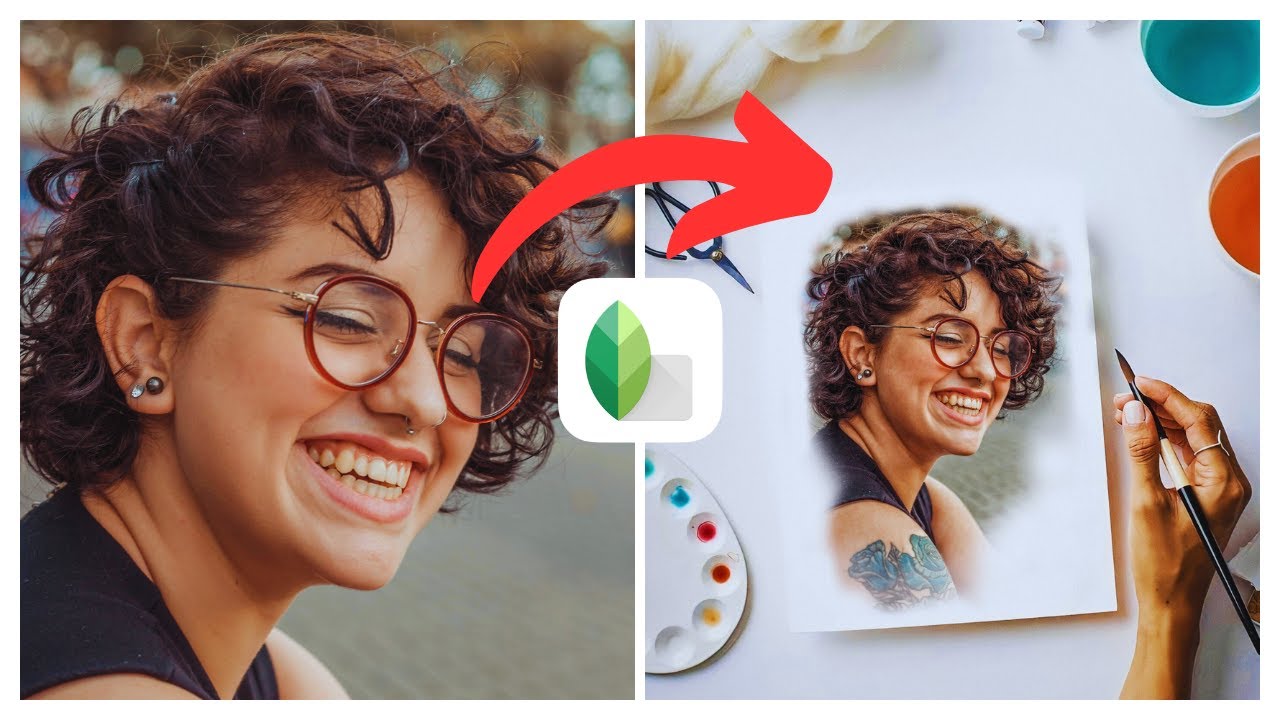
Discover the secrets to achieving a flawless complexion and removing pimples and blemishes from your skin in photos with the help of Snapseed, a powerful and user-friendly photo editing app available on both iOS and Android. In this tutorial, provided by Media Magnet Guide, you will learn various techniques and tools offered by Snapseed to enhance and transform your photos effortlessly. Whether you are a beginner or an advanced photographer looking to level up your game, this tutorial will guide you through the process of editing your photos to achieve professional results.
Join the Media Magnet Guide community and stay up to date with the latest Snapseed tutorials, as well as discover the best picks for iPhones and Android phones. Don’t miss out on valuable tips and tricks that can take your photography skills to the next level. Visit their website to explore additional tutorials and feel free to drop a comment if you have any questions or video requests. Your support drives Media Magnet Guide to continue creating valuable content that helps you achieve your desired results.

Understanding the Basics of Snapseed
What is Snapseed
Snapseed is a powerful photo editing app developed by Google. It is designed to provide users with a wide range of editing tools and filters to enhance and transform their photos. Whether you’re a professional photographer or just someone who enjoys taking pictures, Snapseed offers creative freedom and the ability to level up your photography game.
Features of Snapseed
Snapseed comes with an extensive set of features that allow users to edit their photos with precision and ease. Some of the key features include:
-
Basic Adjustments: Snapseed allows you to make basic adjustments to your photos, such as brightness, contrast, saturation, and sharpness. These adjustments help you to bring out the best in your photos and make them more visually appealing.
-
Selective Adjustments: With Snapseed, you can selectively adjust specific areas or objects in your photos. This feature is particularly useful when you want to highlight or enhance certain elements in your image.
-
Healing Tool: The Healing Tool in Snapseed enables you to remove unwanted objects or blemishes from your photos. It’s an excellent tool for getting rid of pimples and other imperfections on the skin.
-
Brush Tool: The Brush Tool allows you to selectively apply edits to specific areas of your photo. This tool is especially useful for precise skin corrections and other localized edits.
-
Filters: Snapseed offers a variety of filters that can instantly transform the look and feel of your photos. These filters provide different artistic effects and styles to suit your preferences.
How Snapseed can be useful for photo editing
Snapseed is a versatile and user-friendly app that can be highly useful for photo editing purposes. Here are some ways in which Snapseed can benefit you:
-
Professional-Level Editing: Snapseed provides a range of powerful editing tools that rival those found in professional photo editing software. With Snapseed, you can achieve professional-level edits without the need for extensive technical knowledge.
-
Quick and Easy Edits: Snapseed offers a user-friendly interface and intuitive controls, making it quick and easy to make edits to your photos. Whether you’re a beginner or an experienced photo editor, Snapseed simplifies the editing process and saves you time.
-
Portability: Snapseed is available for both iOS and Android devices, making it accessible and convenient to edit photos on the go. You can edit your photos anytime and anywhere with just your smartphone or tablet.
-
Versatility: Snapseed caters to a wide range of editing needs, from basic adjustments to advanced editing techniques. Whether you want to enhance the colors in your landscape photos or remove blemishes from portraits, Snapseed has the tools and features to meet your requirements.
Downloading and Installing Snapseed
How to download Snapseed on iOS
To download Snapseed on iOS, follow these steps:
- Open the App Store on your iPhone or iPad.
- Tap on the search icon and type “Snapseed” in the search bar.
- Select the Snapseed app from the search results.
- Tap the “Get” button to download and install the app.
- Once the installation is complete, you can launch Snapseed from your home screen and start editing your photos.
How to download Snapseed on Android
To download Snapseed on Android, follow these steps:
- Open the Google Play Store on your Android device.
- Tap on the search icon and type “Snapseed” in the search bar.
- Select the Snapseed app from the search results.
- Tap the “Install” button to download and install the app.
- Once the installation is complete, you can open Snapseed from your app drawer and start editing your photos.
Choosing the right version of Snapseed
Snapseed is regularly updated by Google, so it’s essential to make sure you have the latest version installed on your device. To check for updates, open the App Store (iOS) or Google Play Store (Android) and go to the Snapseed app page. If an update is available, tap the “Update” button to install the latest version.
It’s also worth noting that Snapseed offers different versions for iOS and Android. While the core features are consistent across both platforms, there might be minor differences in the user interface and specific functionalities. Therefore, ensure you download the version that is compatible with your device for the best user experience.
Introduction to Pimple Removal in Snapseed
What are the tools used for pimple removal
Snapseed provides various tools that can be effectively used for pimple removal and skin corrections. The two primary tools for pimple removal in Snapseed are the Healing Tool and the Brush Tool.
-
Healing Tool: The Healing Tool in Snapseed is specifically designed to remove unwanted objects and imperfections from your photos. It works by analyzing the surrounding area and seamlessly blending it with the area you want to remove. Using the Healing Tool, you can easily eliminate pimples and blemishes on the skin, achieving a more flawless complexion.
-
Brush Tool: The Brush Tool allows for more precise and localized edits. With the brush, you can selectively apply adjustments to specific areas, such as pimples or red spots on the skin. By adjusting the size and opacity of the brush, you can precisely target the affected areas and make them appear smoother and more even.
Capabilities of Snapseed for skin corrections
Snapseed offers a range of capabilities for skin corrections, allowing you to achieve professional-looking results. Here are some ways in which Snapseed can help with skin corrections:
-
Pimple Removal: The Healing Tool in Snapseed is incredibly effective in removing pimples and blemishes from the skin. It seamlessly blends the surrounding area to create a smooth and flawless complexion.
-
Tone and Texture Adjustments: Snapseed provides tools like “Brightness,” “Contrast,” and “Saturation” that can help you adjust the overall tone and texture of the skin. These adjustments allow you to make the skin appear more vibrant, even, and natural.
-
Selective Edits: The Brush Tool in Snapseed allows for localized skin corrections. You can specifically target areas that require adjustments, such as pimples or redness, and make them appear more natural and blemish-free.
Limitations of Snapseed for pimple removal
While Snapseed offers powerful tools for pimple removal and skin corrections, it’s essential to understand its limitations. Here are some limitations to be aware of when using Snapseed for pimple removal:
-
Complex Skin Issues: Snapseed’s tools work best for minor skin imperfections like pimples or blemishes. If you’re dealing with more complex skin issues, such as scars or deep wrinkles, Snapseed may not be as effective in completely removing or correcting them.
-
Extreme Edits: Snapseed’s editing capabilities are designed to enhance and improve photos while maintaining a natural look. If you push the edits too far or try to completely eliminate a pimple that is substantial in size, the resulting image may look unnatural or pixelated.
-
Learning Curve: While Snapseed is user-friendly, mastering its full potential may require some learning and experimentation. It’s essential to take the time to familiarize yourself with the various tools and techniques to achieve the desired results.
Understanding Photo Upload in Snapseed
Steps to upload photos in Snapseed
To upload photos in Snapseed, follow these steps:
- Open the Snapseed app on your device.
- Tap the “Open” button to select a photo from your device’s gallery.
- Browse through your gallery and select the photo you want to edit.
- Once you’ve selected the photo, tap the “Open” or “Import” button to open it in Snapseed.
Photo formats supported by Snapseed
Snapseed supports a wide range of photo formats, ensuring compatibility with different file types. Some of the commonly supported formats include:
-
JPEG (Joint Photographic Experts Group): JPEG is a commonly used file format for digital photos. It offers a good balance between file size and image quality, making it ideal for sharing and editing.
-
PNG (Portable Network Graphics): PNG is a lossless file format that supports transparency and high-quality images. It is commonly used for graphics and images that require a transparent background.
-
RAW (Raw Image Data): RAW files contain unprocessed data captured directly from the camera’s image sensor. They offer the highest level of detail and flexibility for editing but require specialized software or apps like Snapseed to process.
-
TIFF (Tagged Image File Format): TIFF is a versatile file format that supports lossless compression and can store high-quality images with multiple layers. It is commonly used in professional photography and graphic design.
Choosing the right photo for pimple removal
When selecting a photo for pimple removal in Snapseed, consider the following factors:
-
High-resolution: Choose a photo with a high-resolution and good image quality. Higher resolutions provide more details, allowing for more precise edits and better results.
-
Well-lit: Opt for a photo that is well-lit and evenly exposed. Good lighting helps to bring out the details and textures in the skin, making it easier to perform accurate edits.
-
Focus on the affected areas: Select a photo that prominently features the areas with pimples or blemishes you want to remove. This will allow you to focus your edits on those specific areas and achieve targeted results.
-
Natural skin tone: It’s important to choose a photo where the skin tone appears natural and realistic. This will help you maintain the integrity of the original image and ensure that your edits blend seamlessly with the rest of the photo.
Guide to using Healing Tool in Snapseed
Introduction to Healing Tool
The Healing Tool in Snapseed is a powerful tool that allows you to remove unwanted objects and imperfections seamlessly. It works by analyzing the surrounding area and blending it with the area you want to remove, creating a smooth and natural-looking effect.
How to select and use the Healing Tool
To select and use the Healing Tool in Snapseed, follow these steps:
- Open the photo you want to edit in Snapseed.
- Tap on the “Tools” option at the bottom of the screen.
- Scroll through the list of tools and select the “Healing” tool.
- Adjust the brush size by sliding your finger left or right on the screen.
- Position the brush over the pimple or blemish you want to remove.
- Tap and hold on the pimple or blemish until it disappears.
- If necessary, repeat the process for other pimples or blemishes in the photo.
- Once you’re satisfied with the results, tap the checkmark icon to apply the edits.
Tips for achieving best results with the Healing Tool
To achieve the best results when using the Healing Tool in Snapseed, consider the following tips:
-
Zoom In: Zooming in on the affected area allows for more precise edits. It helps you see the details and textures of the skin, making it easier to blend the edits seamlessly.
-
Adjust Brush Size: Use the brush size adjustment feature to match the size of the brush with the size of the pimple or blemish. Too large of a brush may remove too much surrounding area, while too small of a brush may not provide enough coverage.
-
Take Your Time: Pimple removal requires patience and attention to detail. Take your time to ensure that the edits blend naturally and seamlessly with the rest of the skin.
-
Use Diverse Brush Strokes: Experiment with different brush strokes to mimic the texture and patterns of the surrounding skin. This helps to create a more realistic and natural-looking result.
Guide to using Brush Tool in Snapseed
Basics of the Brush Tool
The Brush Tool in Snapseed allows for localized edits and adjustments to specific areas of a photo. It enables you to selectively apply edits and corrections, making it an excellent tool for skin correction and pimple removal.
How to use the Brush Tool for skin correction
To use the Brush Tool for skin correction in Snapseed, follow these steps:
- Open the photo you want to edit in Snapseed.
- Tap on the “Tools” option at the bottom of the screen.
- Scroll through the list of tools and select the “Brush” tool.
- Choose the editing parameter you want to apply, such as brightness, saturation, or clarity.
- Adjust the brush size and opacity to match the affected area by sliding your finger left or right on the screen.
- Position the brush over the area you want to correct, such as a pimple, and start brushing over it.
- Make sure to brush carefully and precisely to avoid editing the surrounding areas.
- If needed, use the eraser option to remove any unintentional edits.
- Continue brushing until the desired correction is achieved.
- Once you’re satisfied with the result, tap the checkmark icon to apply the edits.
Choosing correct settings for the Brush Tool
When using the Brush Tool for skin correction in Snapseed, it’s essential to choose the correct settings to achieve the desired result. Here are some recommendations for the settings:
-
Brush Size: Adjust the brush size based on the size of the affected area. Use a smaller brush size for smaller pimples or blemishes and a larger brush size for larger areas or broader corrections.
-
Brush Opacity: The opacity determines the intensity of the edit applied by the brush. For subtle corrections, use a lower opacity. For more significant corrections, increase the opacity, but be mindful not to make the edits look heavy-handed.
-
Editing Parameters: Select the appropriate editing parameters based on the correction you want to make. For example, use brightness adjustments to even out skin tones, saturation adjustments to enhance colors, or clarity adjustments to improve texture.
-
Feathering: Feathering refers to the softness of the brush edges. When editing skin, it’s often helpful to have soft and feathered edges to blend the corrections seamlessly. Adjust the feathering option as needed to achieve natural-looking results.
Understanding Utilization of Filters in Snapseed
Introduction to Filters in Snapseed
Filters in Snapseed are preset effects that can instantly transform the look and feel of your photos. They are designed to provide different artistic effects and styles, allowing you to enhance your photos and achieve a specific mood or aesthetic.
Filters that aid in skin correction
While Snapseed offers various filters, some filters are particularly helpful for skin correction and pimple removal. Here are a few filters that aid in skin correction:
-
Portrait: The Portrait filter in Snapseed enhances facial features and smooths the skin. It helps to achieve a more polished and professional look in portrait photos.
-
Glamour Glow: The Glamour Glow filter adds a soft and dreamy glow to your photos. It can be used to minimize the appearance of imperfections on the skin and achieve a smoother complexion.
-
Vintage: The Vintage filter provides a nostalgic and retro look to your photos. It can be used creatively to give a unique aesthetic to portraits while minimizing the appearance of imperfections.
-
Tonal Contrast: The Tonal Contrast filter enhances the details and textures in your photos. It can be useful for making the skin appear more vibrant and alive while minimizing the appearance of blemishes.
Sequential process of applying filters for pimple removal
When applying filters for pimple removal in Snapseed, it’s useful to follow a sequential process to achieve the desired results. Here’s a suggested process for applying filters:
-
Basic Adjustments: Start by making basic adjustments to the overall tone and color of the photo. Adjust parameters like brightness, contrast, and saturation to achieve a well-balanced starting point.
-
Skin Corrections: Use the Healing Tool and Brush Tool to remove visible pimples and blemishes from the skin.
-
Selective Edits: If there are specific areas that require additional attention, use the Brush Tool to make localized adjustments. For example, you can brighten under-eye areas, reduce redness, or smooth rough patches.
-
Filter Application: After making the necessary corrections, apply filters to enhance the overall look of the photo. Experiment with different filters to achieve the desired mood or aesthetic while maintaining a natural-looking skin correction.
-
Final Touches: If needed, make any additional adjustments to fine-tune the image. This can include adjustments to exposure, sharpness, or cropping. Ensure that the final result looks cohesive and polished.
Suggestions on Additional Editing Tips
Tips on enhancing edited photos
When enhancing edited photos in Snapseed, consider the following tips:
-
Maintain Natural Look: While editing, strive for a natural look that doesn’t appear overly edited. Avoid heavy-handed edits that make the photo look artificial or fake.
-
Consistency: Ensure that the edits applied to different areas of the photo are consistent. This helps to create a cohesive and harmonious result.
-
Balance: Pay attention to the overall balance of the photo. Adjust parameters like brightness, contrast, and color saturation to achieve a well-balanced and visually pleasing image.
-
Experiment: Don’t be afraid to experiment with different editing techniques and combinations of tools. Snapseed offers a wide range of possibilities, so try out different options to find what works best for your photos.
Improving picture quality post pimple removal
After removing pimples and blemishes from a photo, you can further improve the picture quality by considering the following tips:
-
Sharpening: Apply a subtle amount of sharpening to enhance the overall clarity and detail of the photo. Be careful not to overdo it, as excessive sharpening can create unnatural-looking results.
-
Noise Reduction: If the edited photo appears grainy or noisy, especially in low-light situations, consider applying noise reduction. This will help to smooth out the grain and improve the overall quality of the image.
-
Vibrance and Saturation: Adjust the vibrance and saturation levels to enhance the colors in the photo. However, be mindful not to over-saturate the image, as it can result in an artificial-looking appearance.
-
Crop and Straighten: If necessary, use the crop and straighten tools to refine the composition of the photo. This can help eliminate distractions and create a more visually pleasing result.
Using Snapseed’s additional tools for optimizing the edited photo
In addition to the Healing Tool and Brush Tool, Snapseed offers a range of additional tools that can further optimize an edited photo. Here are some tools worth considering:
-
Selective Tool: The Selective Tool allows for localized adjustments similar to the Brush Tool but with more control. It enables you to adjust parameters like brightness, contrast, and saturation in specific areas, helping to fine-tune the overall appearance of the photo.
-
Curves: The Curves tool provides precise control over the tonal values in the photo. It allows you to adjust the brightness and contrast in specific areas or targeted ranges, providing more advanced editing capabilities.
-
HDR Scape: The HDR Scape tool enhances the dynamic range of your photo, making the highlights and shadows more balanced. It can be useful for creating impactful images with improved tonal details.
-
Perspective: The Perspective tool helps to correct perspective distortions in photos. Use this tool to straighten vertical or horizontal lines that may appear distorted due to the camera angle. This can greatly improve the overall composition of the photo.
Managing Snapseed and its Resources Efficiently
Facts about Snapseed’s data usage
Snapseed generally has low data usage compared to other photo editing apps. Since it’s primarily a mobile app that runs on devices, it doesn’t rely heavily on server-side processing or cloud storage. Most of the editing and processing happen locally on the device, minimizing data consumption. However, keep in mind that certain features of Snapseed, such as downloading additional filters or updates, may require an internet connection.
Tips on making minimum space and memory usage
To optimize space and memory usage while using Snapseed, follow these tips:
-
Clear Cache: Regularly clear the cache of Snapseed to free up space on your device. This can be done through the settings of your device or within the Snapseed app itself.
-
Remove Unnecessary Files: Delete any unused or unnecessary photos or files from your device’s storage. This helps to free up space and ensures that Snapseed runs smoothly.
-
Close Background Apps: Close any background apps that are not in use while using Snapseed. This helps to minimize memory usage and ensures optimal performance.
-
Update Snapseed: Keep Snapseed updated with the latest version available. Updates often include bug fixes and performance improvements, ensuring a more efficient and stable user experience.
Overcoming common issues while using Snapseed
While Snapseed is a reliable app, you may encounter some common issues while using it. Here are solutions to a few common issues:
-
App Crashing: If Snapseed crashes frequently, try closing the app completely and restarting your device. If the problem persists, uninstall and reinstall Snapseed to ensure a clean installation.
-
Slow Performance: If Snapseed is slow or laggy, close any unnecessary background apps and clear its cache. Also, ensure that your device has enough available storage space to run Snapseed smoothly.
-
Importing Photos: If you’re having trouble importing photos into Snapseed, check the permissions settings on your device to ensure that Snapseed has access to your photo gallery. Also, make sure that the photo file format is supported by Snapseed.
-
Editing Glitches: If you encounter glitches or unexpected behavior while editing photos in Snapseed, try restarting the app or your device. If the issue persists, uninstall and reinstall Snapseed to ensure a clean installation.
Conclusion and Final Thoughts
Brief Recap on the guide to remove pimples using Snapseed
In this comprehensive guide, we explored the basics of Snapseed and its features, how to download and install it on iOS and Android, and the tools and techniques for pimple removal in Snapseed. We discussed the importance of choosing the right photo for pimple removal, the utilization of the Healing and Brush Tools, the application of filters for skin corrections, and additional editing tips for enhancing photos.
Personal opinion about Snapseed’s efficiency for pimple removal
Snapseed is an excellent tool for pimple removal and skin corrections. Its powerful editing capabilities, combined with a user-friendly interface, make it an accessible option for anyone looking to achieve a flawless complexion in their photos. While there are limitations to consider, such as complex skin issues and extreme edits, Snapseed provides a versatile and effective solution for most pimple removal needs.
Final suggestions for better usage of Snapseed
To make the most of Snapseed for pimple removal and editing purposes, it’s essential to familiarize yourself with the various tools and features offered by the app. Take the time to experiment, learn, and refine your editing techniques. Additionally, stay updated with the latest app version, optimize your device’s storage and memory, and address any common issues that may arise. With these suggestions in mind, you’ll be able to maximize your usage of Snapseed and achieve impressive results in your photo editing endeavors.

