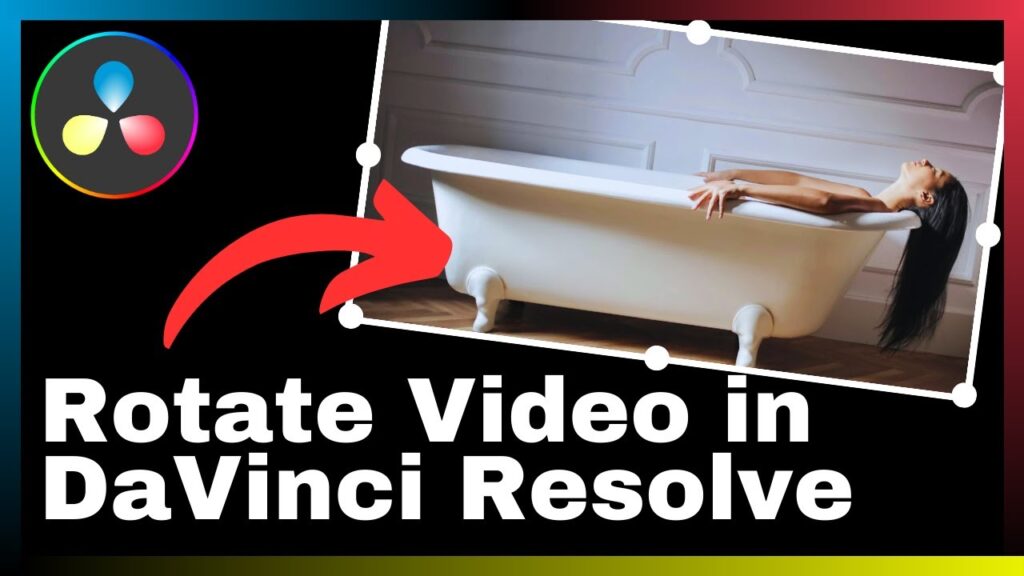
In the realm of video editing, there often arises the need to rotate video clips to correct their orientation or achieve specific visual styles. This article, titled “How to Rotate Video in DaVinci Resolve,” will provide you with the necessary guidance to effectively rotate video clips within the DaVinci Resolve software. This popular all-in-one video editing tool offers a comprehensive set of tools suitable for professionals and beginners alike, making it an ideal choice for projects of all sizes and complexities. By following the steps outlined in this article, you will be able to easily manipulate the orientation of your videos to suit your creative vision.
DaVinci Resolve is not only known for its video editing capabilities, but it also excels in color correction, visual effects, and audio post-production, empowering users with a range of tools to enhance their projects. Whether you are a seasoned professional or just starting out in the world of video editing, DaVinci Resolve’s intuitive interface and powerful features make it an invaluable asset. If you are looking to learn how to rotate video clips and unlock new creative possibilities in your projects, this article is a must-read.
Understanding DaVinci Resolve
What is DaVinci Resolve?
DaVinci Resolve is a versatile software that combines video editing, color correction, visual effects, and audio post-production capabilities. It is widely used in the industry and offers a comprehensive set of tools for professionals and beginners alike.
Brief history of DaVinci Resolve
Originally developed by DaVinci Systems, the software was primarily used for color grading in the early days. However, as technology progressed, DaVinci Resolve evolved into a complete post-production solution. In 2009, Blackmagic Design acquired DaVinci Systems and continued to enhance and expand the software’s features and functionality.
Advantages of using DaVinci Resolve
There are several advantages to using DaVinci Resolve for your video editing needs. Firstly, it provides a seamless workflow, allowing you to perform various tasks within a single software. This eliminates the need for multiple programs and simplifies the editing process. Additionally, DaVinci Resolve offers advanced color grading capabilities, making it a go-to choice for professional colorists. The software is also known for its excellent performance, even when handling large-scale projects. Furthermore, DaVinci Resolve provides extensive tutorial resources and a supportive community, making it accessible to beginners.
Overview of DaVinci Resolve interface
The DaVinci Resolve interface is designed to provide an intuitive and efficient working environment. The interface is divided into several panels, each serving a specific purpose. The Media Pool panel allows you to import and organize your video files. The Edit Page provides a timeline for arranging and editing your video clips. The Color Page is dedicated to color grading and manipulation. The Fusion Page offers advanced visual effects capabilities. Finally, the Fairlight Page is designed for audio post-production.
Loading Your Video into Resolve
How to start a new DaVinci Resolve project
To start a new project in DaVinci Resolve, follow these steps:
- Open the software and select “Create New Project” from the project manager screen.
- Name your project and select a location to save it.
- Set your project settings, such as frame rate and resolution, according to your video’s specifications.
- Click “Create” to create the new project.
Importing video files into DaVinci Resolve
To import video files into DaVinci Resolve, use the following steps:
- In the Media Pool panel, click on the file browser icon.
- Navigate to the folder containing your video files.
- Select the files you want to import.
- Click “Import” to add the selected files to your project.
Organizing video files in DaVinci Resolve
To organize your video files in DaVinci Resolve, you can use bins and folders within the Media Pool panel. Bins allow you to categorize your files based on different criteria, such as scenes, locations, or characters. To create a new bin, right-click within the Media Pool panel and select “New Bin.” You can then drag and drop files into the bin and rename it as needed.
Navigating the Edit Page
Understanding the Edit Page Interface
The Edit Page in DaVinci Resolve provides a timeline where you can arrange and edit your video clips. The interface is divided into several sections, including the timeline, viewer, and various toolbars. The timeline allows you to see the sequence of your clips, while the viewer displays the selected clip or portion of the timeline. The toolbars provide access to editing tools, transitions, effects, and more.
Manipulating clips in the timeline
To manipulate clips on the timeline in DaVinci Resolve, you can use various editing tools. These tools allow you to perform actions such as trimming, splitting, and moving clips. To trim a clip, hover your mouse over the edge of the clip on the timeline until the trimming icon appears. Then, click and drag to adjust the clip’s duration. To split a clip, position the playhead at the desired split point and press the “S” key. You can then move or delete the split portions as needed.
Introduction to the tools within Edit Page
DaVinci Resolve provides a range of tools to enhance your editing experience on the Edit Page. Some of the key tools include:
- Cut: Allows you to remove unwanted sections from a clip.
- Ripple Edit: Automatically adjusts the surrounding clips when you trim or delete a portion of a clip.
- Slip Edit: Changes the in and out points of a clip without affecting its duration on the timeline.
- Slide Edit: Moves a clip’s position on the timeline, maintaining its original duration.
- Transition: Adds visual effects between clips, such as fades or wipes.
- Keyframe Editor: Allows you to animate various parameters, such as opacity or position, over time.
Inspecting Your clips
What is the Inspect function?
The Inspect function in DaVinci Resolve allows you to view detailed information about your video clips. It provides access to various settings and properties, which can be adjusted to achieve the desired visual outcome.
Locating the Inspect function
To locate the Inspect function in DaVinci Resolve, follow these steps:
- Select the clip you want to inspect on the Edit Page timeline.
- Right-click the clip and choose “Inspect” from the context menu.
- The Inspect panel will appear, displaying information and adjustable settings for the selected clip.
Understanding the Inspector Panel
The Inspector Panel is where you can make adjustments to the properties of your video clips. It provides a comprehensive set of controls, allowing you to modify parameters such as color, exposure, rotation, and scale. The Inspector Panel also offers options for audio adjustments, transitions, effects, and more.
Adjusting Video Properties
To adjust video properties using the Inspector Panel in DaVinci Resolve, follow these steps:
- Select the clip you want to modify on the Edit Page timeline.
- Open the Inspector Panel by right-clicking the clip and selecting “Inspect.”
- Within the Inspector Panel, navigate to the Video tab.
- Here, you can adjust settings such as color correction, exposure, contrast, saturation, and more.
- Experiment with different adjustments to achieve the desired visual outcome.
Rotating Your Video

Rotating a video clip: basic method
To rotate a video clip in DaVinci Resolve, you can use the following steps:
- Select the clip you want to rotate on the Edit Page timeline.
- Open the Inspector Panel by right-clicking the clip and selecting “Inspect.”
- Within the Inspector Panel, navigate to the Video tab.
- Look for the Rotation parameter and adjust the value to rotate the clip. Positive values rotate the clip clockwise, while negative values rotate it counterclockwise.
- Preview the rotated clip in the viewer to ensure the desired rotation is achieved.
Fine-tuning rotation using the inspector panel
If you require more precise control over the rotation of your video clip, you can use the Inspector Panel in DaVinci Resolve. Here’s how:
- Select the clip you want to adjust on the Edit Page timeline.
- Open the Inspector Panel by right-clicking the clip and selecting “Inspect.”
- Within the Inspector Panel, navigate to the Transform tab.
- Here, you can manually enter rotation values for the X, Y, and Z axes to achieve the desired rotation.
- Experiment with different rotation values until you achieve the desired result.
Correcting Video Orientation
Understanding video orientation
Video orientation refers to the alignment or positioning of the video frames relative to the viewer’s perspective. Incorrect video orientation can occur when the camera is rotated while recording, resulting in sideways or upside-down footage.
Identifying incorrect video orientation
To identify incorrect video orientation in DaVinci Resolve, you can use the following indicators:
- Sideways footage: If the video appears rotated 90 degrees to the left or right, it is likely in a sideways orientation.
- Upside-down footage: If the video appears completely flipped upside-down, it is likely in an incorrectly oriented state.
Adjusting video orientation in the Inspector Panel
To correct video orientation using the Inspector Panel in DaVinci Resolve, follow these steps:
- Select the clip with incorrect orientation on the Edit Page timeline.
- Open the Inspector Panel by right-clicking the clip and selecting “Inspect.”
- Within the Inspector Panel, navigate to the Transform tab.
- Look for the Rotation parameter and adjust the value to rotate the clip. Positive values rotate the clip clockwise, while negative values rotate it counterclockwise.
- Preview the adjusted clip in the viewer to ensure the correct orientation is achieved.
Additional Tips for Video Rotation
Understanding rotation degrees
When rotating video clips in DaVinci Resolve, it’s valuable to understand rotation degrees. Positive degrees denote clockwise rotation, while negative degrees denote counterclockwise rotation. Experiment with different values to achieve the desired rotation.
Correcting flipped video issues
If your video clip is appearing flipped horizontally or vertically, you can correct it using the Inspector Panel in DaVinci Resolve. Within the Transform tab, adjust the Scale parameters to a negative value for the X or Y axis to flip the video vertically or horizontally, respectively.
Using keyframes for gradual rotation
To create a gradual rotation effect in DaVinci Resolve, you can utilize keyframes. Keyframes allow you to animate the rotation of a clip over time. By adding multiple keyframes with varying rotation values, you can achieve a smooth and controlled rotation effect.
Rotating additional video tracks
In DaVinci Resolve, you can work with multiple video tracks simultaneously. To rotate additional video tracks, select the desired track on the timeline and apply the same rotation techniques mentioned earlier.
Finishing Your Project
How to apply final touches in Resolve
To apply final touches to your project in DaVinci Resolve, follow these steps:
- Review your edited video on the Edit Page timeline.
- Fine-tune any adjustments or corrections as needed.
- Apply color grading, effects, and transitions to enhance the visual aesthetic.
- Ensure all audio elements are properly synchronized and adjusted.
- Preview the final product to ensure it meets your desired outcome.
Reviewing rotated video for quality assurance
After rotating your video clips in DaVinci Resolve, it’s essential to review the results for quality assurance. Playback the rotated clips in the viewer and check for any issues such as visual artifacts, blurriness, or unwanted cropping. Make necessary adjustments if any problems are detected.
Rendering and exporting your video project
Once you are satisfied with your edited and rotated video project in DaVinci Resolve, it’s time to render and export the final product. DaVinci Resolve offers various options for rendering and exporting, allowing you to choose the desired format, resolution, and quality settings. Follow the software’s export guidelines to create a final video file that can be shared or uploaded to various platforms.
Troubleshooting Rotation in DaVinci Resolve
Common issues when rotating video
While rotating video clips in DaVinci Resolve, a few common issues may arise:
- Cropping: Rotating a video clip may result in cropping, where parts of the frame are cut off. Adjust the scale or position of the clip to avoid this issue.
- Visual artifacts: Extreme rotations can lead to visual artifacts such as blurriness or pixelation. Use smaller rotation angles if quality degradation occurs.
- Inconsistent orientation: If the orientation differs between clips in the timeline, ensure that the rotation adjustments are consistent to maintain visual continuity.
How to resolve video distortion after rotation
If your video appears distorted or stretched after rotation in DaVinci Resolve, it could be due to incorrect aspect ratio settings. Make sure the aspect ratio of the project matches the original video’s aspect ratio. Adjusting the scale or position of the clip may also help to correct any distortions.
What to do when the rotation feature is not working
In the rare instance that the rotation feature in DaVinci Resolve is not working, try the following troubleshooting steps:
- Restart the software and try again.
- Ensure you are using the latest version of DaVinci Resolve, as new updates may include bug fixes.
- Check the system requirements to ensure your hardware meets the software’s specifications.
- Reach out to the official DaVinci Resolve support team or community forums for further assistance.
Conclusion
Quick review of how to rotate video in DaVinci Resolve
Rotating video clips in DaVinci Resolve is a straightforward process. By using the Inspector Panel, you can adjust the rotation values to achieve the desired effect. Additionally, utilizing keyframes and understanding rotation degrees can further enhance your editing capabilities.
Further resources for learning DaVinci Resolve
To further enhance your skills in DaVinci Resolve, consider exploring additional resources. Online tutorials, forums, and official documentation can provide comprehensive guidance on various features and techniques within the software.
Endnote
DaVinci Resolve is a powerful video editing tool that offers extensive capabilities for professionals and beginners alike. By mastering the art of rotating video clips, you can achieve precise visual effects and correct orientation issues. With practice and exploration, you can unlock the full potential of DaVinci Resolve in your video editing endeavors.


