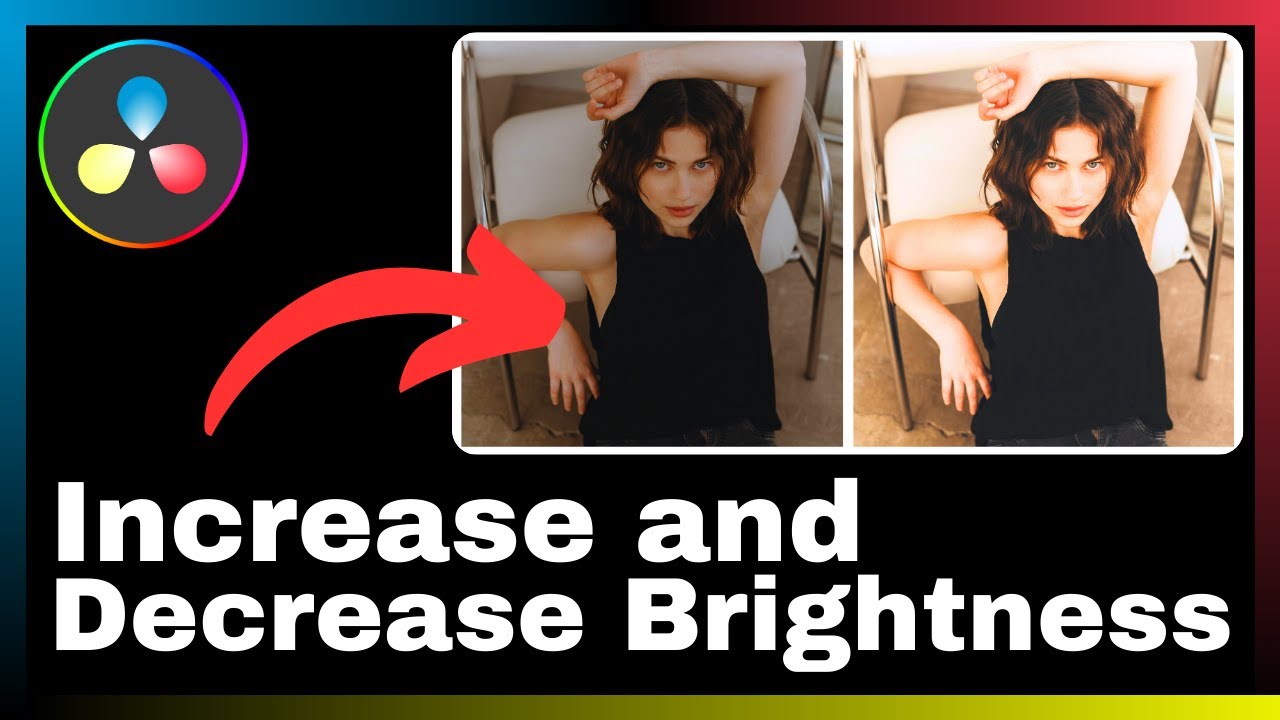
In this article titled “How to Stabilize Footage in DaVinci Resolve,” you will discover the step-by-step process of effectively stabilizing shaky footage using DaVinci Resolve. This powerful software offers a comprehensive set of tools that cater to both professionals and beginners, allowing you to transform your videos into smooth and professional-looking masterpieces. By following the techniques and tips provided in this tutorial, you will be able to enhance the quality of your footage, resulting in visually appealing videos that captivate your audience. So whether you are an experienced video editor or just starting out, this article will equip you with the necessary knowledge to stabilize your footage and take your video editing skills to the next level.
Understanding DaVinci Resolve


Overview of DaVinci Resolve
DaVinci Resolve is an all-in-one video editing, color correction, visual effects, and audio post-production software. It offers a comprehensive set of tools for professionals and beginners alike, making it a popular choice for projects of all sizes and complexities. Whether you’re a content creator, filmmaker, or videographer, DaVinci Resolve provides powerful features and functionalities to enhance your footage and create more polished, professional-looking videos.
Benefits of using DaVinci Resolve
There are several benefits to using DaVinci Resolve for your video editing needs. Firstly, it provides a seamless and integrated workflow, allowing you to perform all your editing, color correction, and audio post-production tasks within a single software. This saves you time and effort in switching between different programs.
Secondly, DaVinci Resolve offers advanced color grading tools, giving you precise control over the look and feel of your footage. With its powerful color grading capabilities, you can enhance the visual appeal of your videos and create a more immersive viewing experience for your audience.
Additionally, DaVinci Resolve supports high-resolution formats, ensuring that your videos maintain their quality even when working with 4K or higher resolutions. This is crucial for delivering professional-grade content that meets the standards of today’s ever-evolving video landscape.
Furthermore, DaVinci Resolve is known for its efficient and reliable performance. It utilizes GPU acceleration and optimized processing algorithms to handle complex editing tasks with ease, allowing you to work on projects of any scale without experiencing delays or lag.
Capabilities of DaVinci Resolve
DaVinci Resolve offers a wide range of capabilities to help you elevate your footage and create visually stunning videos. Some of its key features include:
-
Video Editing: DaVinci Resolve provides a comprehensive set of editing tools, including timeline-based editing, trimming, transitions, and effects. You can easily arrange and manipulate your footage to tell a compelling story and achieve your desired narrative structure.
-
Color Correction: With DaVinci Resolve’s advanced color grading tools, you can precisely adjust the color, contrast, and saturation of your footage. It offers a wide range of grading controls, including curves, color wheels, and histograms, allowing you to achieve the exact look you envision for your videos.
-
Visual Effects: DaVinci Resolve includes a suite of visual effects tools to add creative elements and enhance the visual impact of your videos. These tools range from basic effects like blurs and transitions to more advanced features such as motion tracking and compositing.
-
Audio Post-Production: In addition to its video editing capabilities, DaVinci Resolve also offers powerful audio editing and mixing tools. You can perform tasks like noise reduction, audio equalization, and audio track adjustments, ensuring that your videos have high-quality sound to accompany the visuals.
-
Collaboration and Workflow Management: DaVinci Resolve provides collaborative features that allow multiple users to work on the same project simultaneously. It also offers project management tools to help you organize and streamline your workflow, making collaboration and project coordination more efficient.
Overall, DaVinci Resolve is a versatile and feature-rich software that empowers content creators to bring their creative visions to life. Whether you’re editing a short film, a documentary, or a YouTube video, DaVinci Resolve equips you with the necessary tools to achieve professional-grade results.
Preparing your Footage for Stabilization
Importing your footage
Before you can start stabilizing your footage in DaVinci Resolve, you need to import your video files into the software. To do this, navigate to the Media page and locate the Import button. Click on it to open the file browser, then select the footage you want to import. DaVinci Resolve supports a wide range of video file formats, so you can import footage from various sources without any compatibility issues.
Choosing the correct resolution
Once you’ve imported your footage, it’s important to choose the correct resolution settings for your project. Use the Project Settings panel to adjust the resolution of your timeline to match the resolution of your footage. This ensures that the stabilization process is applied correctly and accurately to your video.
Adjusting your footage properties
Before applying stabilization, you may need to make some adjustments to your footage properties. DaVinci Resolve offers various tools for adjusting the properties of your clips, such as the Inspector panel. Here, you can modify parameters like frame rate, aspect ratio, and metadata. It’s crucial to ensure that all the properties of your footage are set correctly before proceeding with stabilization to avoid any potential issues or discrepancies in the stabilization process.
Fundamentals of Footage Stabilization
Purpose of stabilizing footage
The main purpose of stabilizing footage is to remove unwanted camera movements or shakiness from your videos. Whether it’s due to handheld shooting, unstable camera rigs, or external factors like wind or vibration, shaky footage can be distracting and negatively impact the viewer’s experience. By stabilizing your footage, you can create smoother, more professional-looking videos that are visually appealing and enjoyable to watch.
Understanding how stabilization works
Stabilization works by analyzing the motion in your footage and applying corrective transformations to counteract the unwanted movement. DaVinci Resolve uses advanced algorithms and tracking techniques to identify motion patterns and stabilize the video accordingly. It tracks specific points or features in the footage and calculates the necessary adjustments to remove or minimize the camera shake while preserving the integrity of the content.
The stabilization process involves two main steps: motion analysis and motion correction. During motion analysis, DaVinci Resolve analyzes the motion in the footage and determines the areas that need stabilization. Then, during motion correction, the software applies the necessary transformations to stabilize the video based on the analyzed data. These transformations can include translation, rotation, and scaling adjustments to compensate for the camera movements and create a smooth, steady result.
Understanding the underlying principles and techniques of footage stabilization can help you make informed decisions when choosing the appropriate stabilization methods and settings in DaVinci Resolve.
Using the Stabilizer Tool in DaVinci Resolve
Finding the Stabilizer tool
The Stabilizer tool in DaVinci Resolve can be accessed from the Color page. Once you have your footage loaded into the timeline, navigate to the Color page by clicking on the Color tab at the bottom of the interface. In the toolbar on the right side of the interface, you’ll find the Stabilizer icon, which looks like a hand with four arrows pointing in different directions. Click on this icon to open the Stabilizer tool.

Adjusting the Stabilizer settings
Once you have the Stabilizer tool open, you’ll see various settings and options to fine-tune the stabilization process. The key settings you’ll typically work with include:
-
Smoothness: This setting controls the level of stabilization applied to the footage. A higher value will result in stronger stabilization, while a lower value will retain some of the original camera movement. Adjust this setting based on the amount of stabilization you want to apply while considering the natural flow and feel of the footage.
-
Method: DaVinci Resolve offers different stabilization methods, such as perspective stabilization, similarity stabilization, and translation stabilization. Each method has its own characteristics and strengths, so you may need to experiment with different options to find the one that works best for your footage.
-
Analysis Range: This setting determines the section of the timeline that is analyzed for stabilization. You can choose to analyze the entire timeline or limit it to a specific range. Adjust this setting based on the portions of your footage that require stabilization.
-
Suppress Noise: Sometimes, footage can contain additional noise or slight camera jitters that are not desirable. The Suppress Noise setting helps to reduce such unwanted artifacts in the stabilized result. Experiment with this setting to find the balance between noise reduction and preserving the original details of the footage.
By adjusting these settings and experimenting with different parameters, you can achieve the desired level of stabilization for your footage in DaVinci Resolve.
Different Stabilization Methods in DaVinci Resolve
Perspective stabilization
Perspective stabilization is a powerful method that corrects the perspective distortion caused by camera movements. It analyzes the motion in the footage and applies perspective transformations to remove the skewing or tilting effects introduced by the camera shake. This method is particularly useful when dealing with footage that has significant rotational camera movements or when the subject itself is moving.
Similarity stabilization
Similarity stabilization is another method available in DaVinci Resolve that focuses on preserving the overall image content while stabilizing the footage. It analyzes the motion in the footage and applies scaling and rotation adjustments to create a smooth, steady result. Similarity stabilization is commonly used for footage that has minimal perspective distortion but requires stabilization due to handheld shooting or other factors.
Translation stabilization
Translation stabilization is a simpler form of stabilization that focuses on removing linear camera movements, such as horizontal or vertical shifts. It analyzes the motion in the footage and applies translation adjustments to compensate for the unwanted movements. This method is useful for footage that has minimal rotational or perspective distortions but requires stabilization to eliminate any noticeable shaking or shifting.
By understanding the characteristics and applications of these different stabilization methods in DaVinci Resolve, you can choose the most suitable approach for your footage and achieve the desired stabilization results.
Perfecting Your Stabilization
Using zoom to eliminate blank borders
During the stabilization process, it’s common for the software to apply slight scaling adjustments to the footage to minimize or remove camera movements. However, this can sometimes result in blank borders or black bars around the stabilized frame. To eliminate these borders and maintain the original frame size, you can use the zoom feature in DaVinci Resolve.
After applying stabilization to your footage, navigate to the Inspector panel and locate the Zoom parameter. Increase the value of the Zoom parameter until the black borders are no longer visible. Be cautious not to zoom in excessively, as it may result in a loss of image quality or unwanted cropping of the content. Find the right balance between eliminating the borders and preserving the original frame size.
Using the cropping tool
In addition to using zoom, DaVinci Resolve offers a cropping tool that allows you to adjust the frame size and eliminate unwanted borders or areas in the stabilized footage. To access the cropping tool, navigate to the Inspector panel and locate the Crop settings. Adjust the crop parameters to remove any unwanted borders or areas, ensuring that the remaining frame retains the essential content and maintains the intended composition.
By utilizing the zoom and cropping tools in DaVinci Resolve, you can perfect the stabilization results and achieve a visually appealing, properly framed video without any unwanted borders or areas.
Common Stabilization Issues and Solutions
Dealing with stabilization artifacts
While the stabilization process in DaVinci Resolve aims to produce smooth and steady footage, it can sometimes introduce certain artifacts or anomalies. These can include warping, blurring, or unnatural movements in the stabilized result. To address these issues, you can adjust the various stabilization settings to find the right balance between stabilization and preserving the natural aesthetics of the footage.
Experiment with the Smoothness setting to reduce artifacts while maintaining an acceptable level of stabilization. Additionally, utilize the method-specific settings, such as Analysis Range or Suppress Noise, to tailor the stabilization process to the characteristics of your footage. It may require some trial and error to find the optimal settings that minimize artifacts while achieving the desired stabilization effect.
Troubleshooting unsuccessful stabilization attempts
Occasionally, you may encounter situations where the stabilization process in DaVinci Resolve does not yield satisfactory results. This can happen due to various factors, such as complex camera movements, low-quality source footage, or insufficient tracking data. To troubleshoot such issues, consider the following steps:
-
Reanalyze the footage: Sometimes, the initial stabilization analysis may not accurately capture the motion in the footage. Try reanalyzing a specific section or the entire timeline to generate a fresh set of tracking data.
-
Adjust tracking points: DaVinci Resolve uses tracking points or features in the footage to perform stabilization. If the tracking points are not correctly placed or are insufficient in number, it can lead to unsuccessful stabilization. Adjust the tracking points manually or enable automatic tracking options to improve the tracking process.
-
Split the footage: If the footage contains sections with vastly different motion characteristics, it may be beneficial to split it into smaller segments and apply stabilization individually. This allows you to tailor the stabilization settings to each segment, improving the overall results.
-
Consider alternative stabilization methods: If the default stabilization methods in DaVinci Resolve do not yield satisfactory results, explore other available methods or experiment with different settings. Each stabilization method has its own strengths and limitations, so finding the right approach for your specific footage is essential.
By troubleshooting and experimenting with different techniques and settings in DaVinci Resolve, you can overcome common stabilization issues and achieve the desired results for your stabilized footage.
Advanced Stabilization Techniques
Using the tracker tool for stabilization
DaVinci Resolve offers a powerful tracker tool that can be utilized to enhance the stabilization process. The tracker tool allows you to track specific objects or areas in the footage, providing more accurate and targeted stabilization. Here’s how to use the tracker tool for stabilization:
-
Select the tracker tool: In the Edit page, navigate to the toolbar and locate the tracker tool icon. It looks like a target with crosshairs. Click on this icon to activate the tracker tool.
-
Track the desired object or area: With the tracker tool active, position it over the object or area in the footage that you want to track. Click and hold the mouse button to start the tracking process. The tracker tool will analyze the motion of the selected object or area and create tracking data.
-
Apply the tracking data to stabilization: Once the tracker tool has successfully tracked the desired object or area, you can apply the tracking data to the stabilization process. In the Stabilizer tool, locate the Tracking Source parameter and choose the previously tracked object or area from the drop-down menu. The stabilization process will then utilize the tracking data to stabilize the footage more precisely.
By leveraging the tracker tool in DaVinci Resolve, you can achieve more accurate and targeted stabilization results, especially when dealing with specific objects or areas in the footage that require extra attention.
Stabilizing with the 3D camera tracker
In addition to the regular stabilization methods, DaVinci Resolve offers a 3D camera tracker that can be used for more advanced stabilization techniques. The 3D camera tracker analyzes the motion in the footage and creates a virtual 3D camera that replicates the real-world camera movement. This allows for more realistic and organic stabilization effects. Here’s how to use the 3D camera tracker for stabilization:
-
Access the 3D camera tracker: In the Fusion page, locate the 3D camera tracker node and add it to your project. This node is responsible for analyzing the motion in the footage and creating the virtual 3D camera.
-
Initiate the camera tracking process: With the 3D camera tracker node selected, click on the “Track” button to start the camera tracking process. The software will analyze the motion in the footage and create tracking data for the virtual camera.
-
Apply stabilization using the virtual camera: Once the camera tracking is complete, you can utilize the virtual camera data to stabilize the footage. Connect the output of the 3D camera tracker node to the stabilization node in the Fusion page, and adjust the stabilization settings as desired. The stabilization process will now utilize the motion data from the virtual camera to stabilize the footage more accurately.
By utilizing the 3D camera tracker in DaVinci Resolve, you can achieve advanced stabilization effects that closely match the real-world camera movement, resulting in more seamless and natural-looking stabilized footage.
Tips and Tricks for Better Stabilization
Recommended settings for optimal stabilization
To achieve optimal stabilization results in DaVinci Resolve, consider the following tips and recommendations:
-
Start with default settings: When starting the stabilization process, it’s often best to begin with the default settings provided by DaVinci Resolve. These settings are designed to offer a good starting point and can be adjusted based on your specific footage and requirements.
-
Gradually adjust Smoothness: The Smoothness setting controls the level of stabilization applied to the footage. It’s recommended to start with a conservative value and gradually increase it until the desired stabilization effect is achieved. This helps to avoid over-stabilization and preserves the natural flow of the footage.
-
Use multiple stabilization methods: In some cases, different parts of the footage may require different stabilization methods. Instead of applying a single method to the entire timeline, consider using multiple methods or adjusting the settings for different sections of the footage. This allows for more targeted and precise stabilization.
-
Analyze before adjusting stabilization settings: Before making any adjustments to the stabilization settings, analyze the footage to generate accurate tracking data. Analyzing the footage helps DaVinci Resolve understand the motion patterns and ensures that the stabilization process is applied correctly.
By following these tips and exploring the various settings and techniques in DaVinci Resolve, you can achieve better stabilization results and enhance the overall quality of your videos.
Ensuring smooth footage
In addition to stabilization, there are other factors that contribute to the smoothness of your footage. Here are some tips to ensure smooth footage:
-
Use a stabilizer or gimbal: If possible, consider using a physical stabilizer or gimbal when shooting footage. These devices help minimize camera shake and produce smoother results right from the start, reducing the reliance on post-production stabilization.
-
Shoot with a tripod or stable surface: When shooting without a stabilizer, try to use a tripod or find a stable surface to place your camera on. This reduces the amount of unintentional camera movements, resulting in smoother footage that requires less stabilization in post-production.
-
Shoot with a higher shutter speed: A higher shutter speed can help freeze motion and reduce motion blur in your footage. This can contribute to the overall smoothness of the video, especially when capturing fast-moving subjects or when shooting handheld without stabilization equipment.
-
Plan your shots and movements: Before shooting, plan your shots and movements carefully to minimize unnecessary camera movements. Think about the purpose and intention behind each shot, and try to keep your camera movements deliberate and controlled.
By implementing these practices during the shooting process, you can capture smoother footage that requires minimal stabilization and ensures optimal quality in the final result.
Conclusion
In conclusion, DaVinci Resolve is a versatile software that offers powerful tools for stabilizing footage and enhancing the overall quality of your videos. By understanding the fundamentals of footage stabilization, utilizing the Stabilizer tool, exploring different stabilization methods, and employing advanced techniques like the tracker tool and 3D camera tracker, you can achieve professional-grade stabilization effects.
It’s important to remember that achieving the best stabilization results requires experimentation, adjustment of settings, and an understanding of your specific footage and requirements. By following the tips and recommendations provided in this article, you can advance your footage stabilization skills and create smoother, more visually appealing videos using DaVinci Resolve.